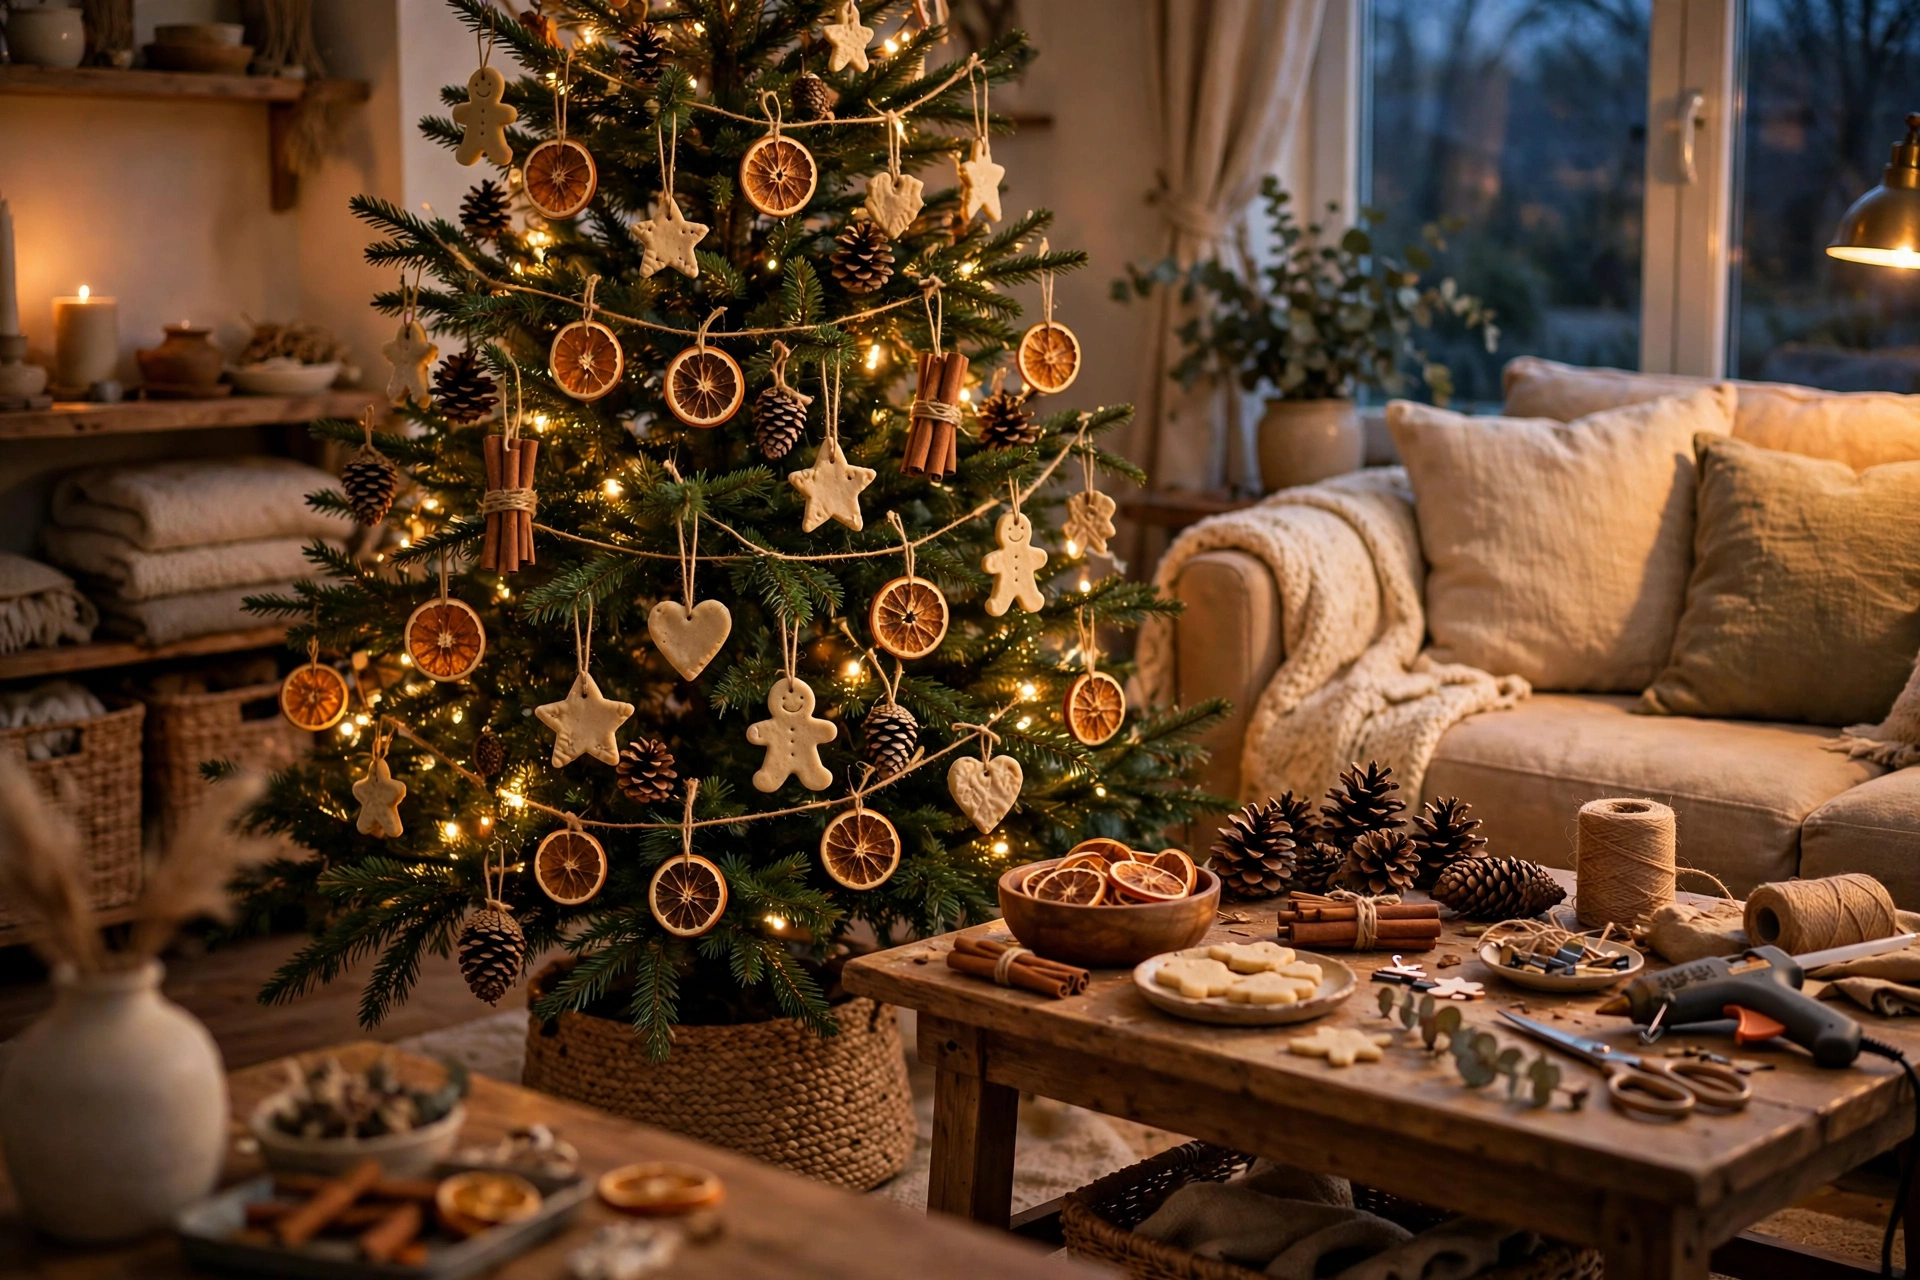
17 DIY Christmas Ornaments That Make the Tree Feel Personal

A tree full of handmade ornaments tells your family’s story in a way store-bought baubles never can. These diy christmas ornaments are heartfelt, beautiful, and genuinely fun to make — the kind of keepsakes you will unpack with a smile every December.
Each project below uses affordable, easy-to-find materials and takes an afternoon at most. Make them solo for quiet crafting time, or turn it into a family ornament-making party with hot cocoa on the side.
1. Dried Orange Slice Ornaments
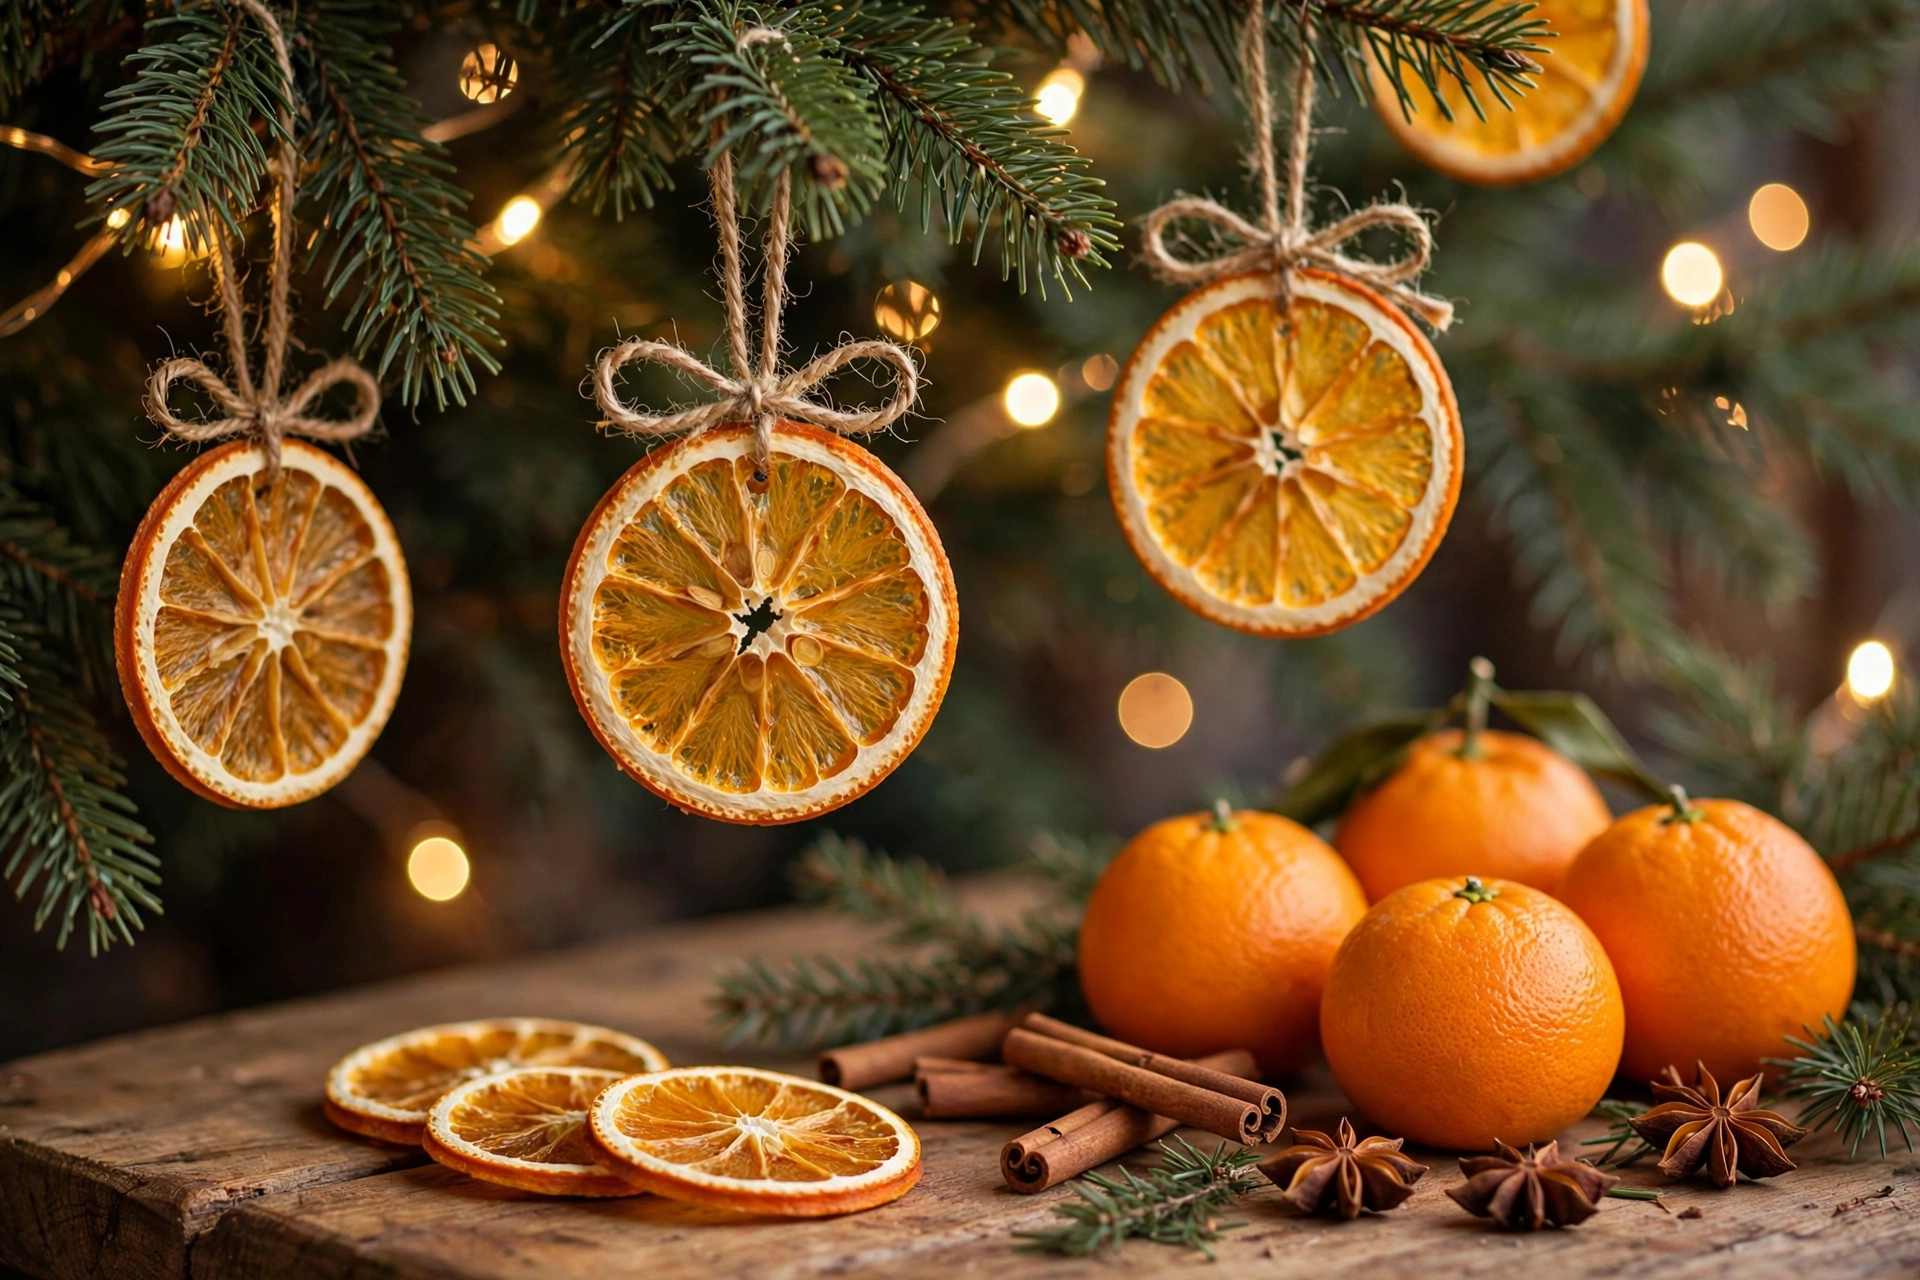
Slice oranges thin, dry them low and slow in the oven, and thread twine through a small hole for ornaments that glow like stained glass against tree lights. Add a cinnamon stick tied alongside for extra charm. They smell as good as they look.
Tip: Dry slices at 200°F for about 3 hours, flipping halfway, so they dry flat without browning.
2. Salt Dough Handprint Keepsakes
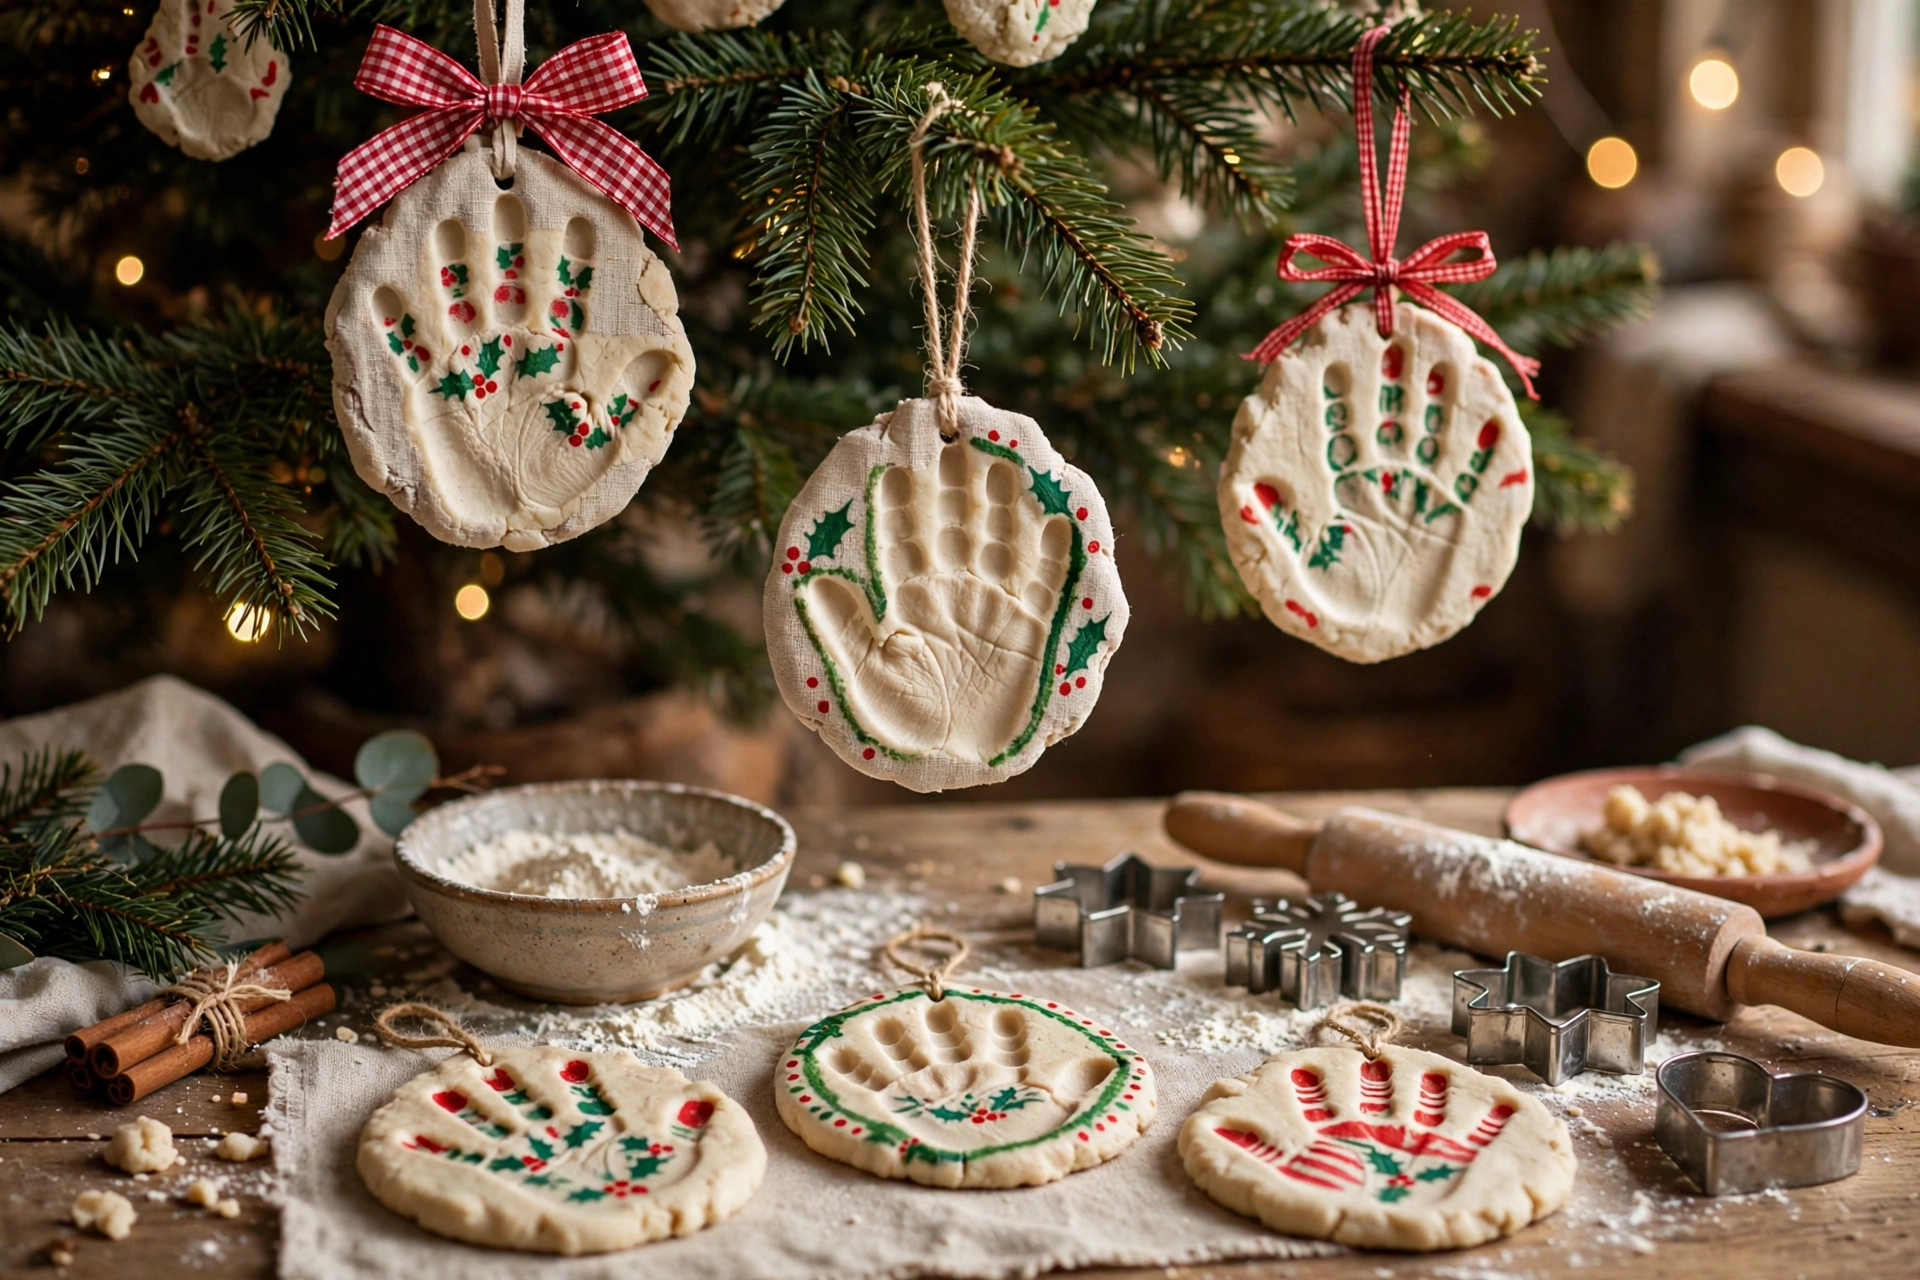
Mix flour, salt, and water into a simple dough, press little handprints in, and bake until hard. Paint them white or gold and add the year with a marker. Grandparents treasure these above all other gifts.
Tip: Poke the hanging hole with a straw before baking — it makes a cleaner hole than a skewer.
3. Pinecone Owls
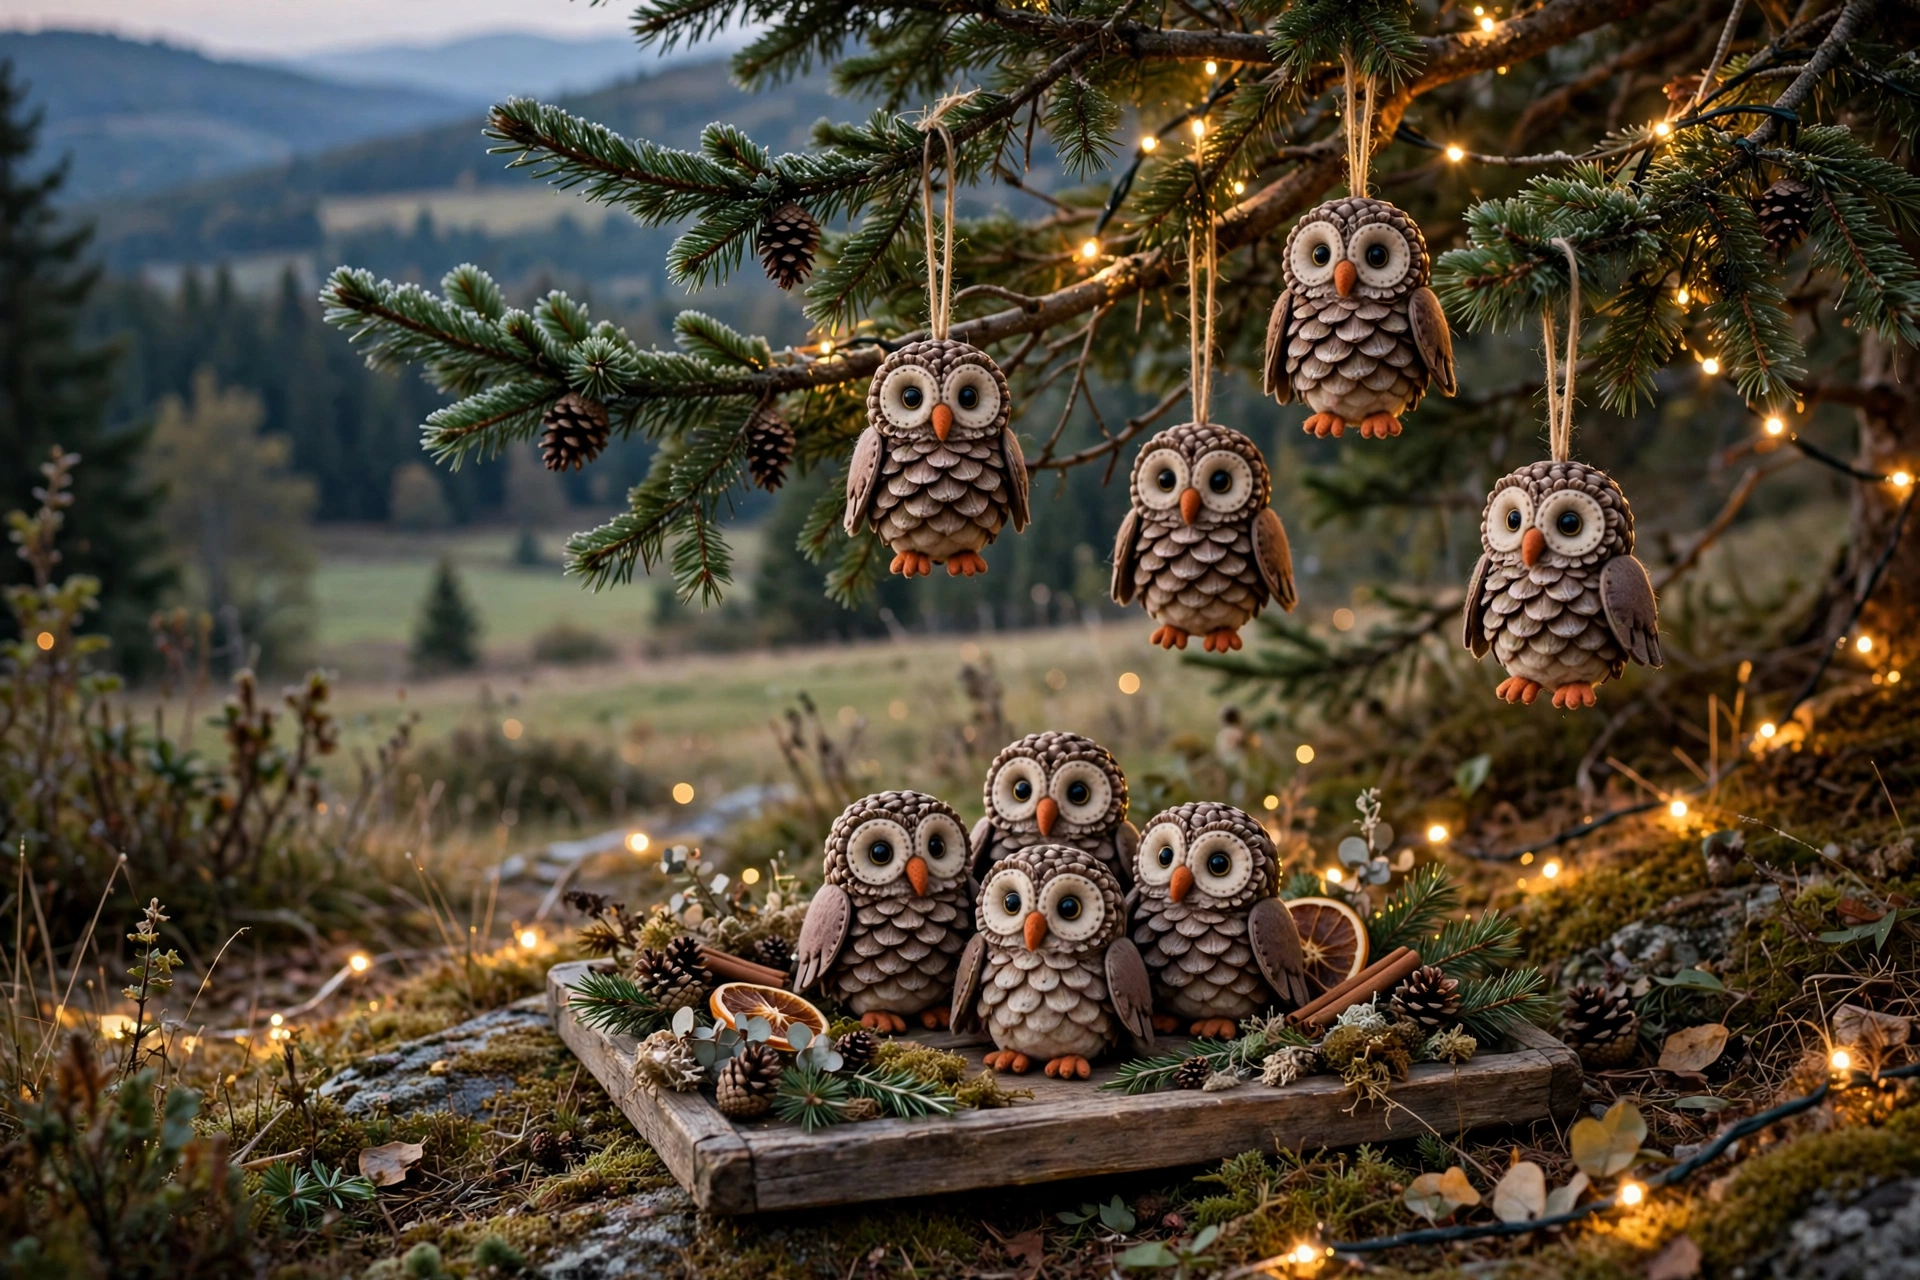
Glue felt wings, googly eyes, and a tiny beak onto pinecones to make the sweetest little owls. A loop of twine around the top turns them into ornaments. Kids can make a whole parliament of them in one sitting.
Tip: Use a low-temp glue gun for kid crafters — it bonds felt to pinecone without burns.
4. Photo Transfer Wood Slices
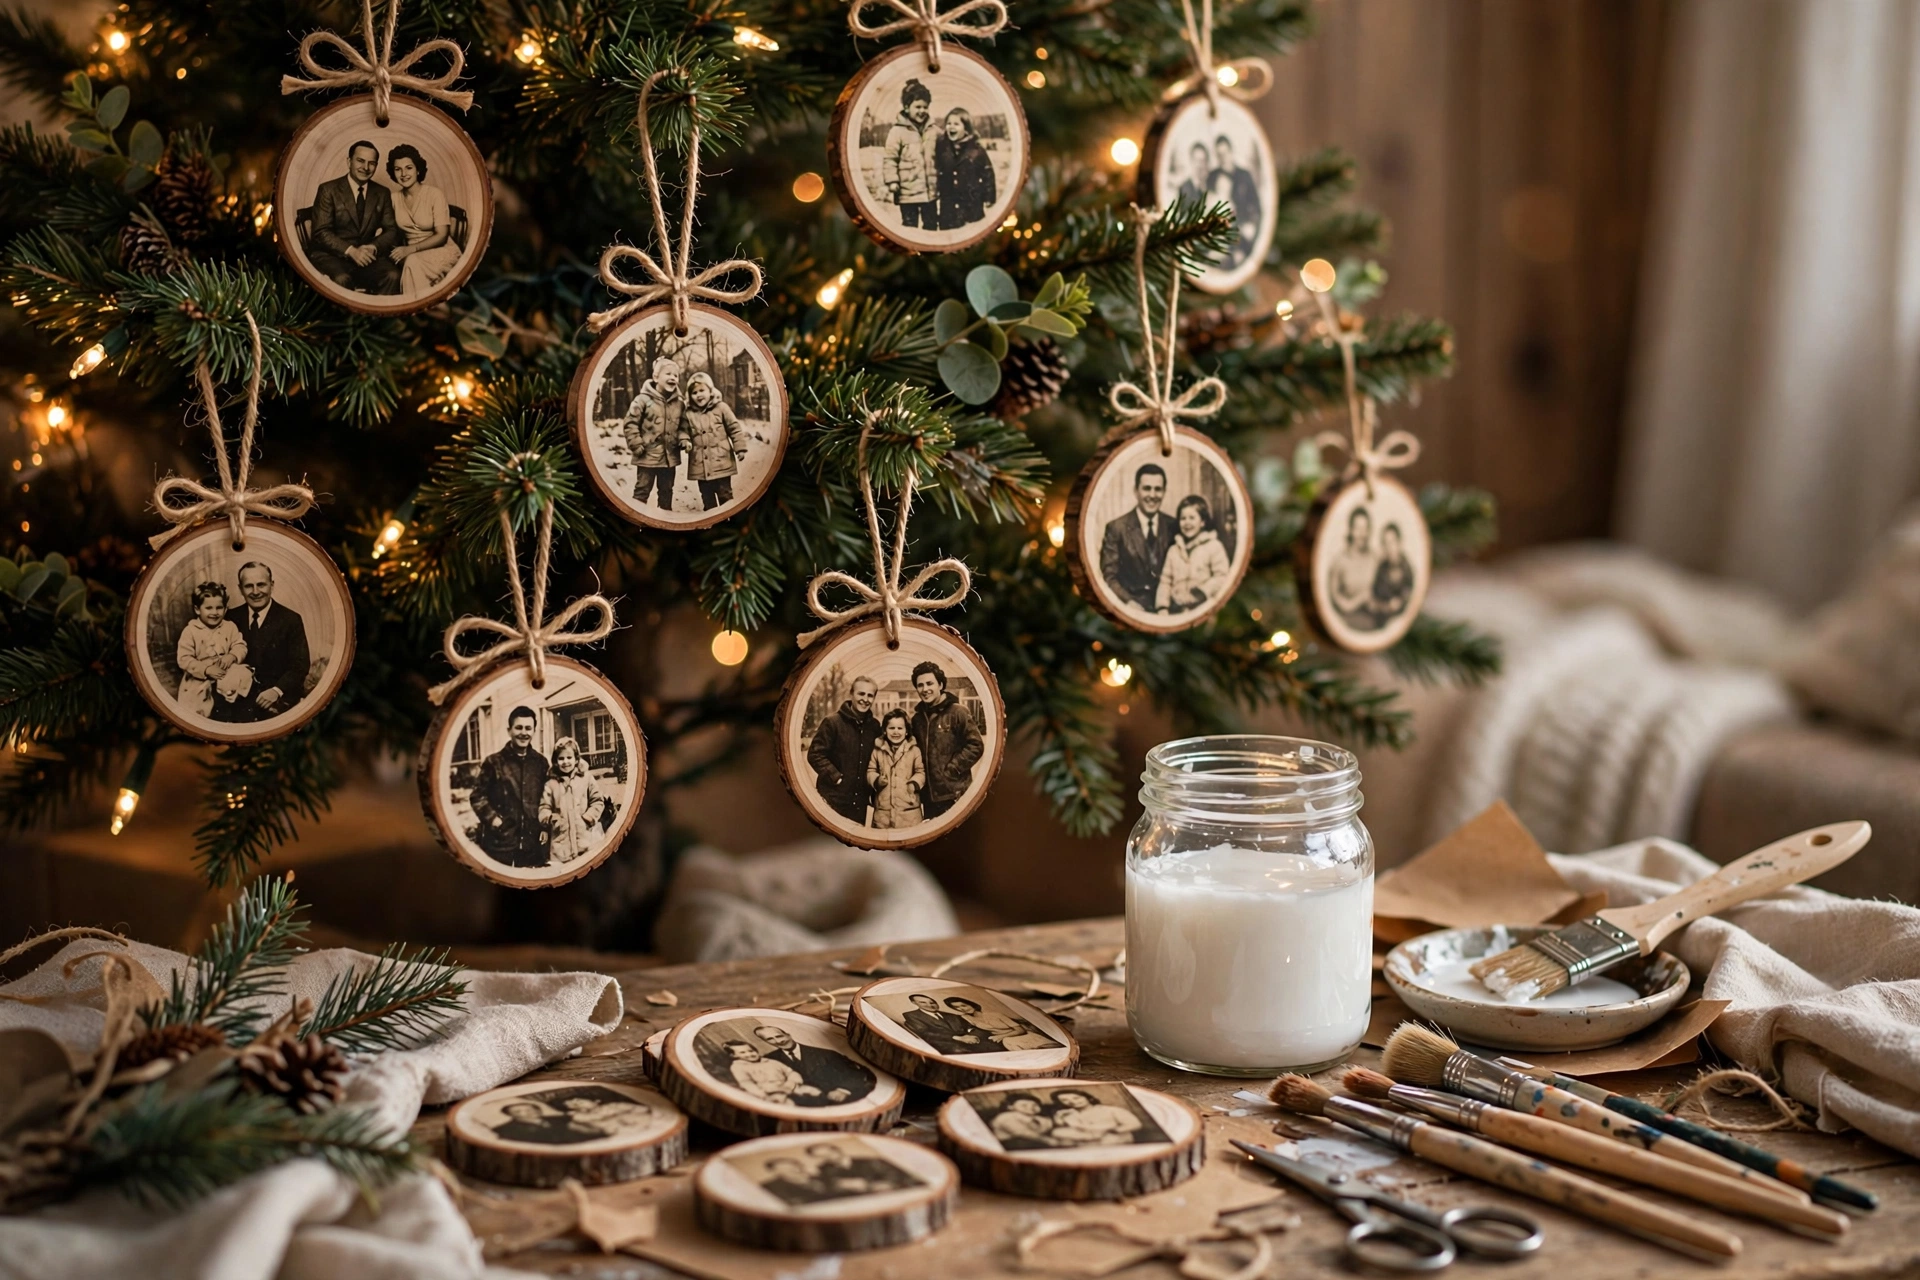
Print favorite family photos on regular paper, transfer them onto small wood slices with gel medium, and seal with Mod Podge. The rustic wood frames each memory beautifully. These become the ornaments everyone reaches for first.
Tip: Print photos in mirror image if your transfer method requires it — check the gel medium instructions.
5. Cinnamon Stick Star Ornaments
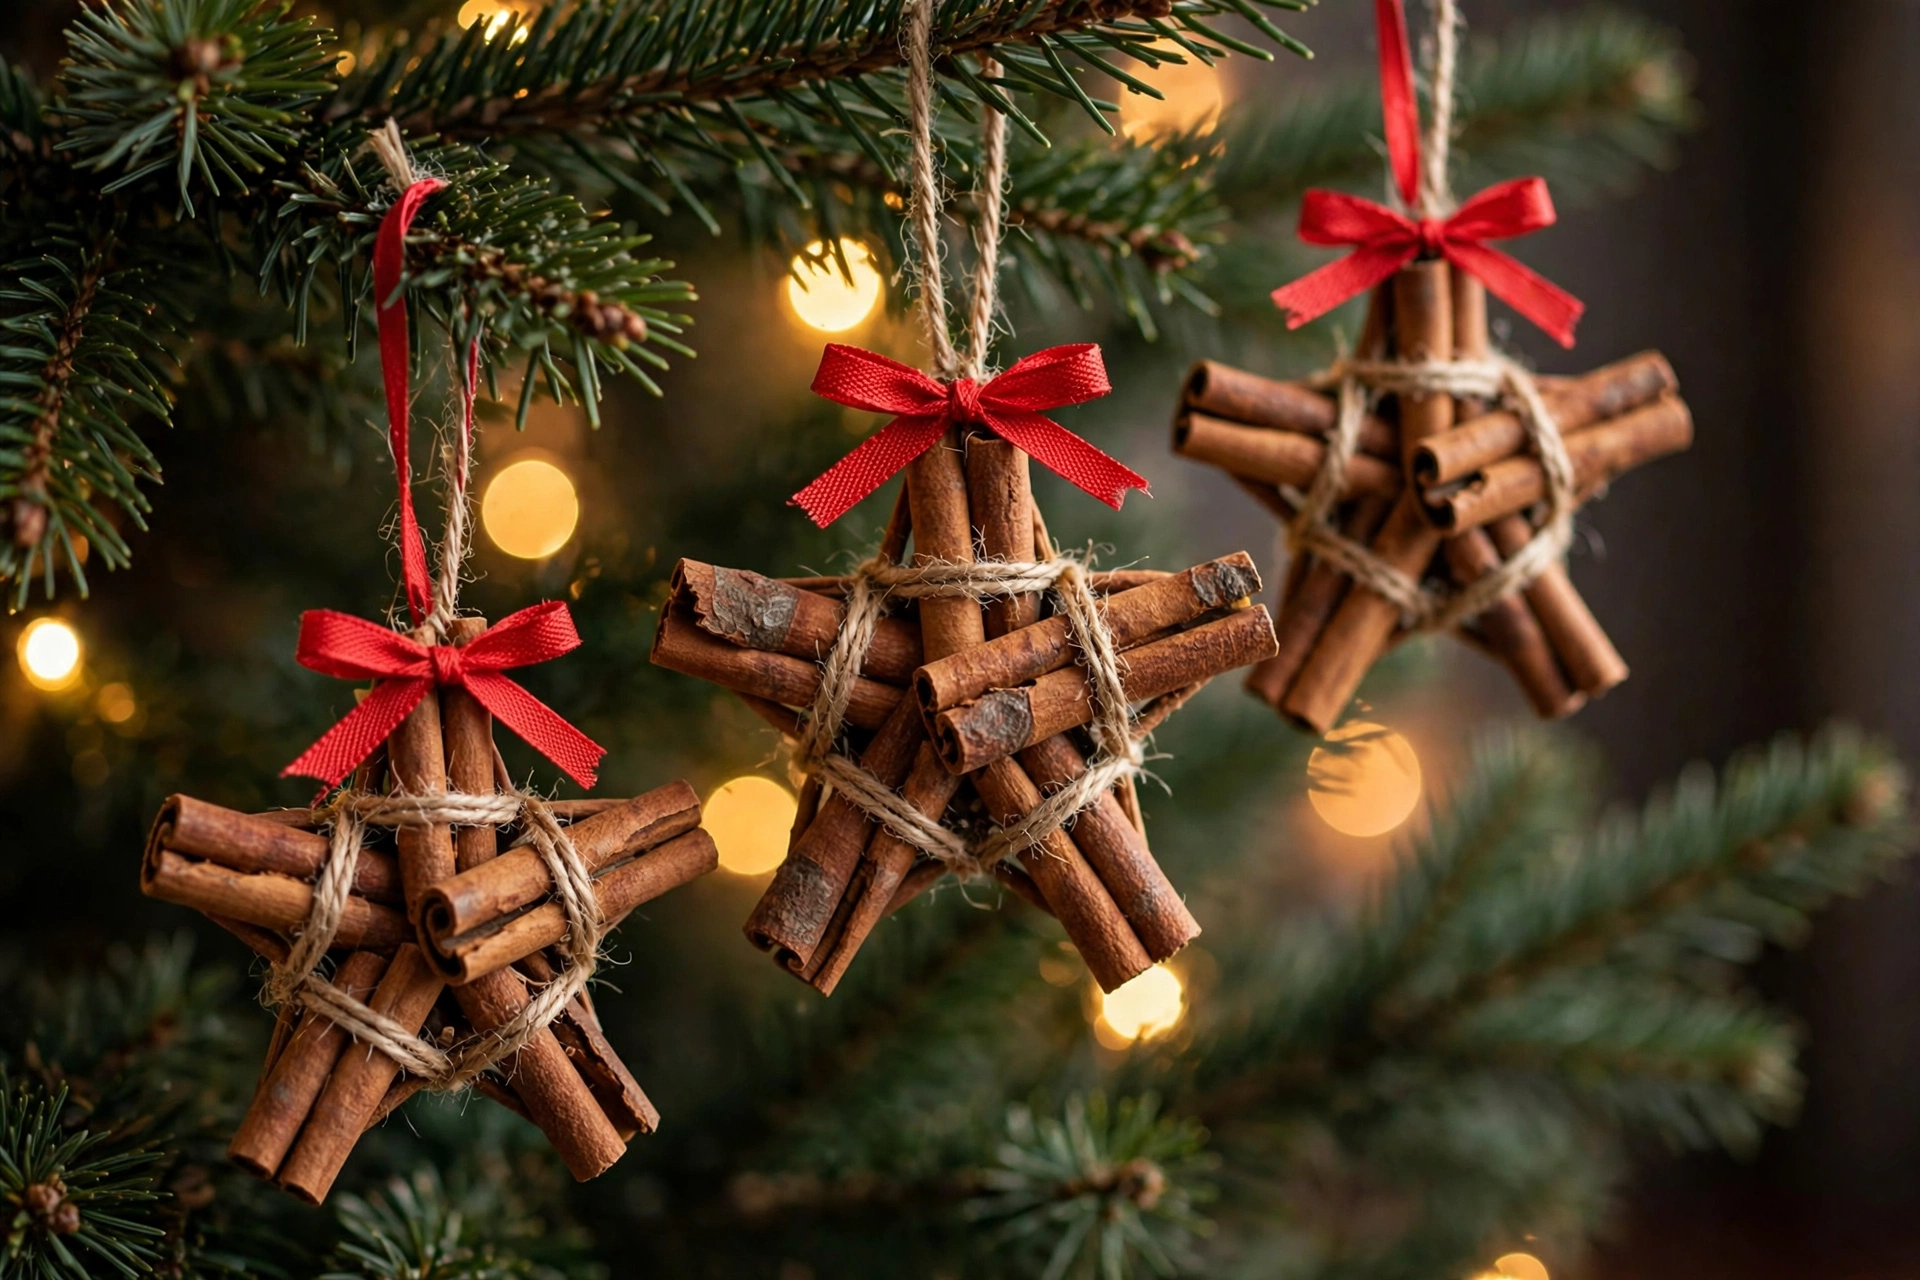
Glue five cinnamon sticks into a star shape, tie the points with twine, and add a small bow at the top. They are fragrant, rustic, and nearly indestructible. Hang them on the tree or tie them onto gifts.
Tip: Cut sticks to equal lengths first with garden snips for a symmetrical star.
6. Melted Crayon Ornaments
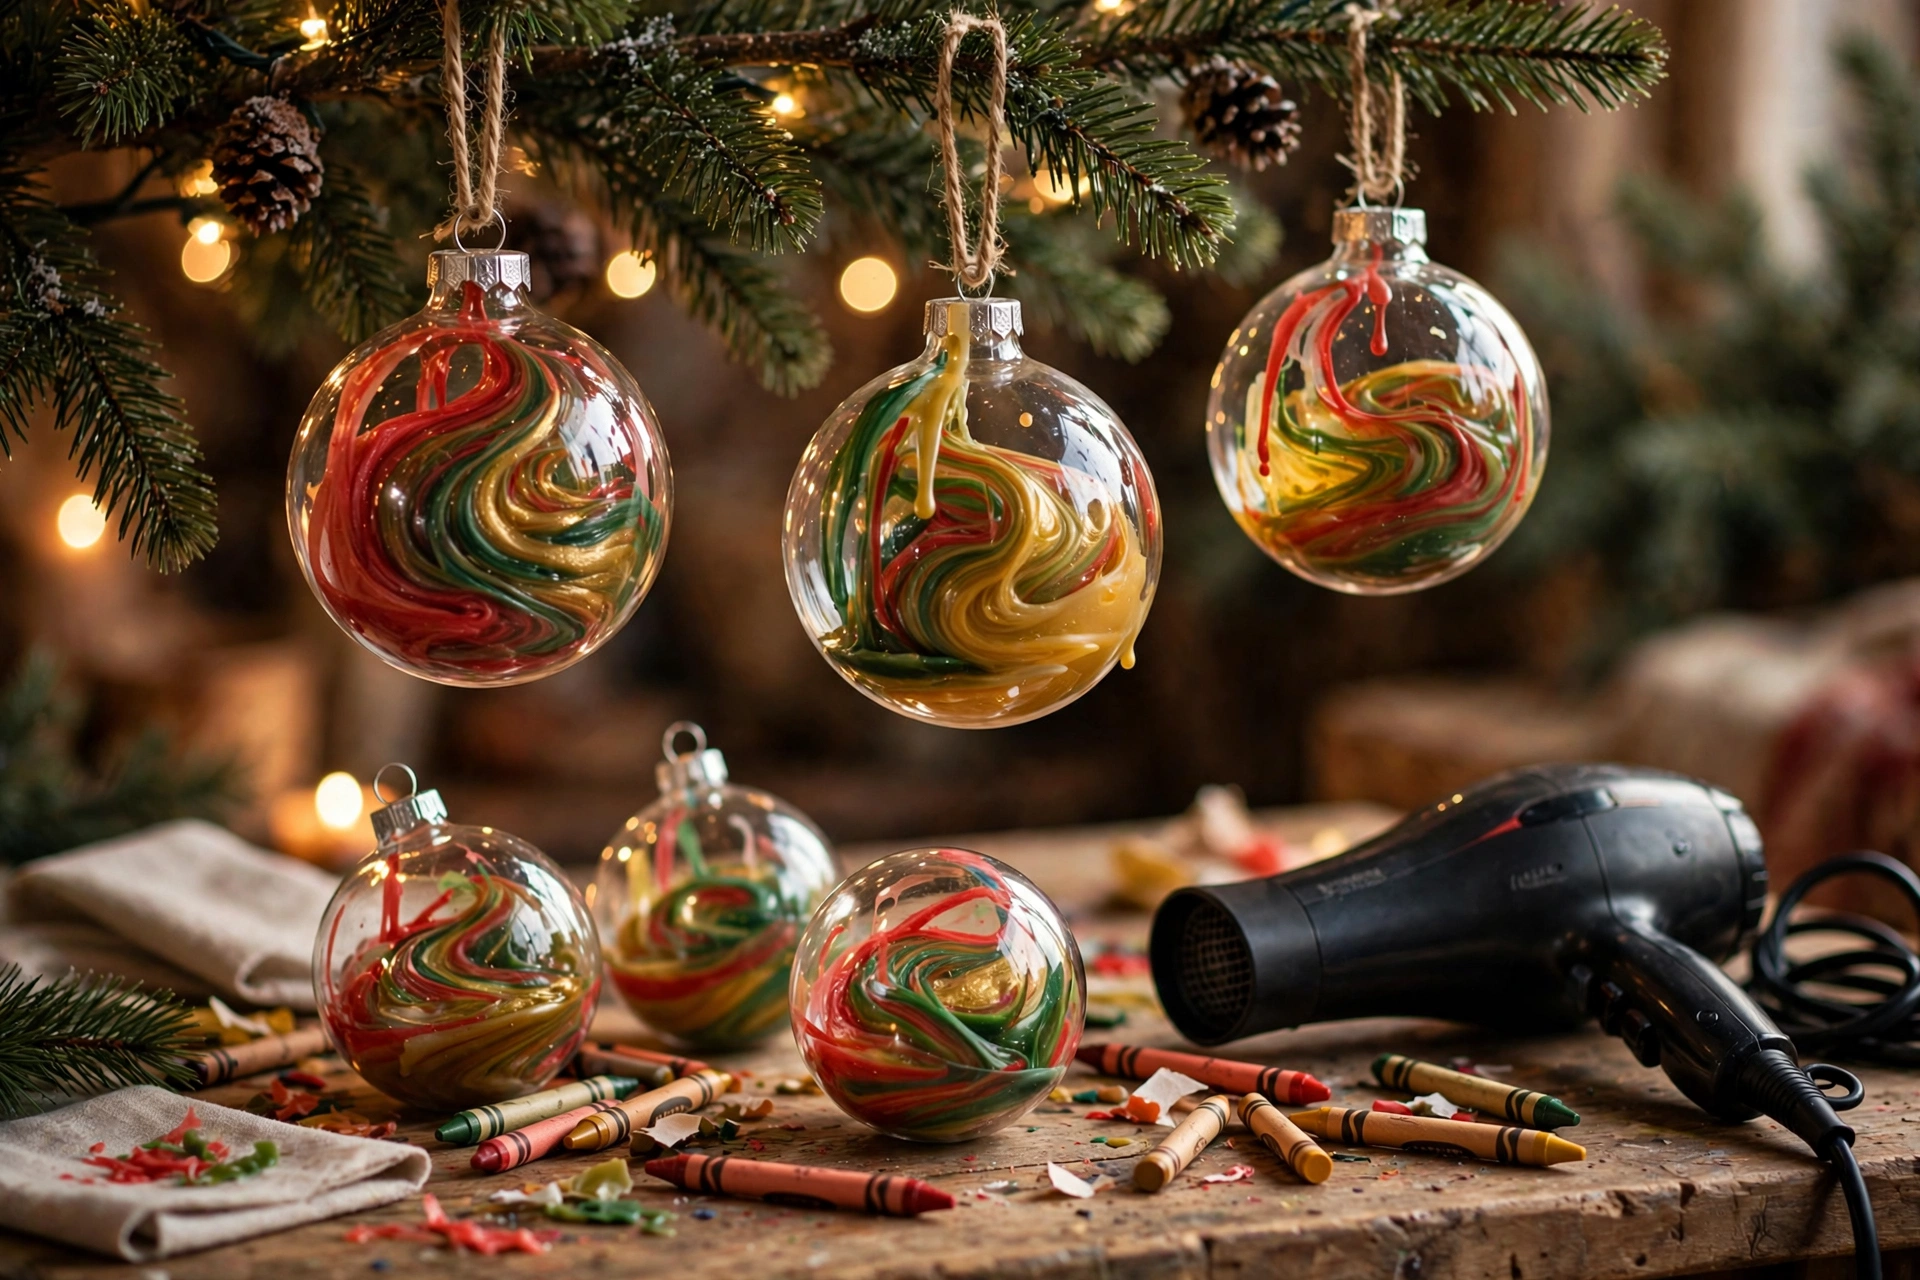
Drop broken crayon shavings inside clear glass ornaments and heat gently with a hair dryer, tilting to swirl the colors. Every ornament is a one-of-a-kind marble of color. It is a brilliant use for the crayon stubs every family has.
Tip: Work over newspaper and keep the dryer moving — too much heat in one spot cracks the glass.
7. Embroidered Felt Hoop Ornaments
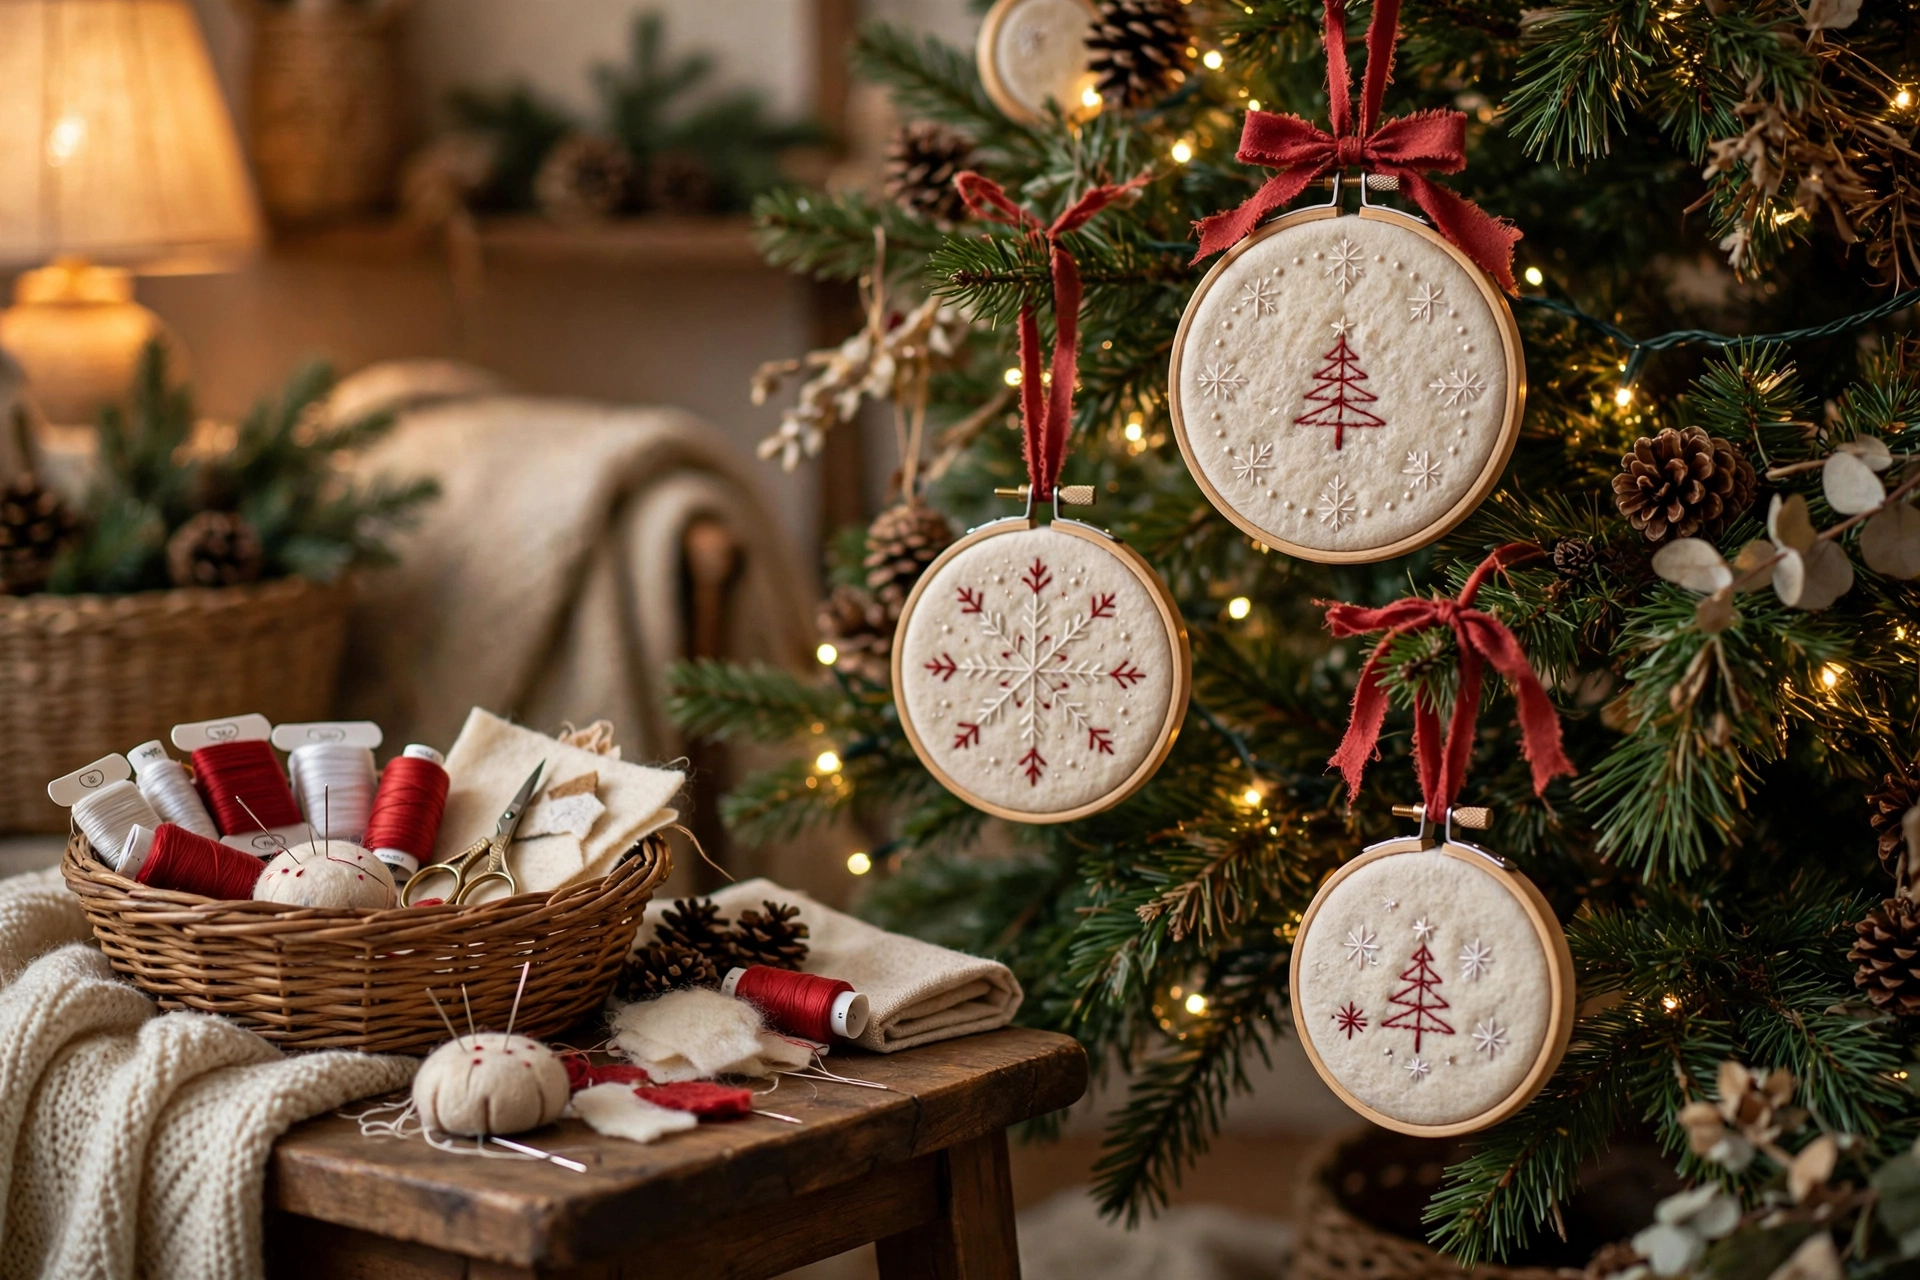
Stretch small squares of felt in mini embroidery hoops and stitch simple designs — trees, stars, snowflakes, initials. The hoop becomes the frame. They look boutique-bought but cost almost nothing to make.
Tip: Draw your design on the felt with a water-soluble marker first for neat stitching.
8. Birdseed Pinecone Feeders
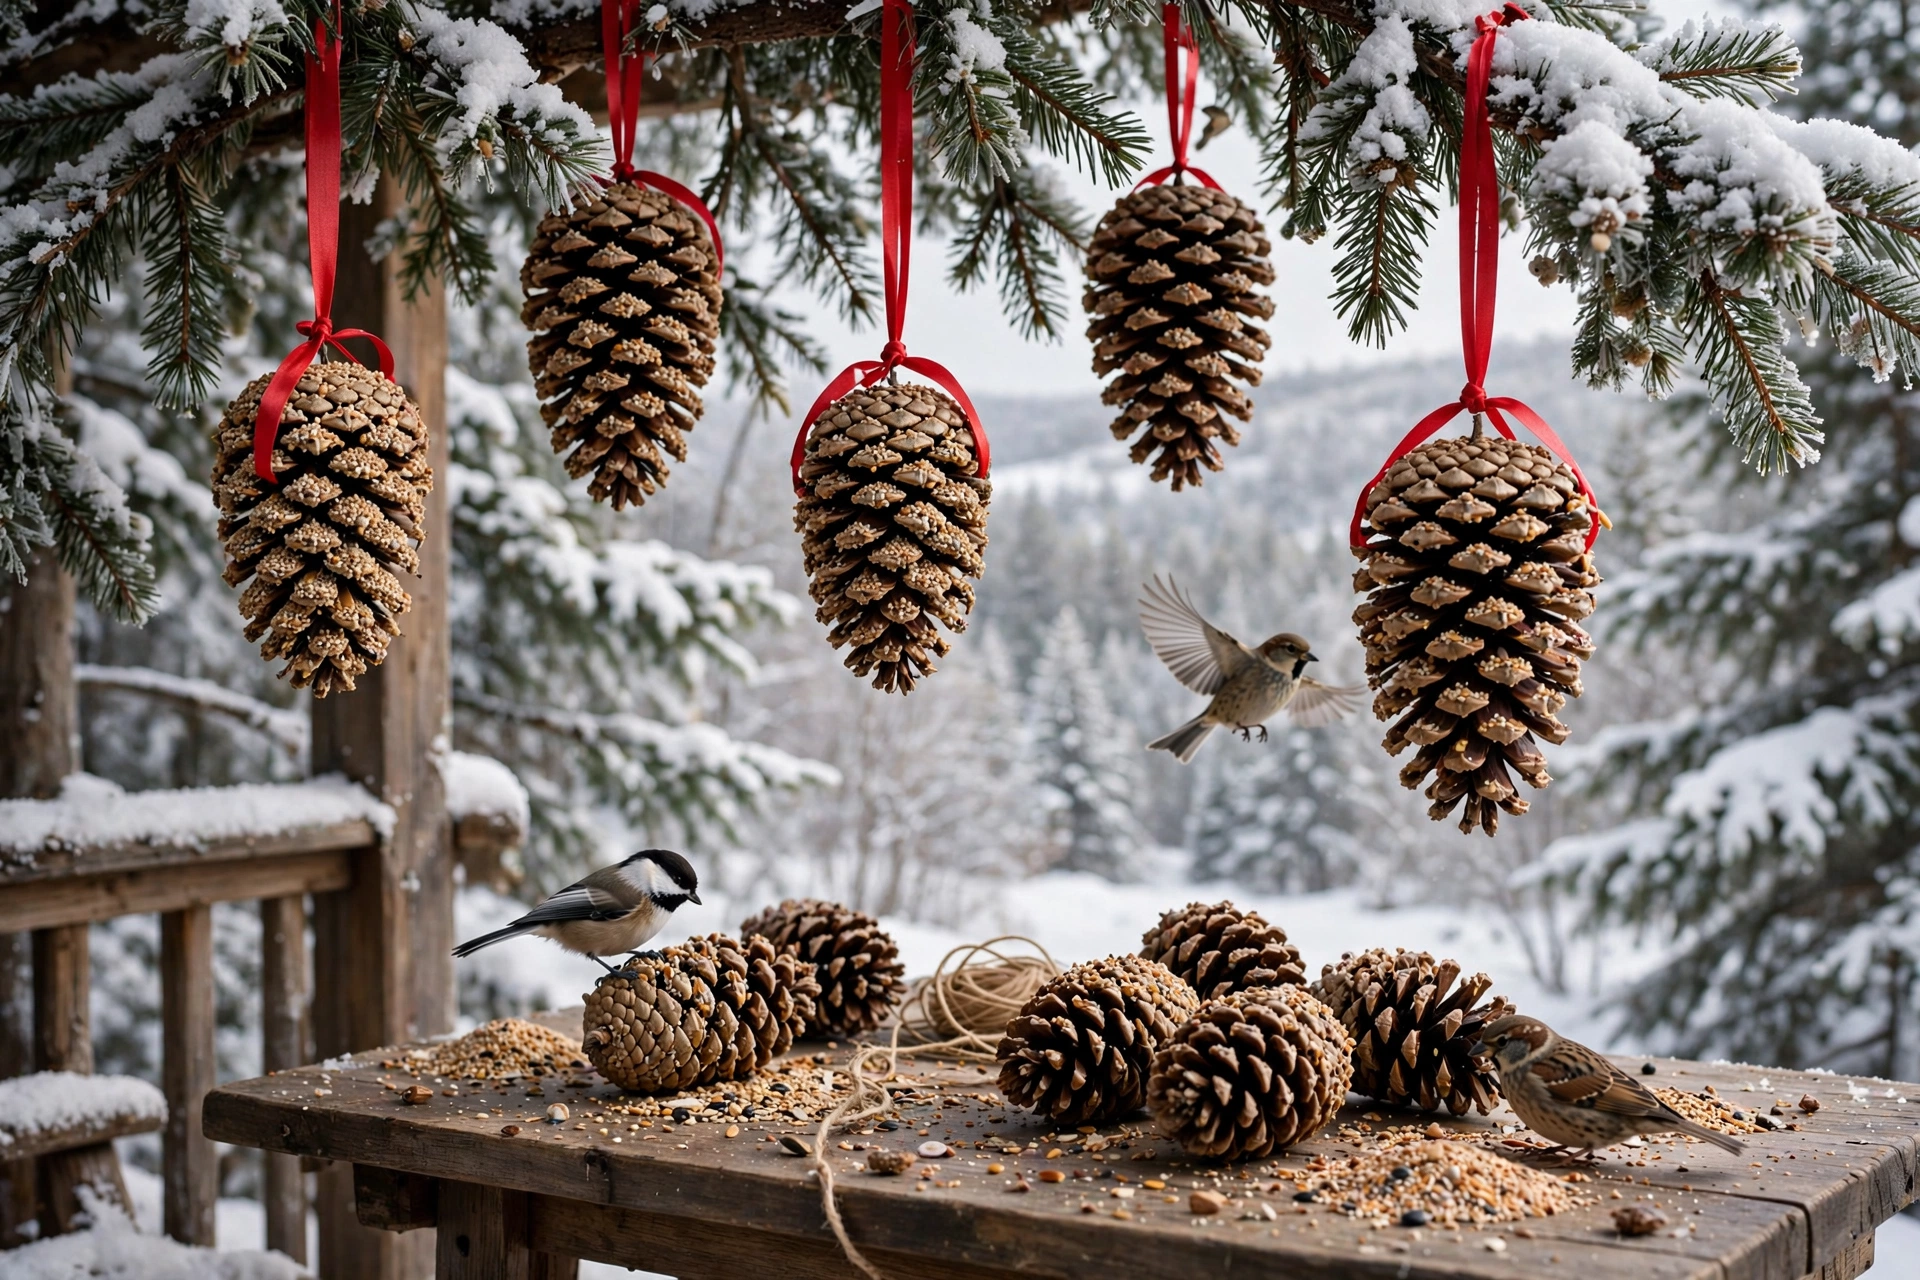
Roll pinecones in peanut butter, then in birdseed, and hang them outside with ribbon after Christmas. They double as tree ornaments for a nature-themed tree and a gift to backyard birds. A lovely tradition for animal-loving families.
Tip: Hang these on an outdoor tree or porch greenery rather than the indoor tree to avoid mess.
9. Scrabble Tile Ornaments
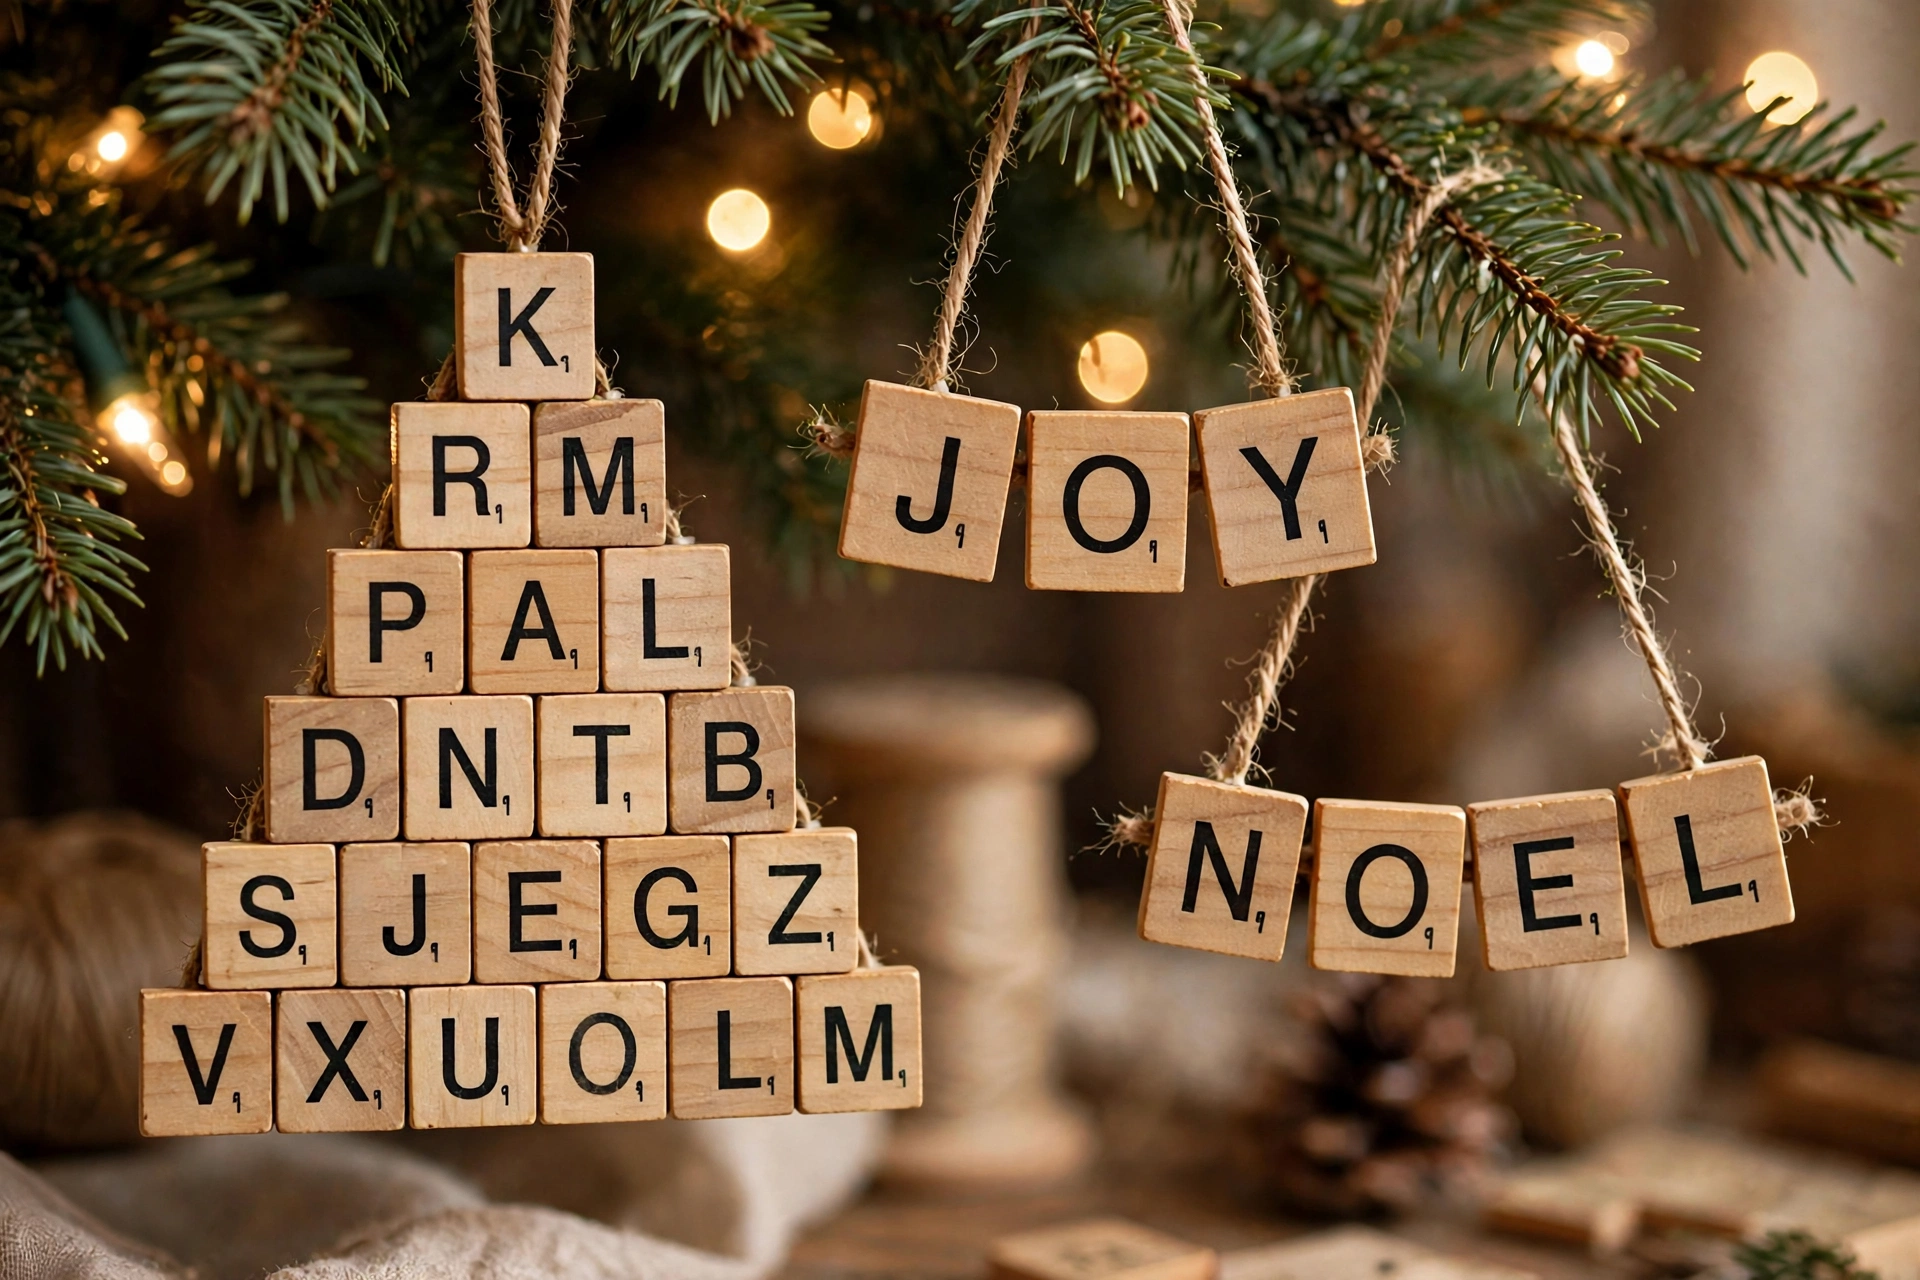
Glue Scrabble tiles into festive words — JOY, NOEL, PEACE, family names — back them with felt, and add a ribbon hanger. They are quick, clever, and endlessly customizable. Spell out a different word each year.
Tip: Thrift stores often sell old Scrabble sets for pennies — a single set makes dozens of ornaments.
10. Dried Flower Resin Ornaments
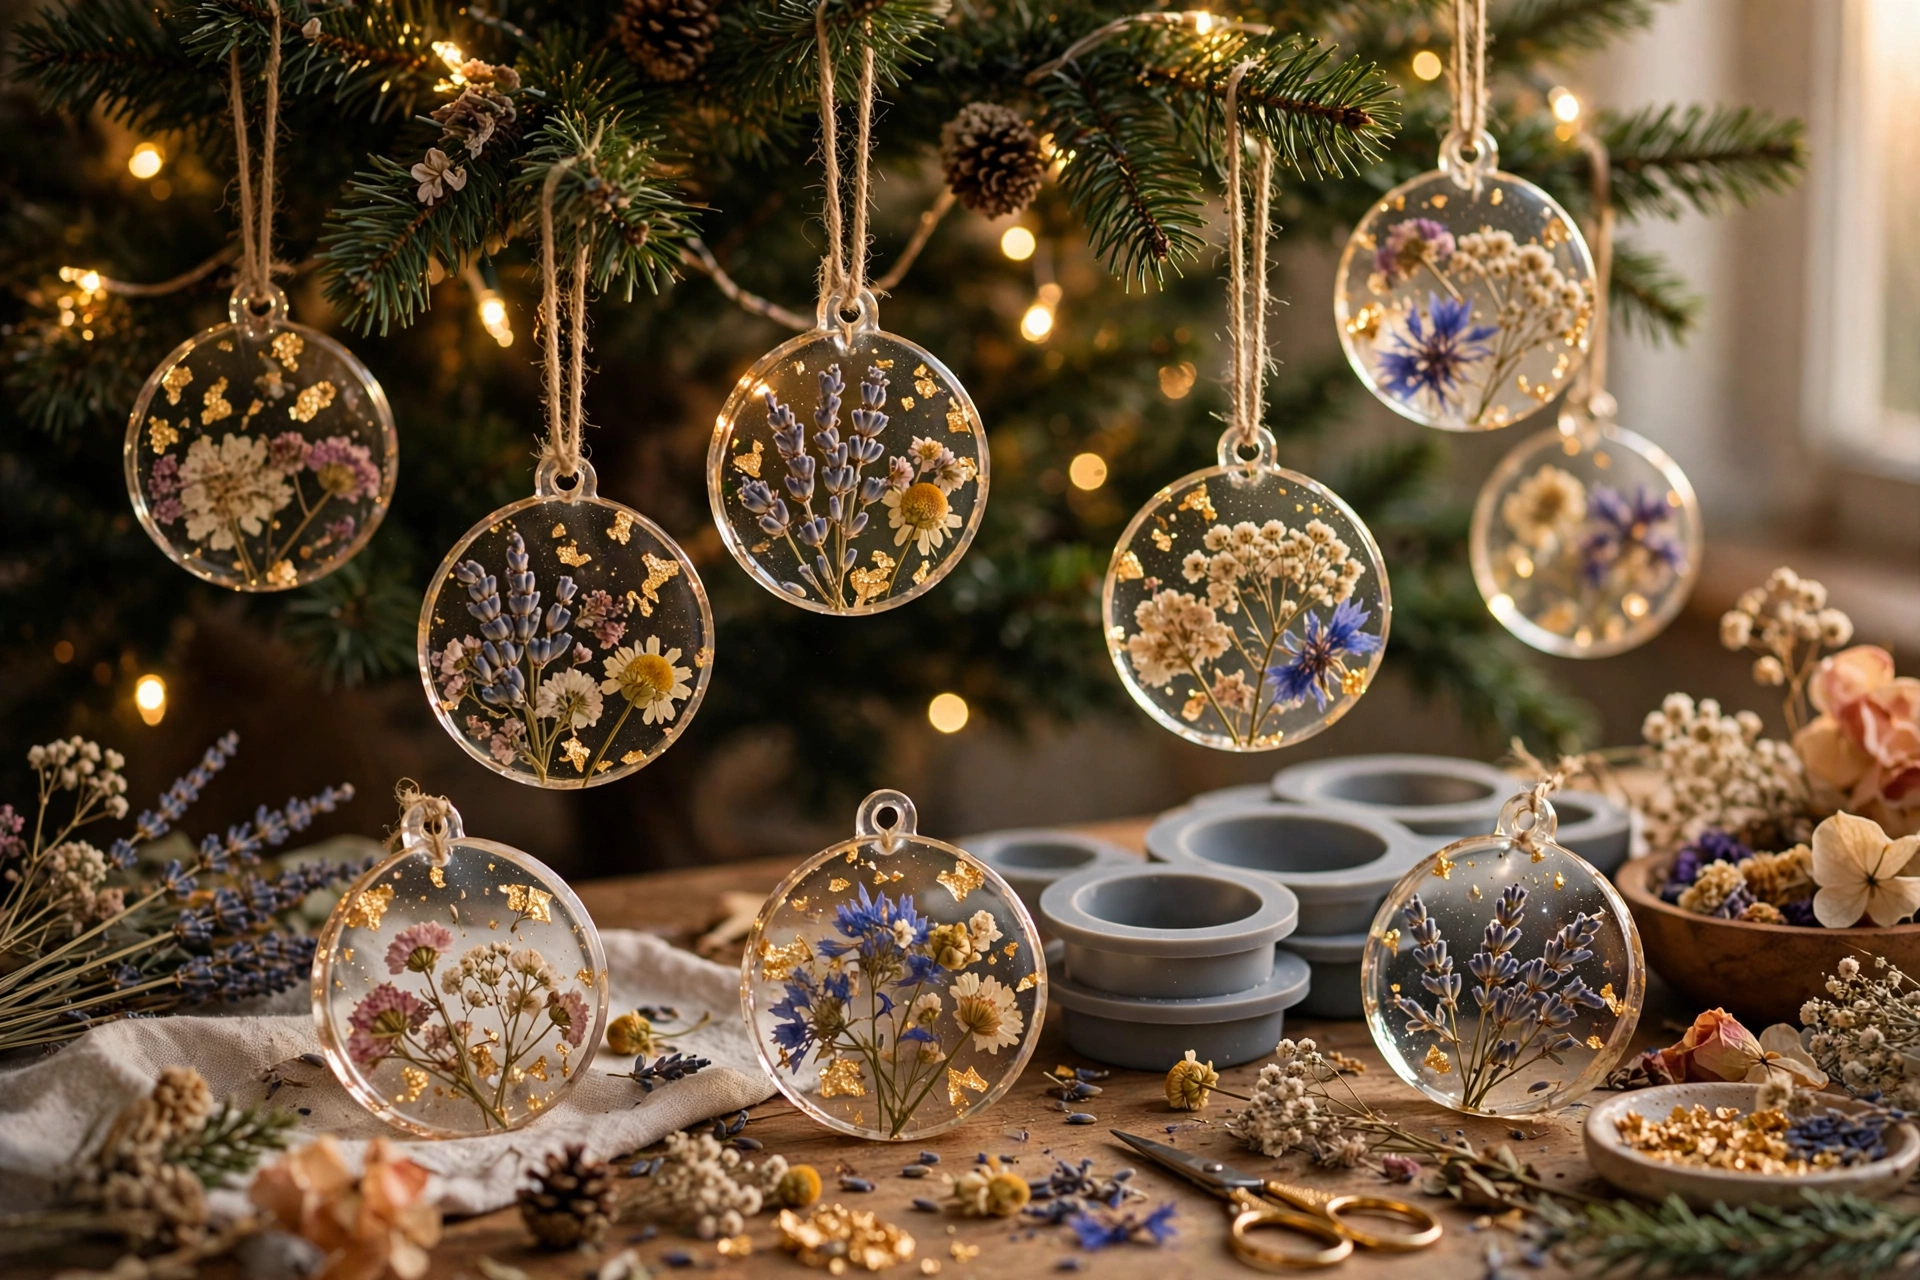
Press tiny dried flowers into silicone ornament molds with clear resin for jewel-like keepsakes. Baby’s breath, lavender buds, and small petals work beautifully. They catch the light like little paperweights on the tree.
Tip: Work in a well-ventilated space and pour resin in thin layers to avoid bubbles.
11. Button Christmas Trees
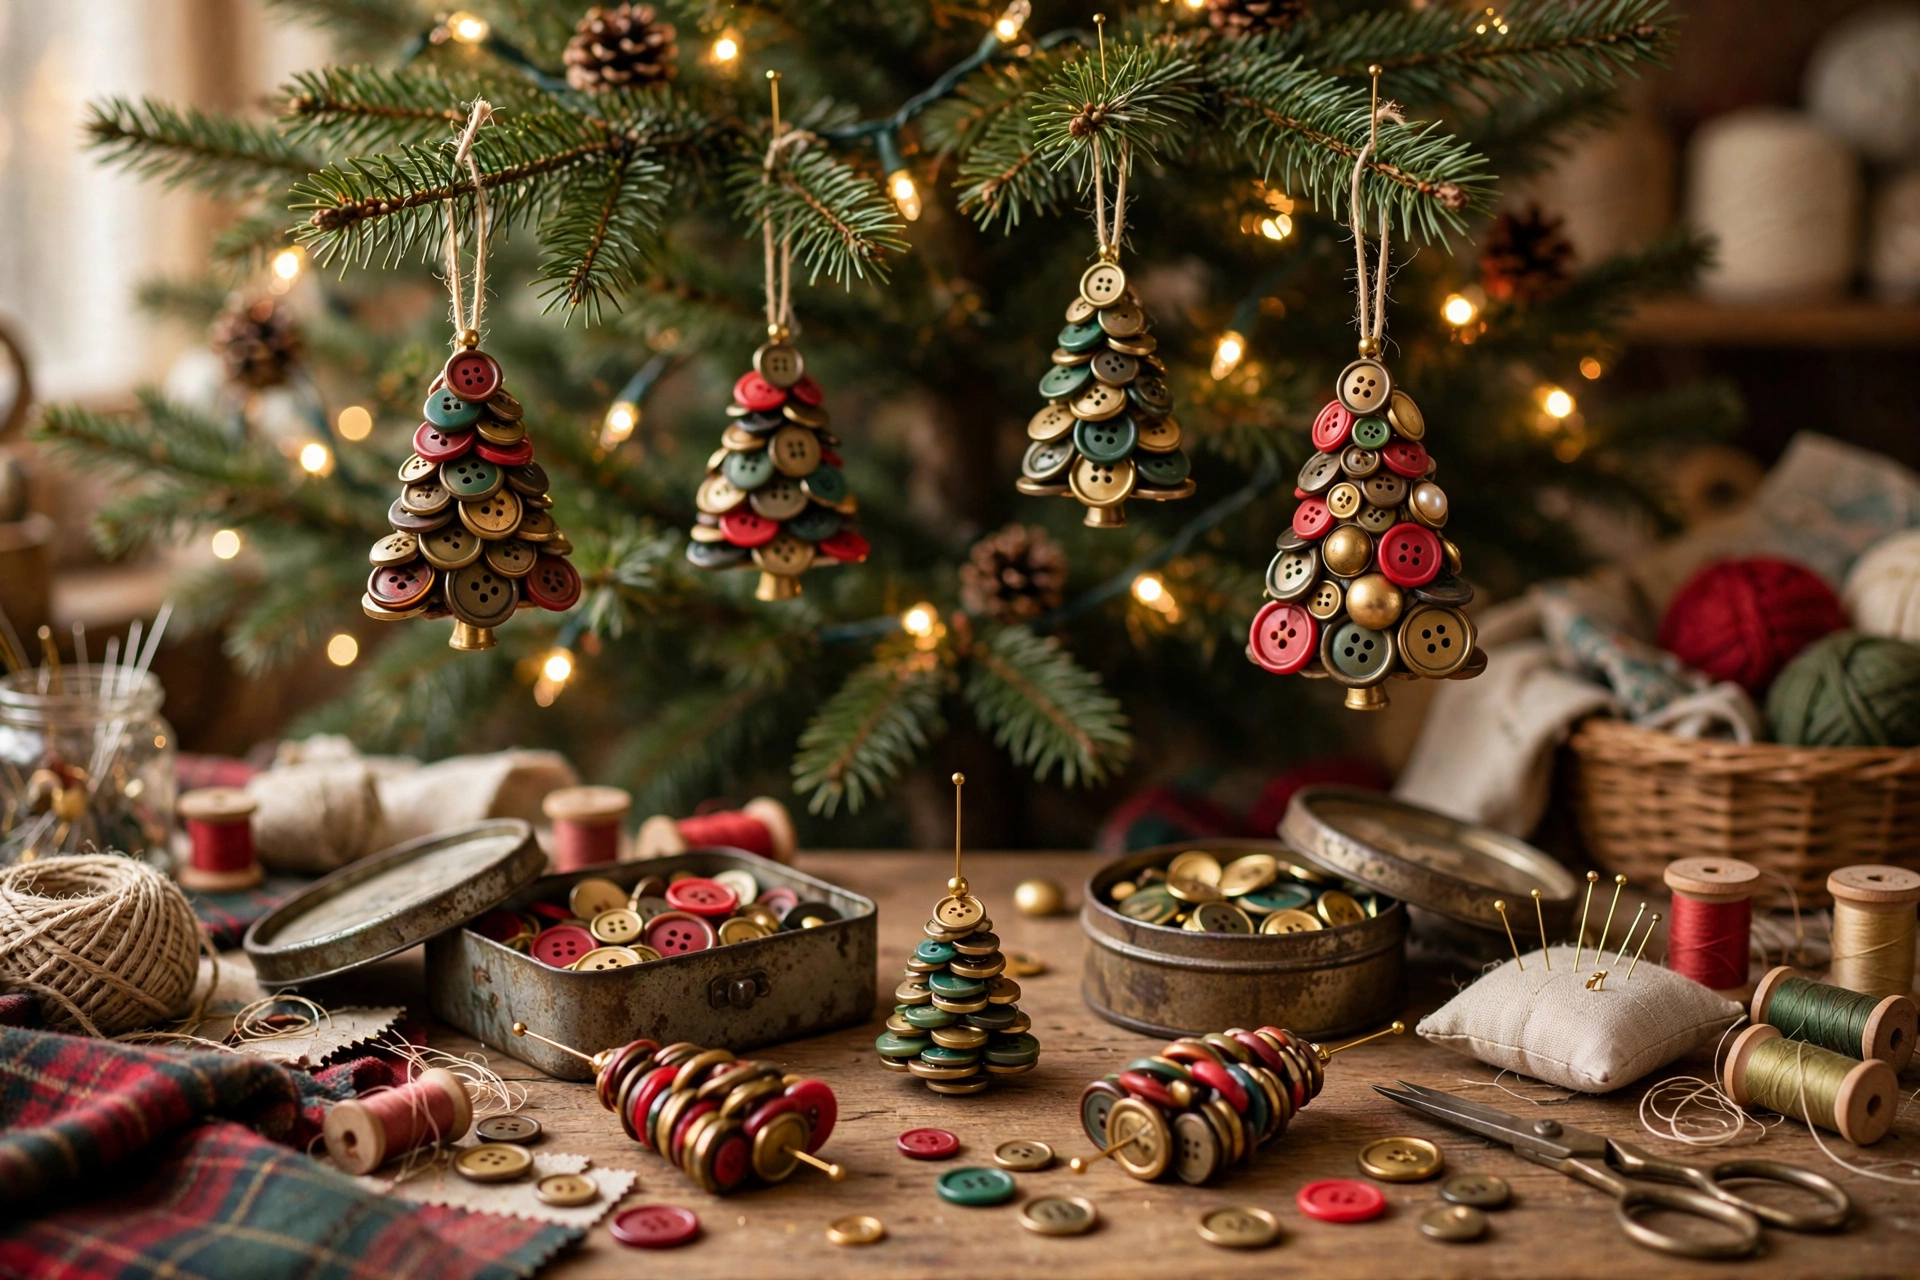
Stack green buttons from largest to smallest on a wire or thread, top with a star button, and you have a miniature button tree ornament. Dig through the button jar for the prettiest greens and golds. Nostalgic and adorable.
Tip: A tiny gold star sticker on top finishes the tree without any extra supplies.
12. Cinnamon Applesauce Ornaments
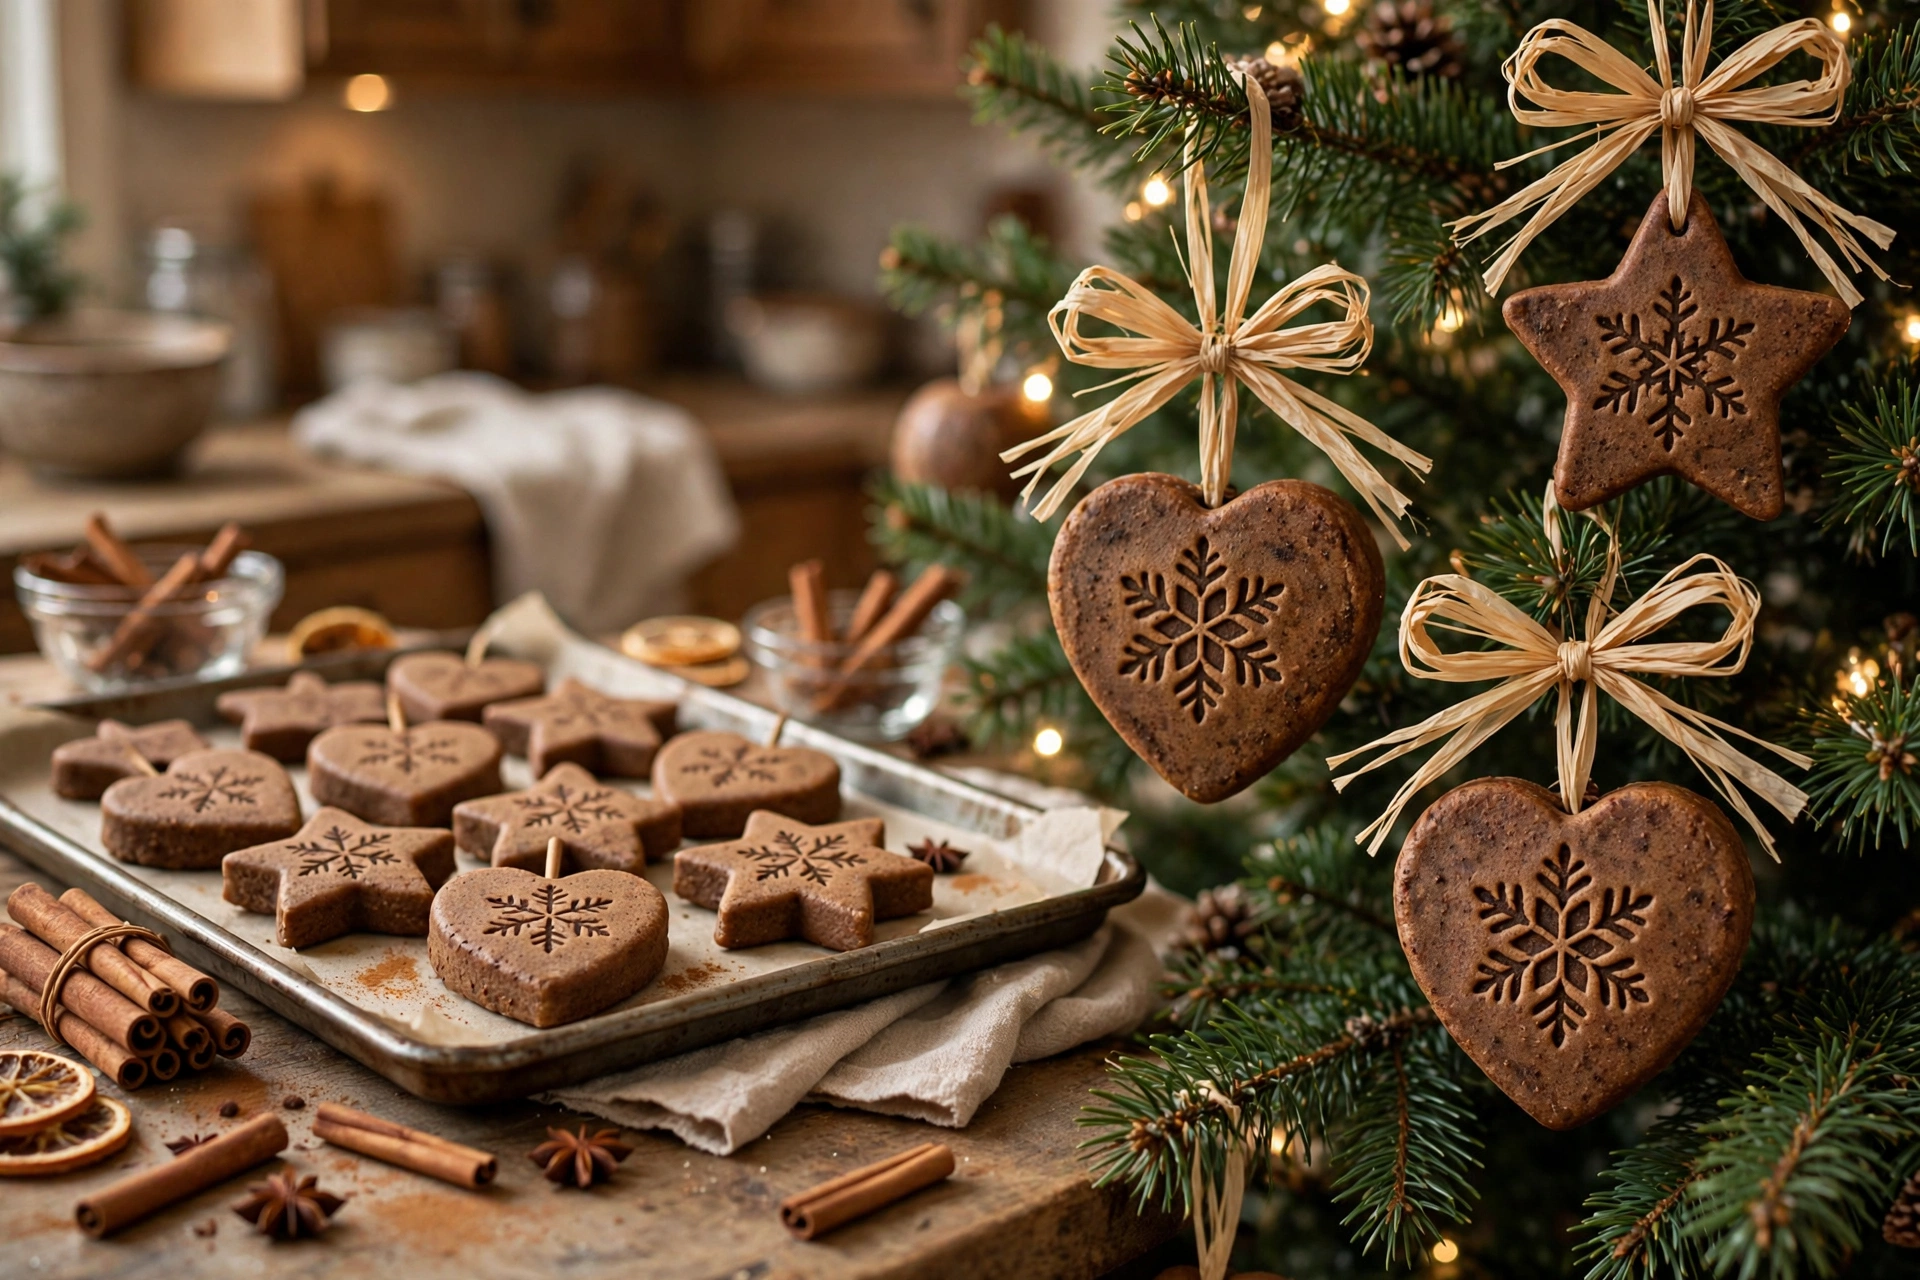
Mix cinnamon and applesauce into a dough, roll, cut with cookie cutters, and air-dry for ornaments that smell like Christmas for years. They darken to a rich brown and never need baking. A classic for good reason.
Tip: Roll the dough between sheets of wax paper to prevent sticking without adding flour.
13. Painted Pinecone Ornaments
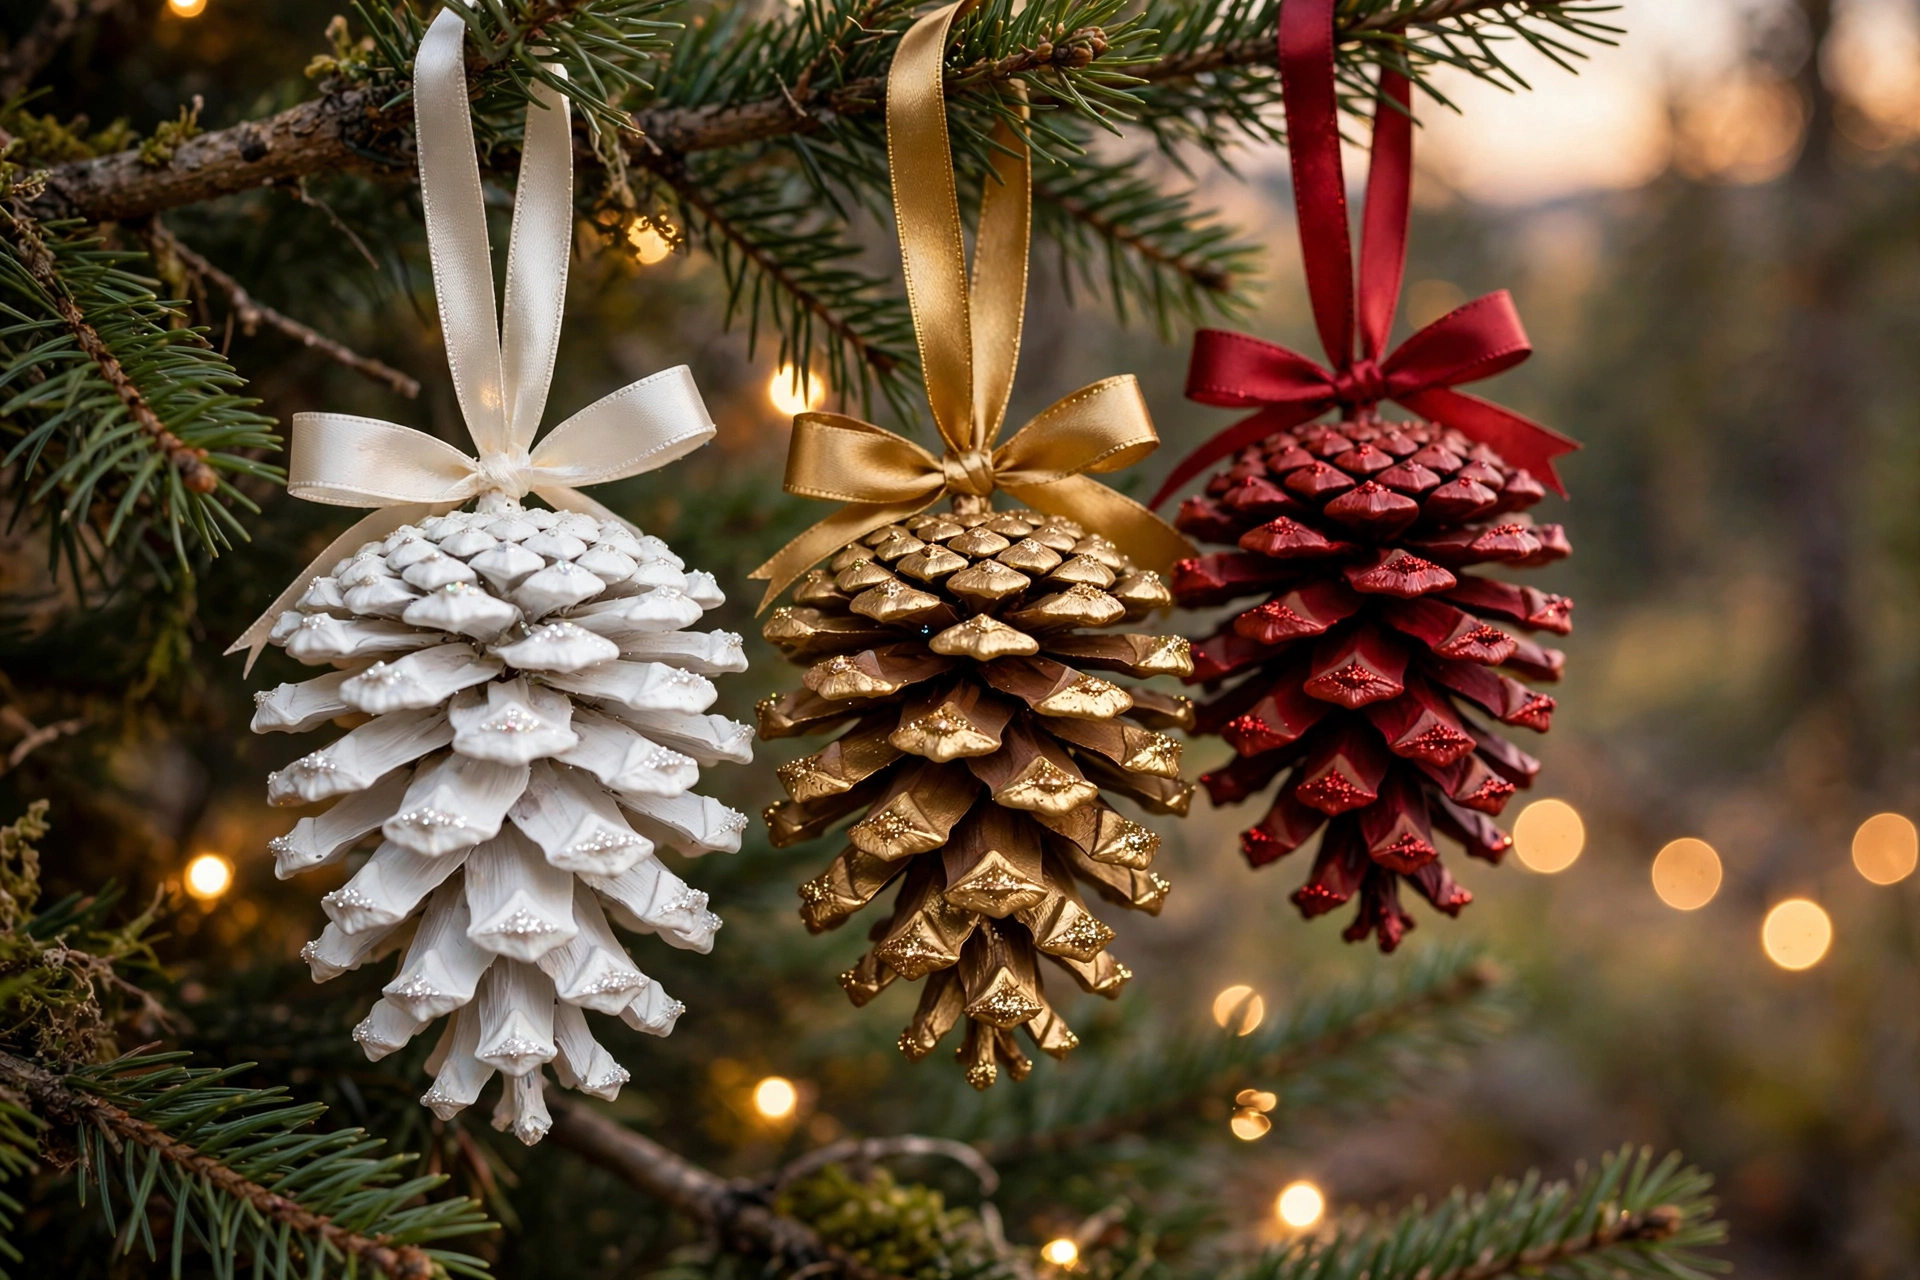
Dip pinecone tips in white paint for a snow-dusted effect, or paint whole cones in metallic gold and silver. Tie with velvet ribbon for hanging. They look far more expensive than the afternoon they took.
Tip: Hold the pinecone by its stem end and dip just the tips — the ombre effect is the prettiest part.
14. Memory Jar Ornaments
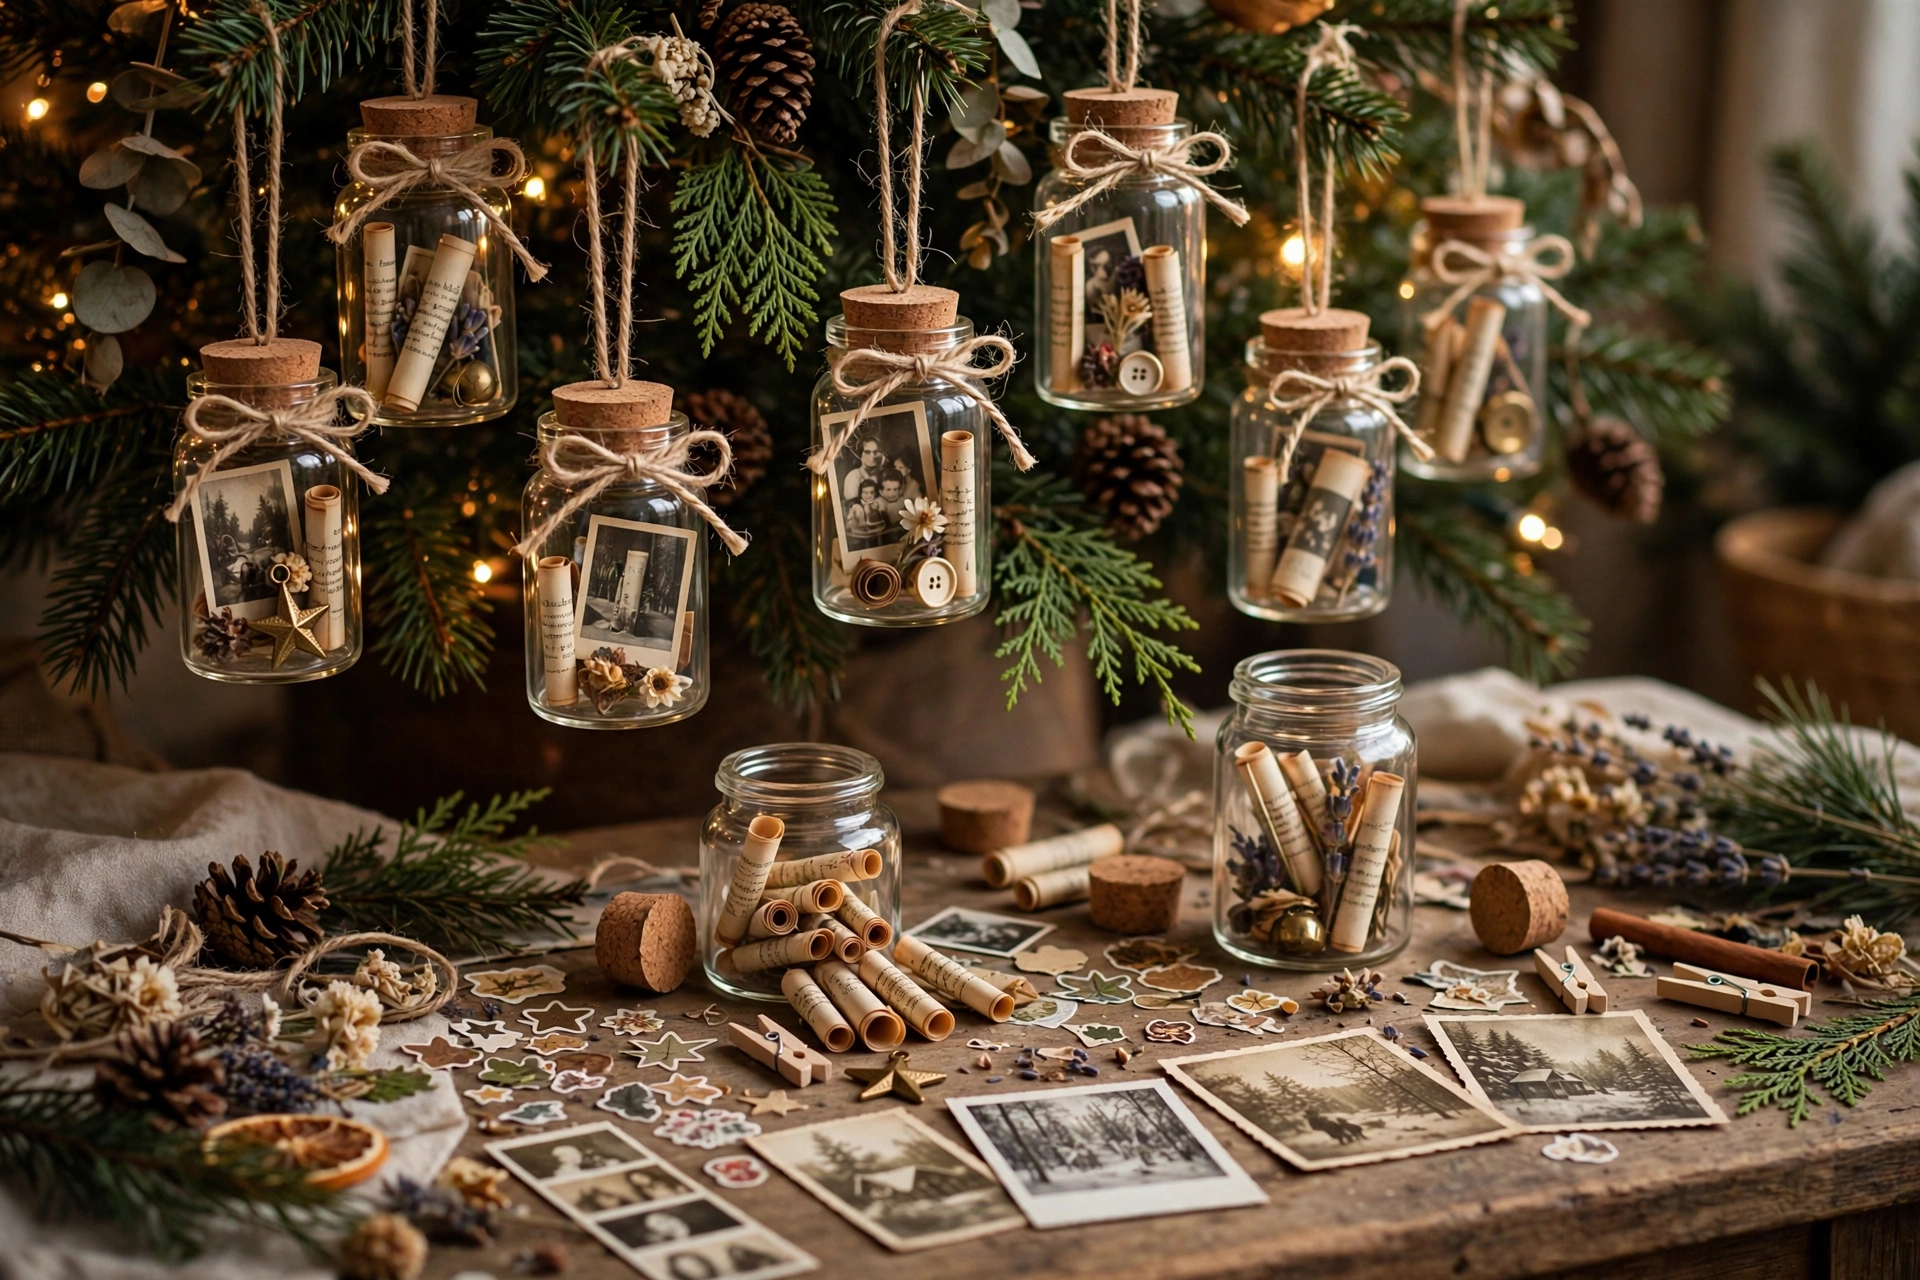
Fill small clear ornaments with tiny scrolls of paper, each written with a favorite memory from the year. The family reads them aloud while decorating. It turns ornament-hanging into the sweetest annual ritual.
Tip: Use tweezers to slide the rolled scrolls through the ornament opening without tearing them.
15. Twig Reindeer Ornaments
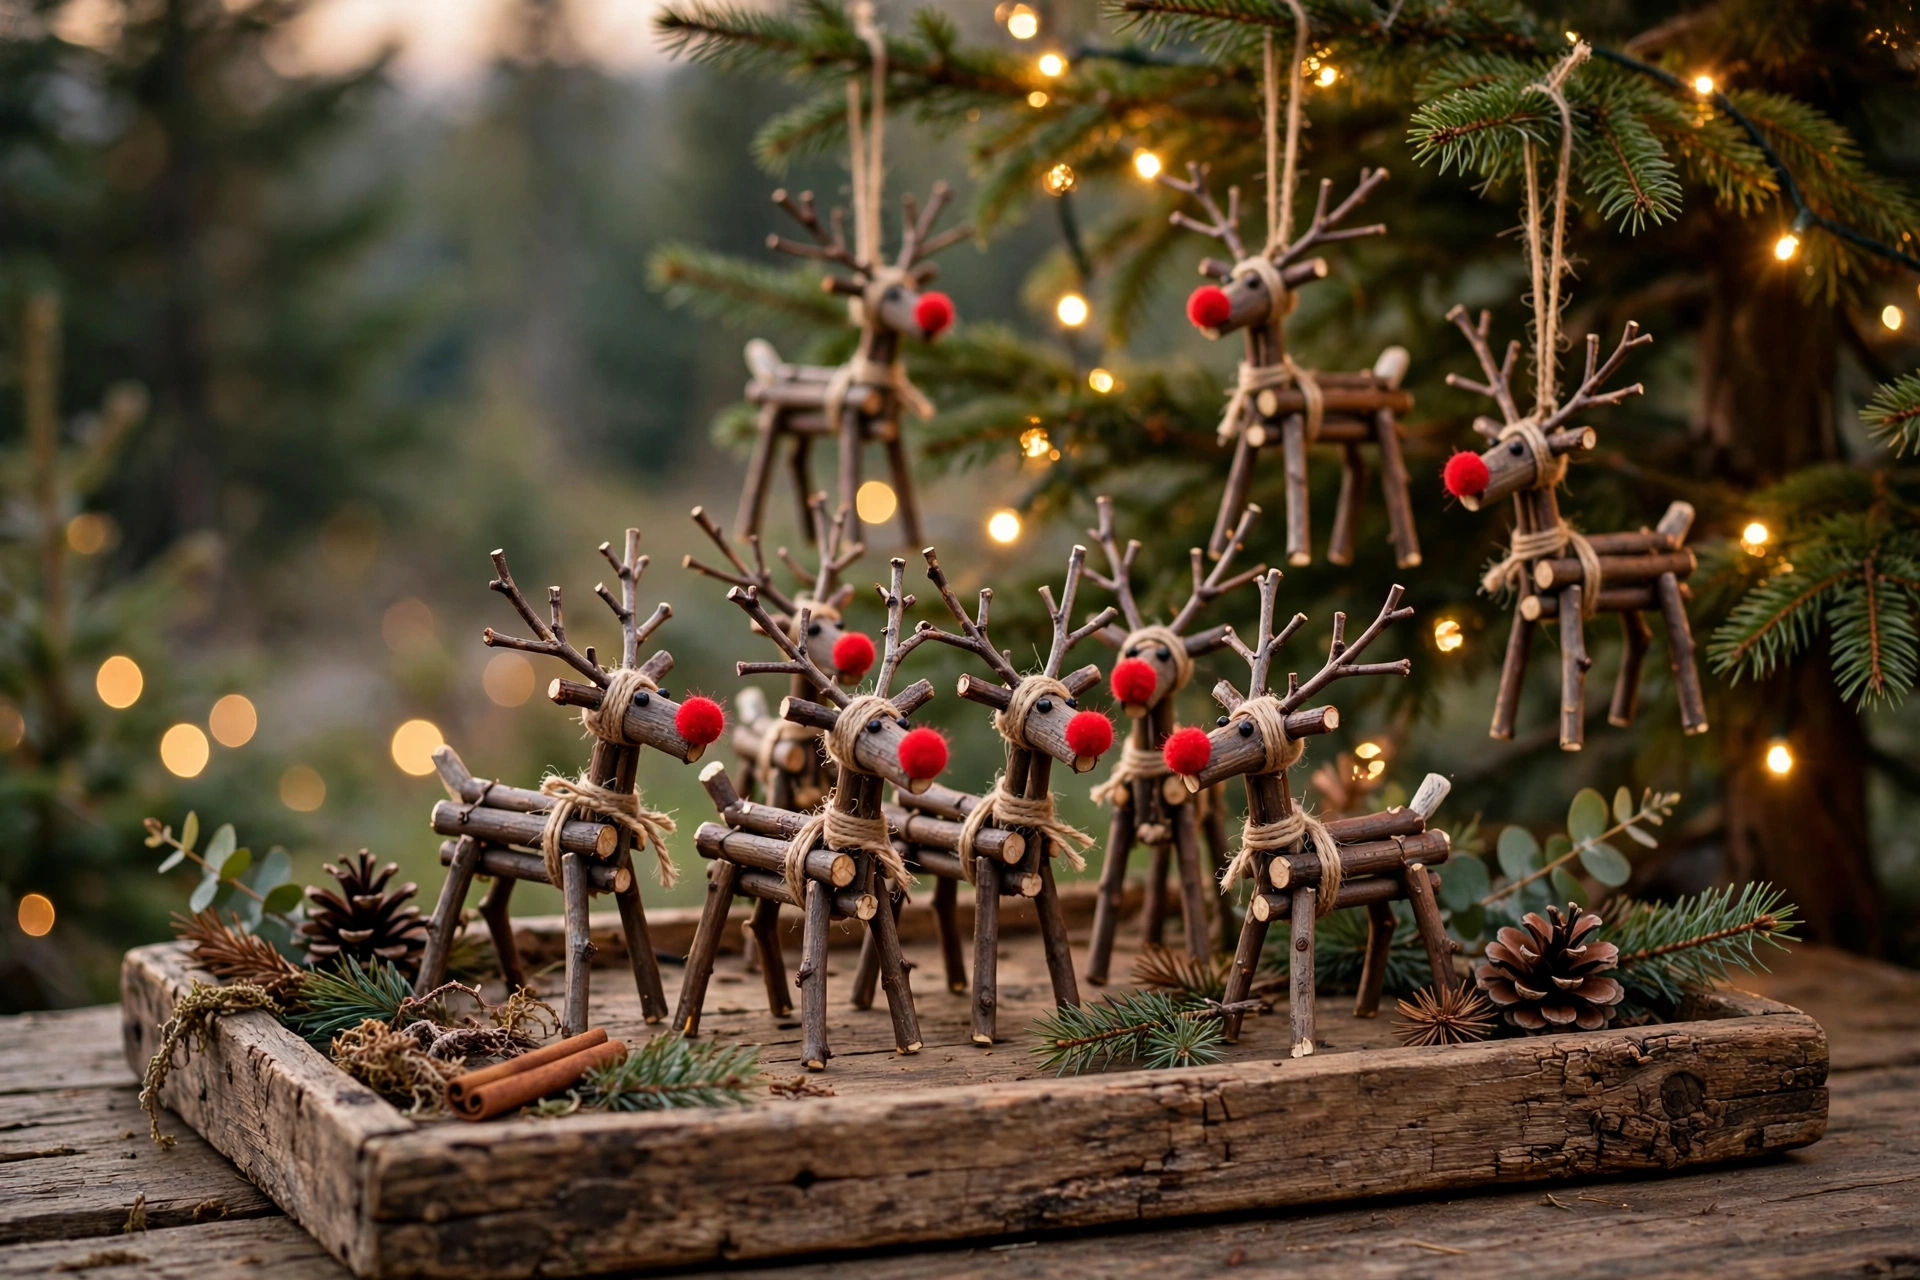
Glue small twigs into a triangle for the face, add twig antlers, googly eyes, and a red pom-pom nose. These rustic reindeer are charmingly imperfect — every one has personality. A nature walk provides all the materials.
Tip: Snap twigs to size rather than cutting — the rough broken ends glue more securely.
16. Fabric Scrap Tassel Ornaments
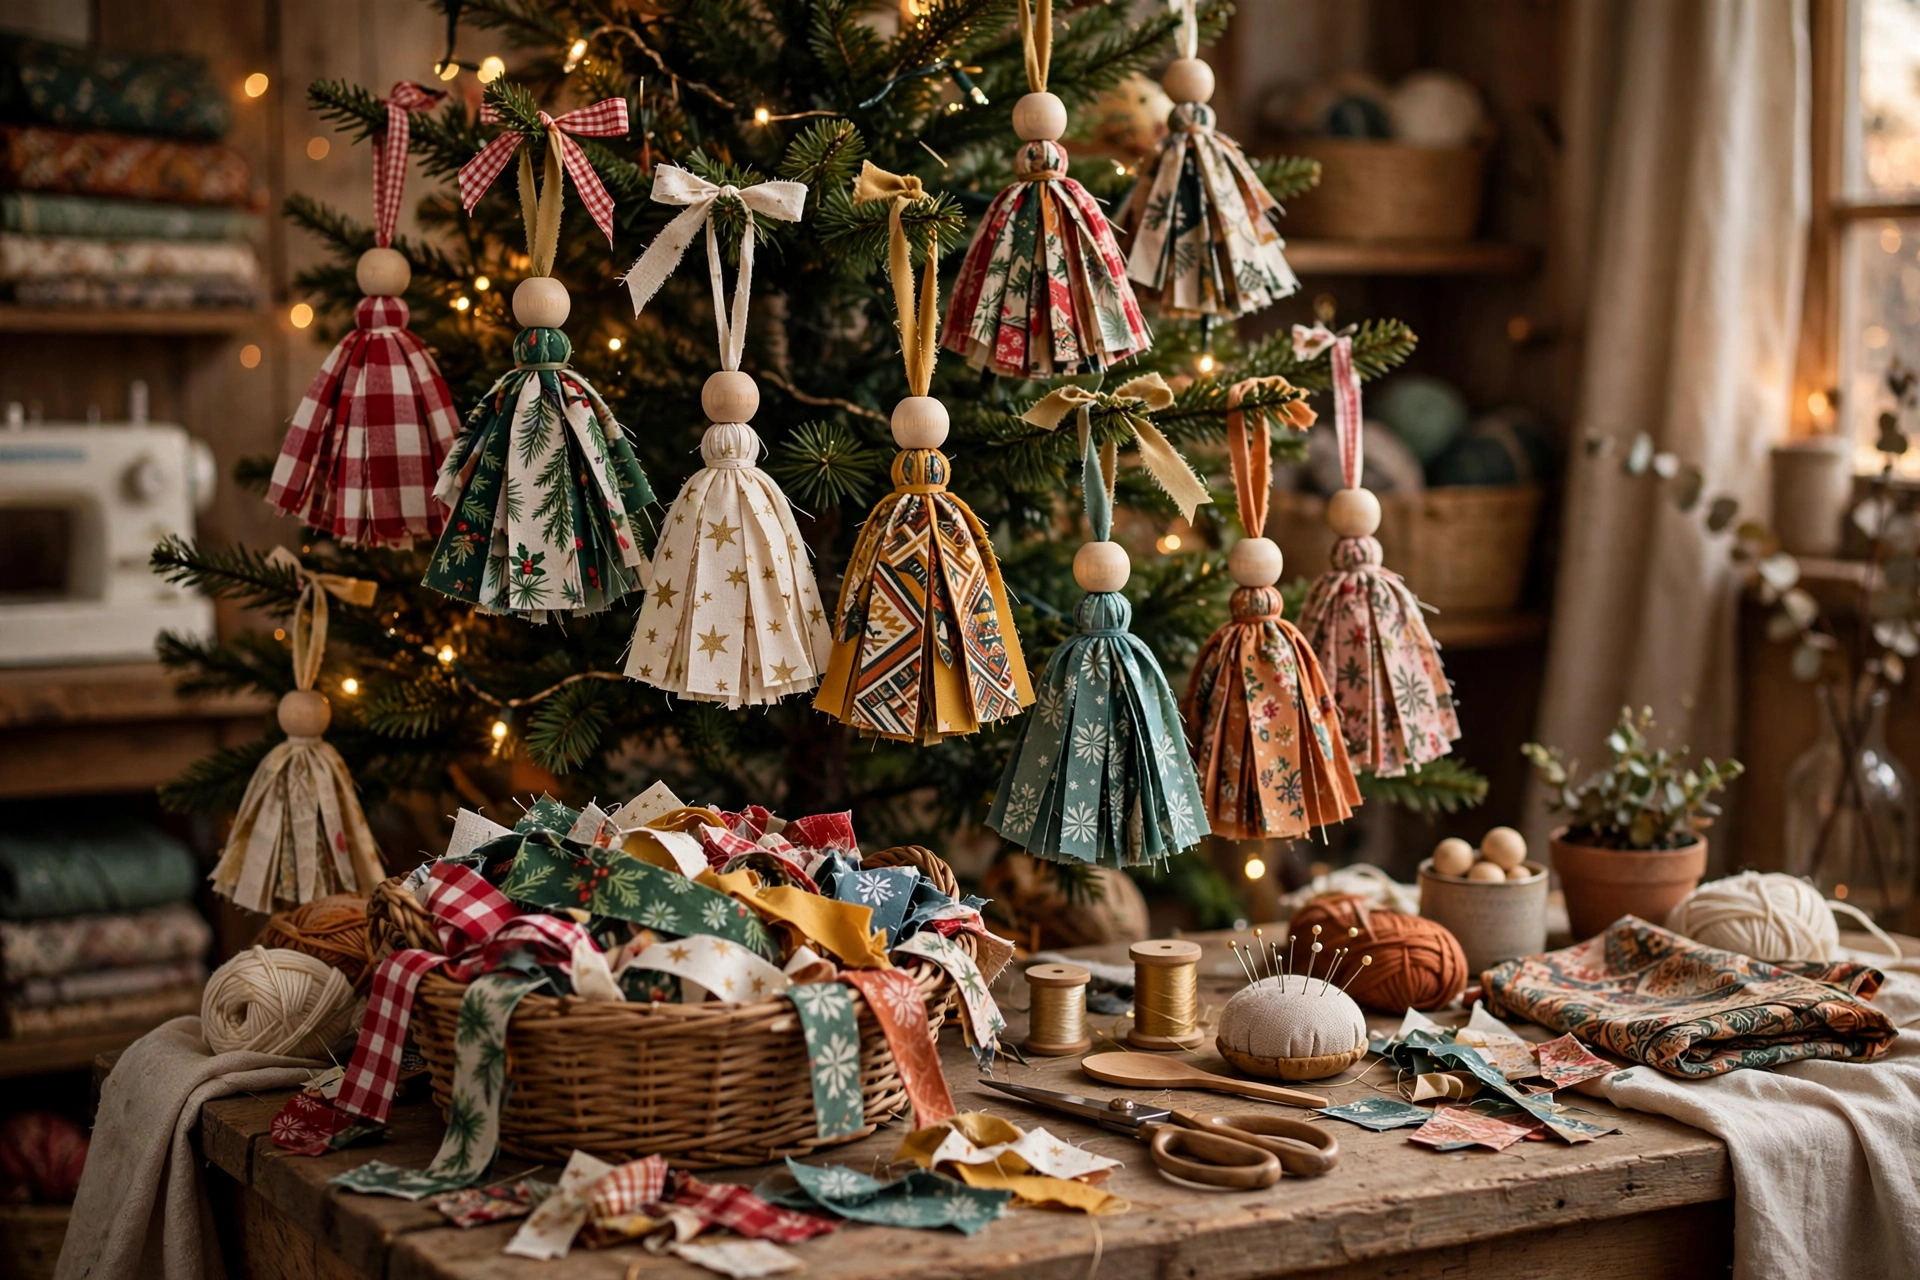
Bundle strips of Christmas fabric scraps around a wooden bead, tie tightly, and trim into a tassel. They add soft texture and color to the tree and use up every last scrap. Coordinate fabrics with your tree’s color scheme.
Tip: A drop of glue inside the knot keeps the tassel from loosening over the years.
17. Handprint Santa Salt Dough
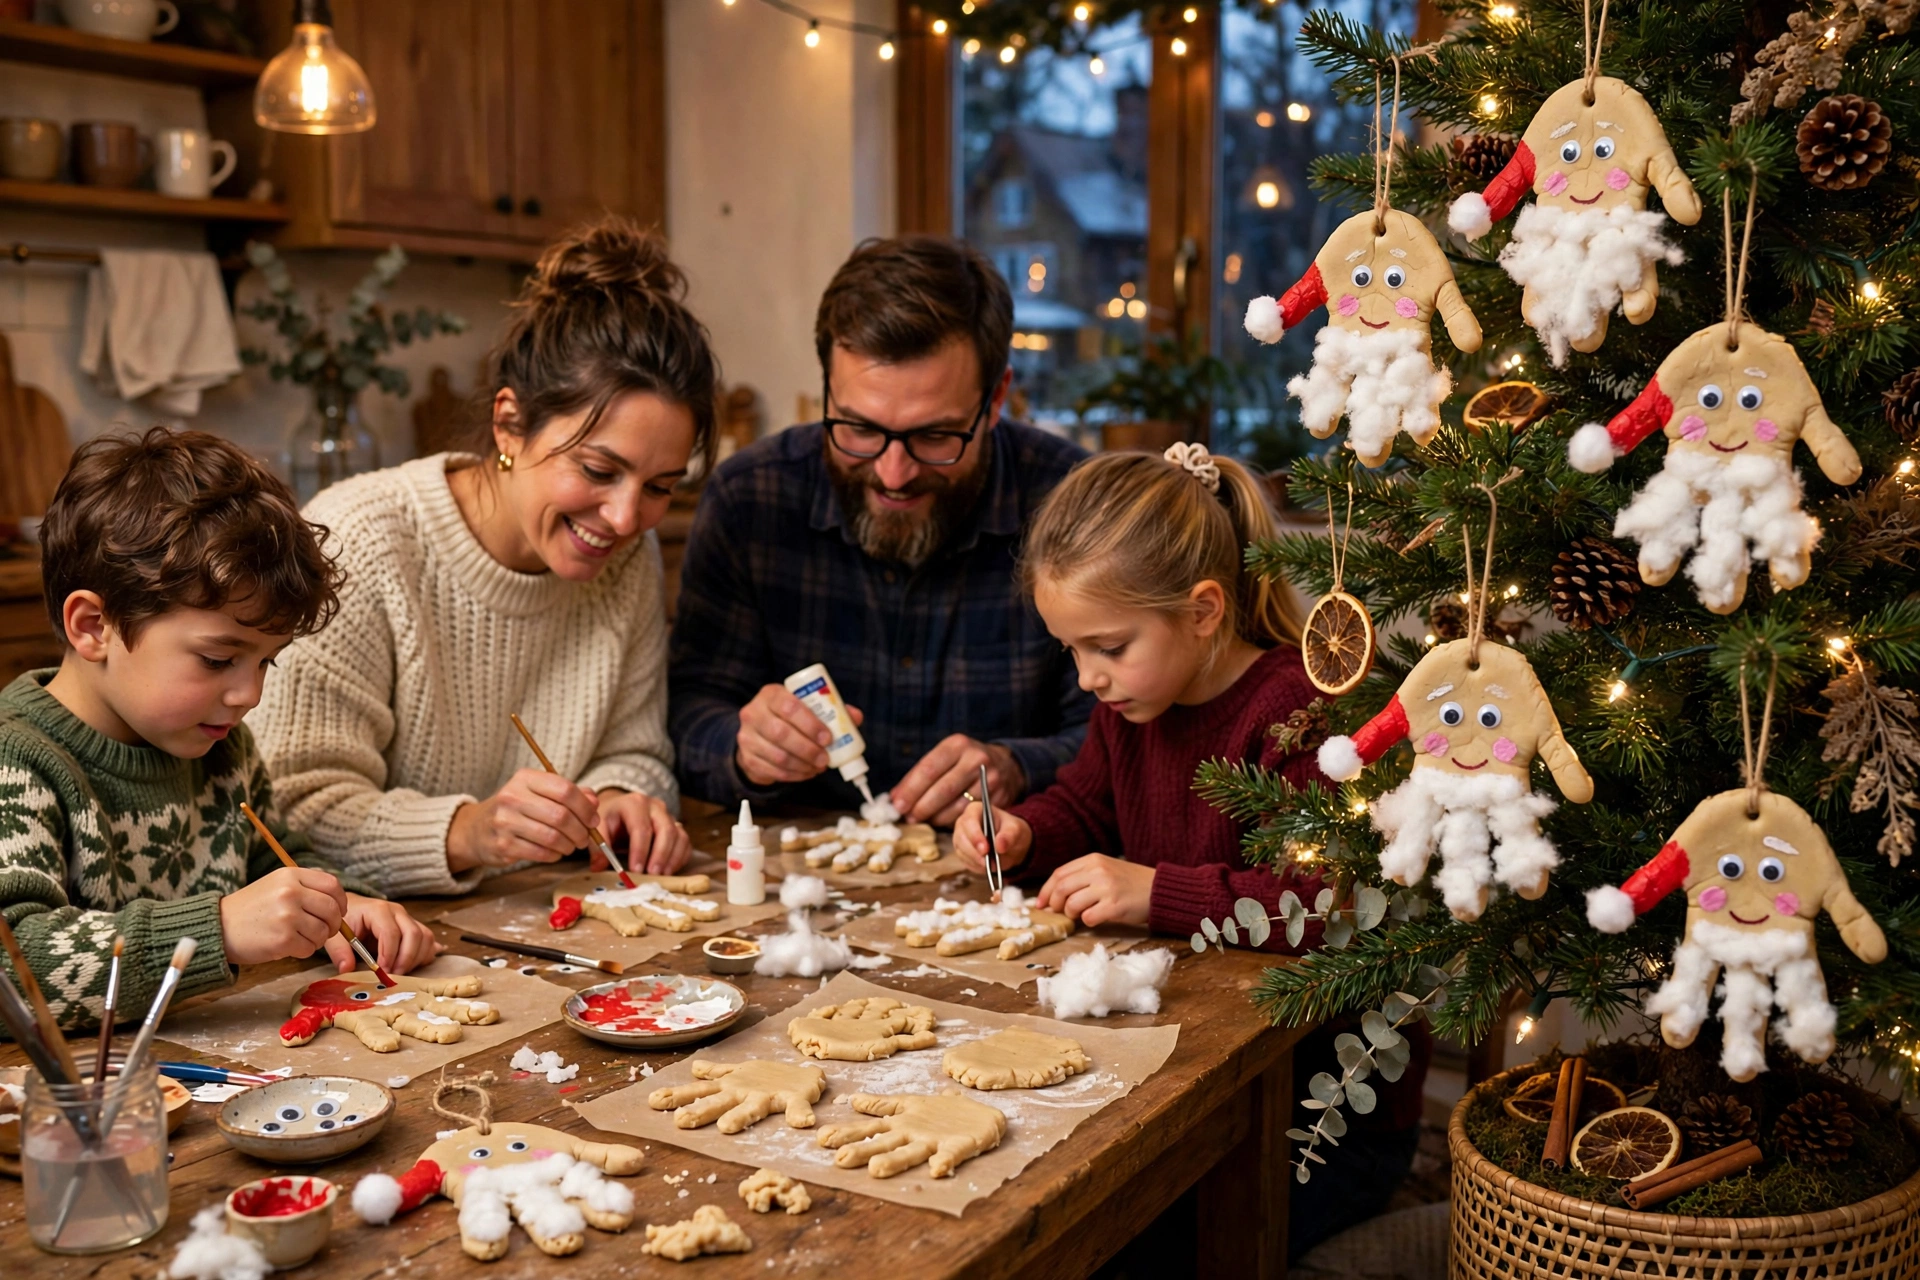
Press a handprint into salt dough, then paint the fingers as Santa’s beard and the palm as his face — a beloved preschool classic. Add the child’s name and year on the back. Parents will keep these forever.
Tip: Paint the beard white with a slightly dry brush so the texture shows through like real fur.
Tips for Beautiful DIY Christmas Ornaments
- Seal porous ornaments (salt dough, wood, cinnamon) with a clear matte spray so they last for decades.
- Always add the hanging loop or ribbon before paint and sealant dry — it is much harder afterward.
- Write the year and the maker’s name on the back of every ornament; future-you will be grateful.
- Work in batches: cut all pieces first, then glue, then paint — assembly-line crafting is twice as fast.
- Store handmade ornaments in divided boxes with tissue; the most fragile ones deserve their own compartments.
Frequently Asked Questions
What is the easiest DIY ornament for beginners?
Dried orange slices and cinnamon stick stars are the simplest — slice, dry, and thread. Both need minimal supplies, take little skill, and look genuinely beautiful on the tree.
How do I make ornaments that last for years?
Seal anything porous with clear acrylic sealer, let everything cure fully before packing away, and store ornaments in a cool, dry place in divided containers with tissue padding.
Can kids help make these ornaments?
Most of them, yes — salt dough handprints, pinecone owls, button trees, and melted crayon ornaments are all kid-friendly with adult supervision for ovens and glue guns.
How far in advance can I make DIY ornaments?
Anytime — that is the beauty of it. Start in November (or even October) and make a few each weekend; by December you will have a whole collection without any last-minute rush.
Wrap Up
The most beautiful tree is not the most expensive one — it is the one covered in memories you made yourself. Pick a project or two from this list, gather the family around the craft table, and start a tradition of handmade ornaments that gets richer every single year.