16 Small Kitchen Cabinet Organization Ideas for Tiny Kitchens

When every inch counts, smart small kitchen cabinet organization ideas can make a tiny kitchen feel twice as big. You don’t need a remodel — just the right combination of risers, pull-outs, and clever use of cabinet doors.
These 16 ideas are designed specifically for small kitchens where the cabinets are few, the shelves are shallow, and counter space is precious. Each one helps you squeeze more storage out of the cabinets you already have.
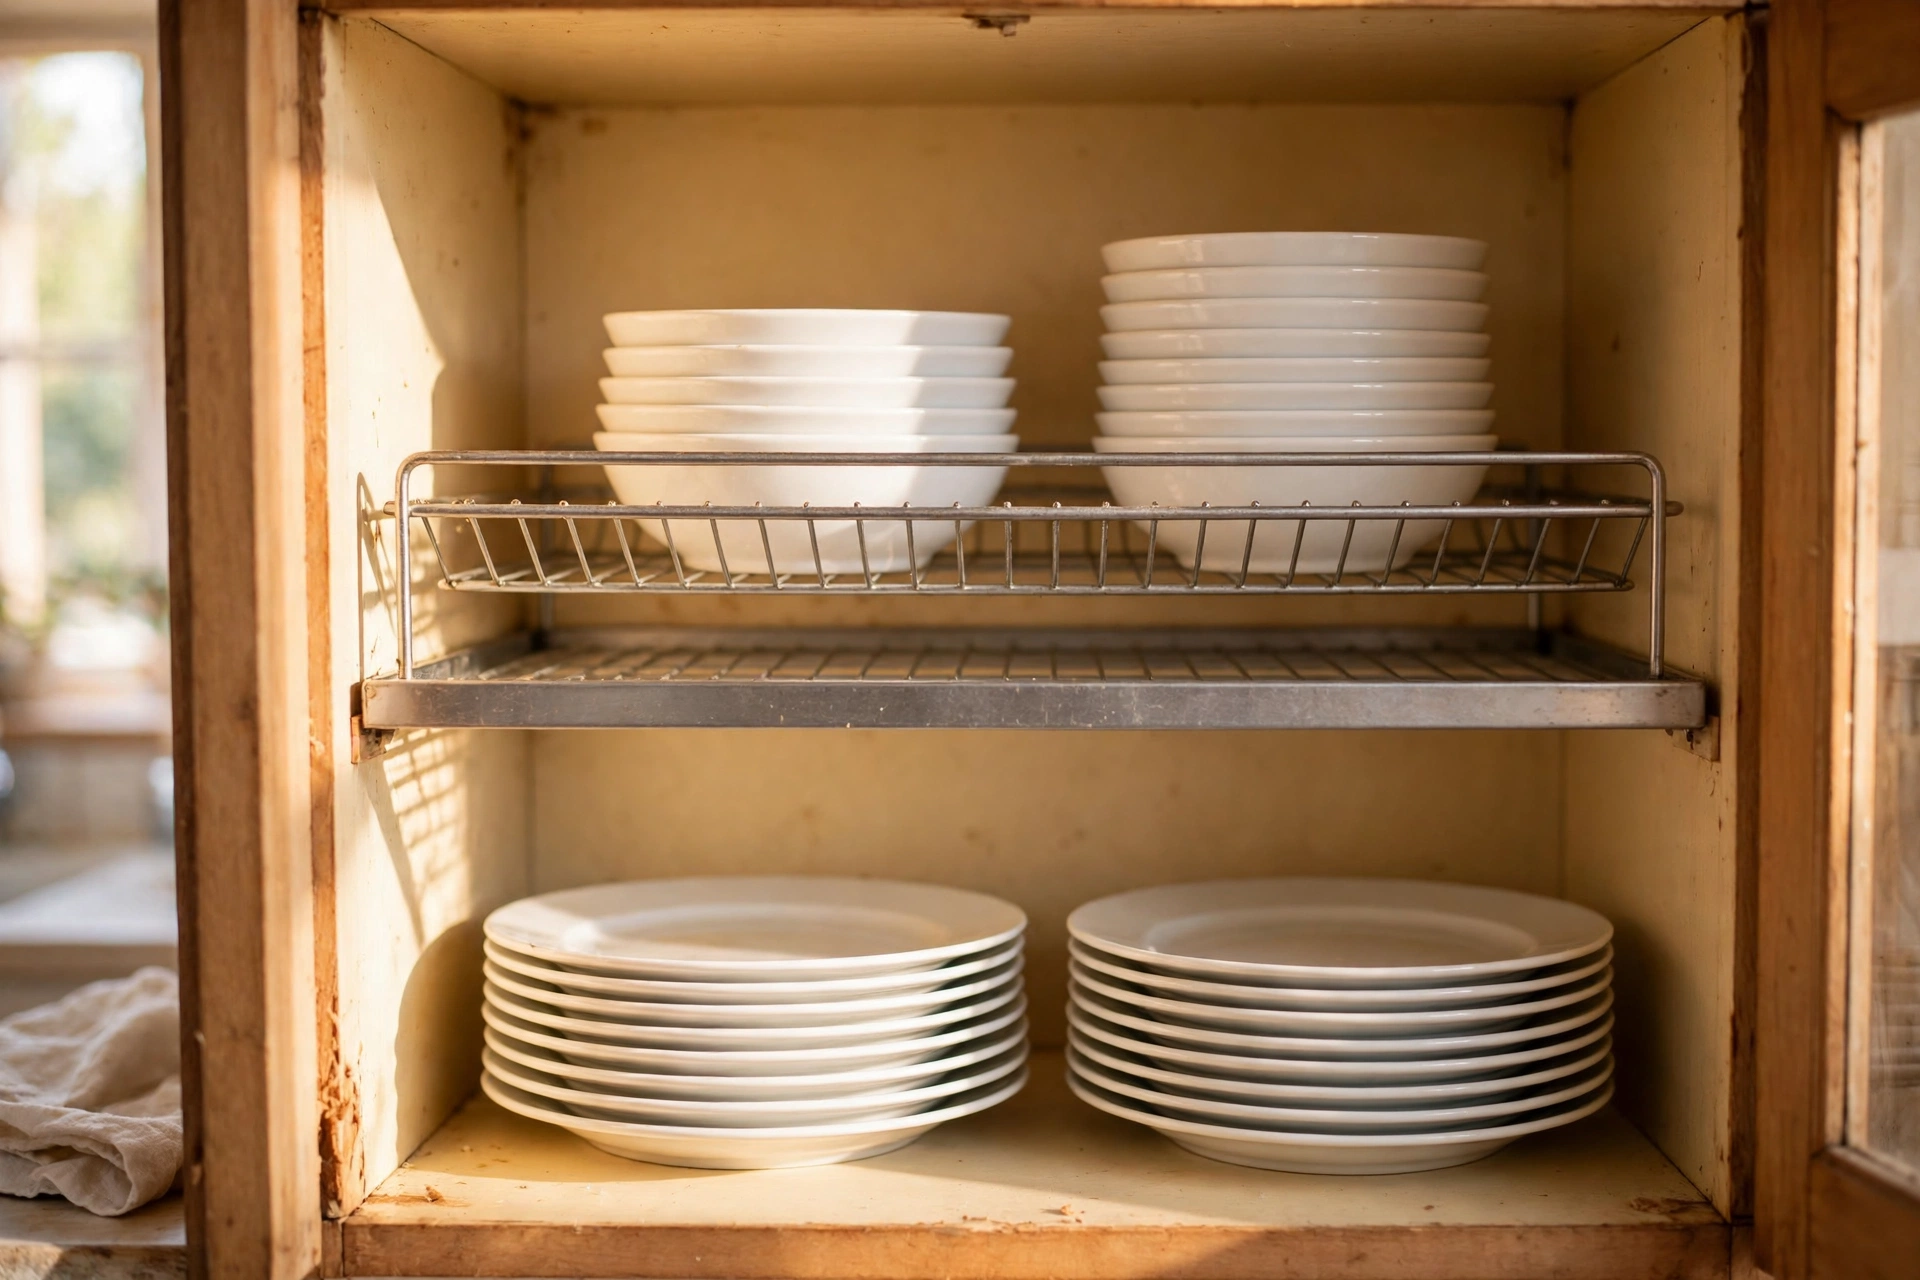
1. Add Shelf Risers to Double Each Shelf
A shelf riser instantly creates two levels inside a single cabinet shelf, so you can stack plates below and bowls above instead of wasting all that vertical air. Wire and bamboo risers are cheap, sturdy, and come in widths to fit nearly any cabinet.
Tip: Measure your cabinet height before buying so the riser leaves enough clearance for your tallest dinner plates.
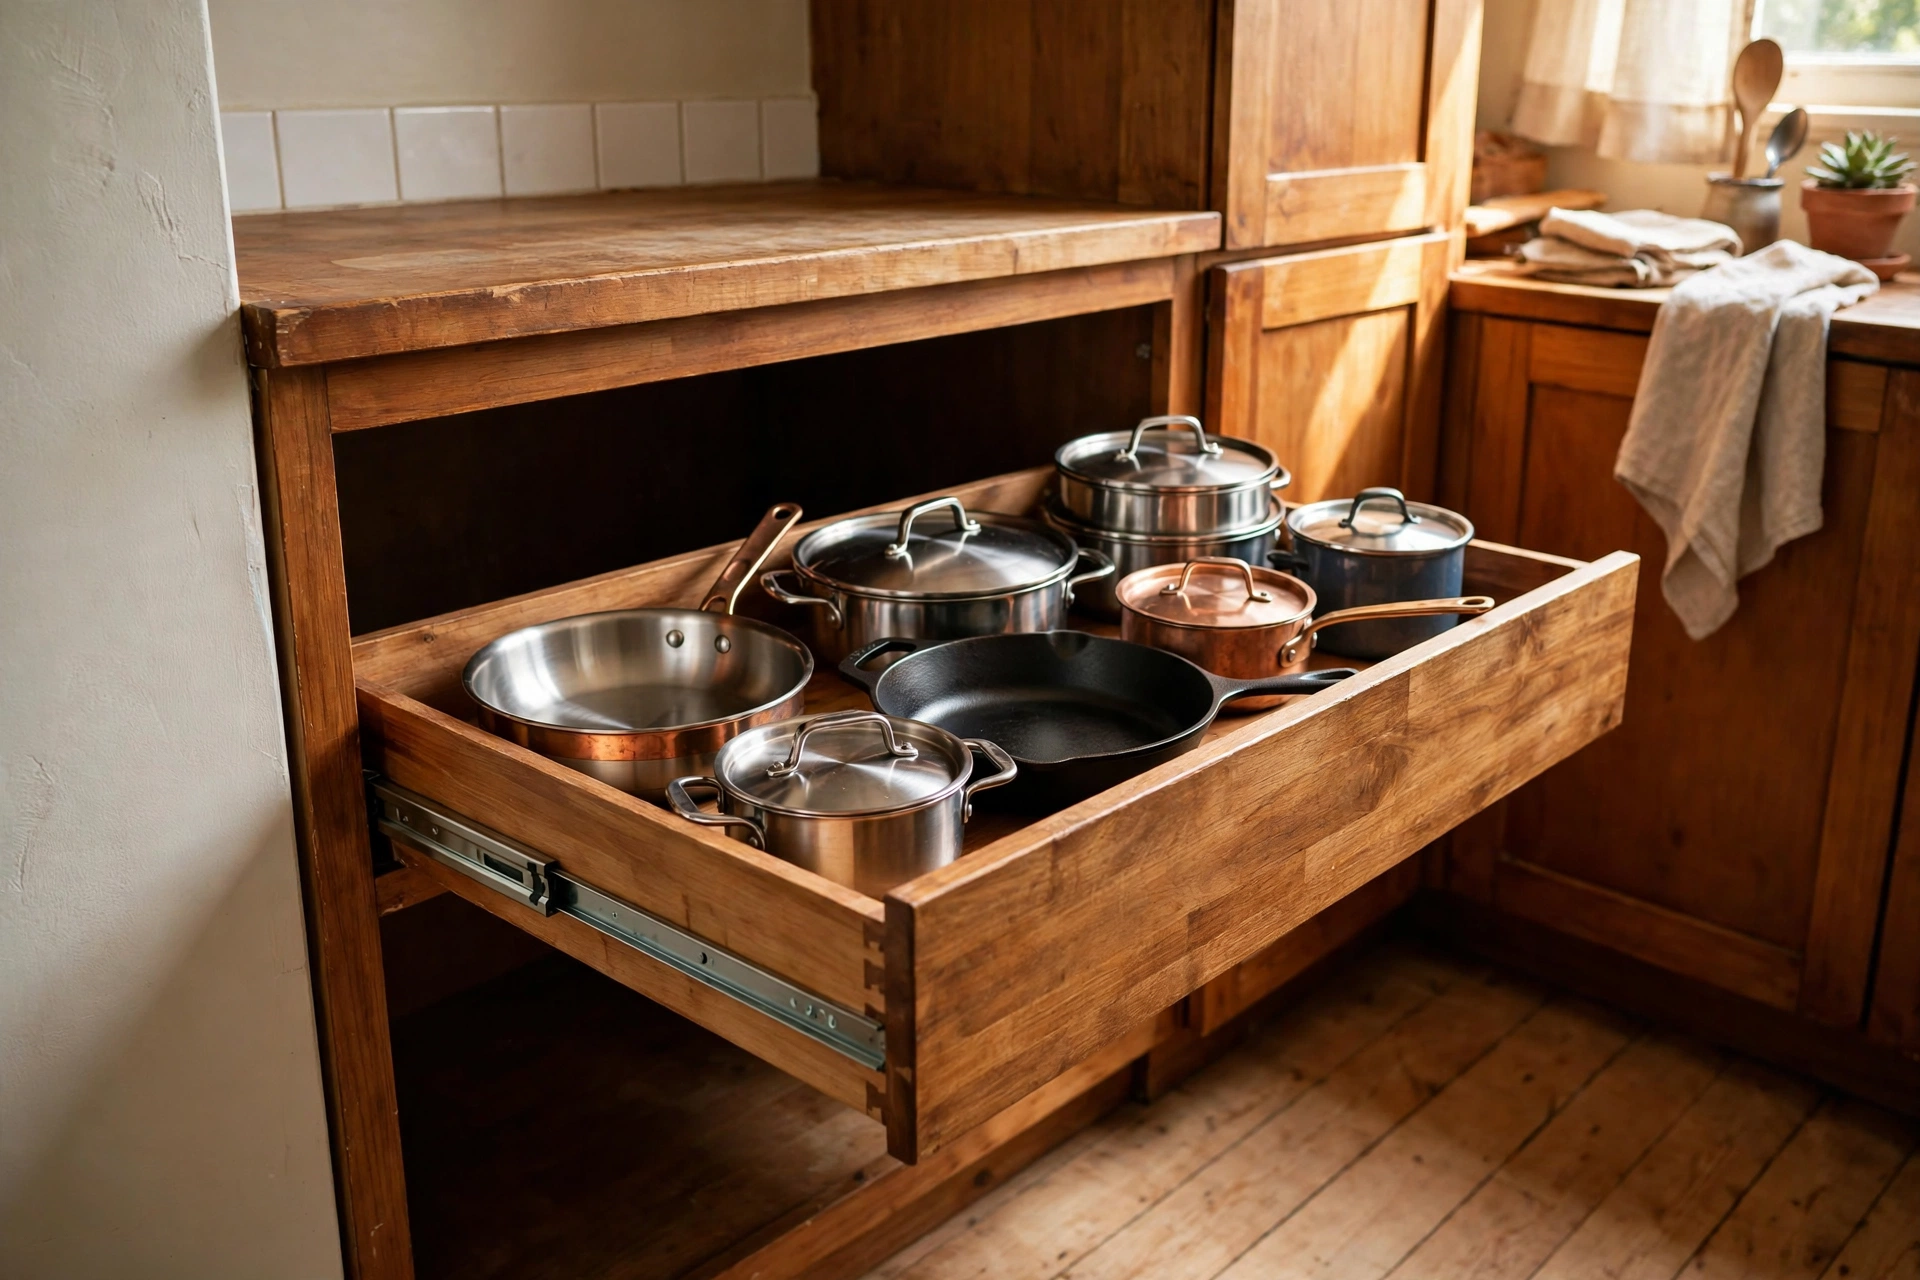
2. Install Pull-Out Drawers in Deep Cabinets
Deep base cabinets swallow everything that ends up at the back. Retrofitting sliding pull-out drawers turns that dark cave into full-access storage where every pot and pan rolls out to meet you.
Tip: Choose soft-close glides so the drawers feel built-in and quiet.
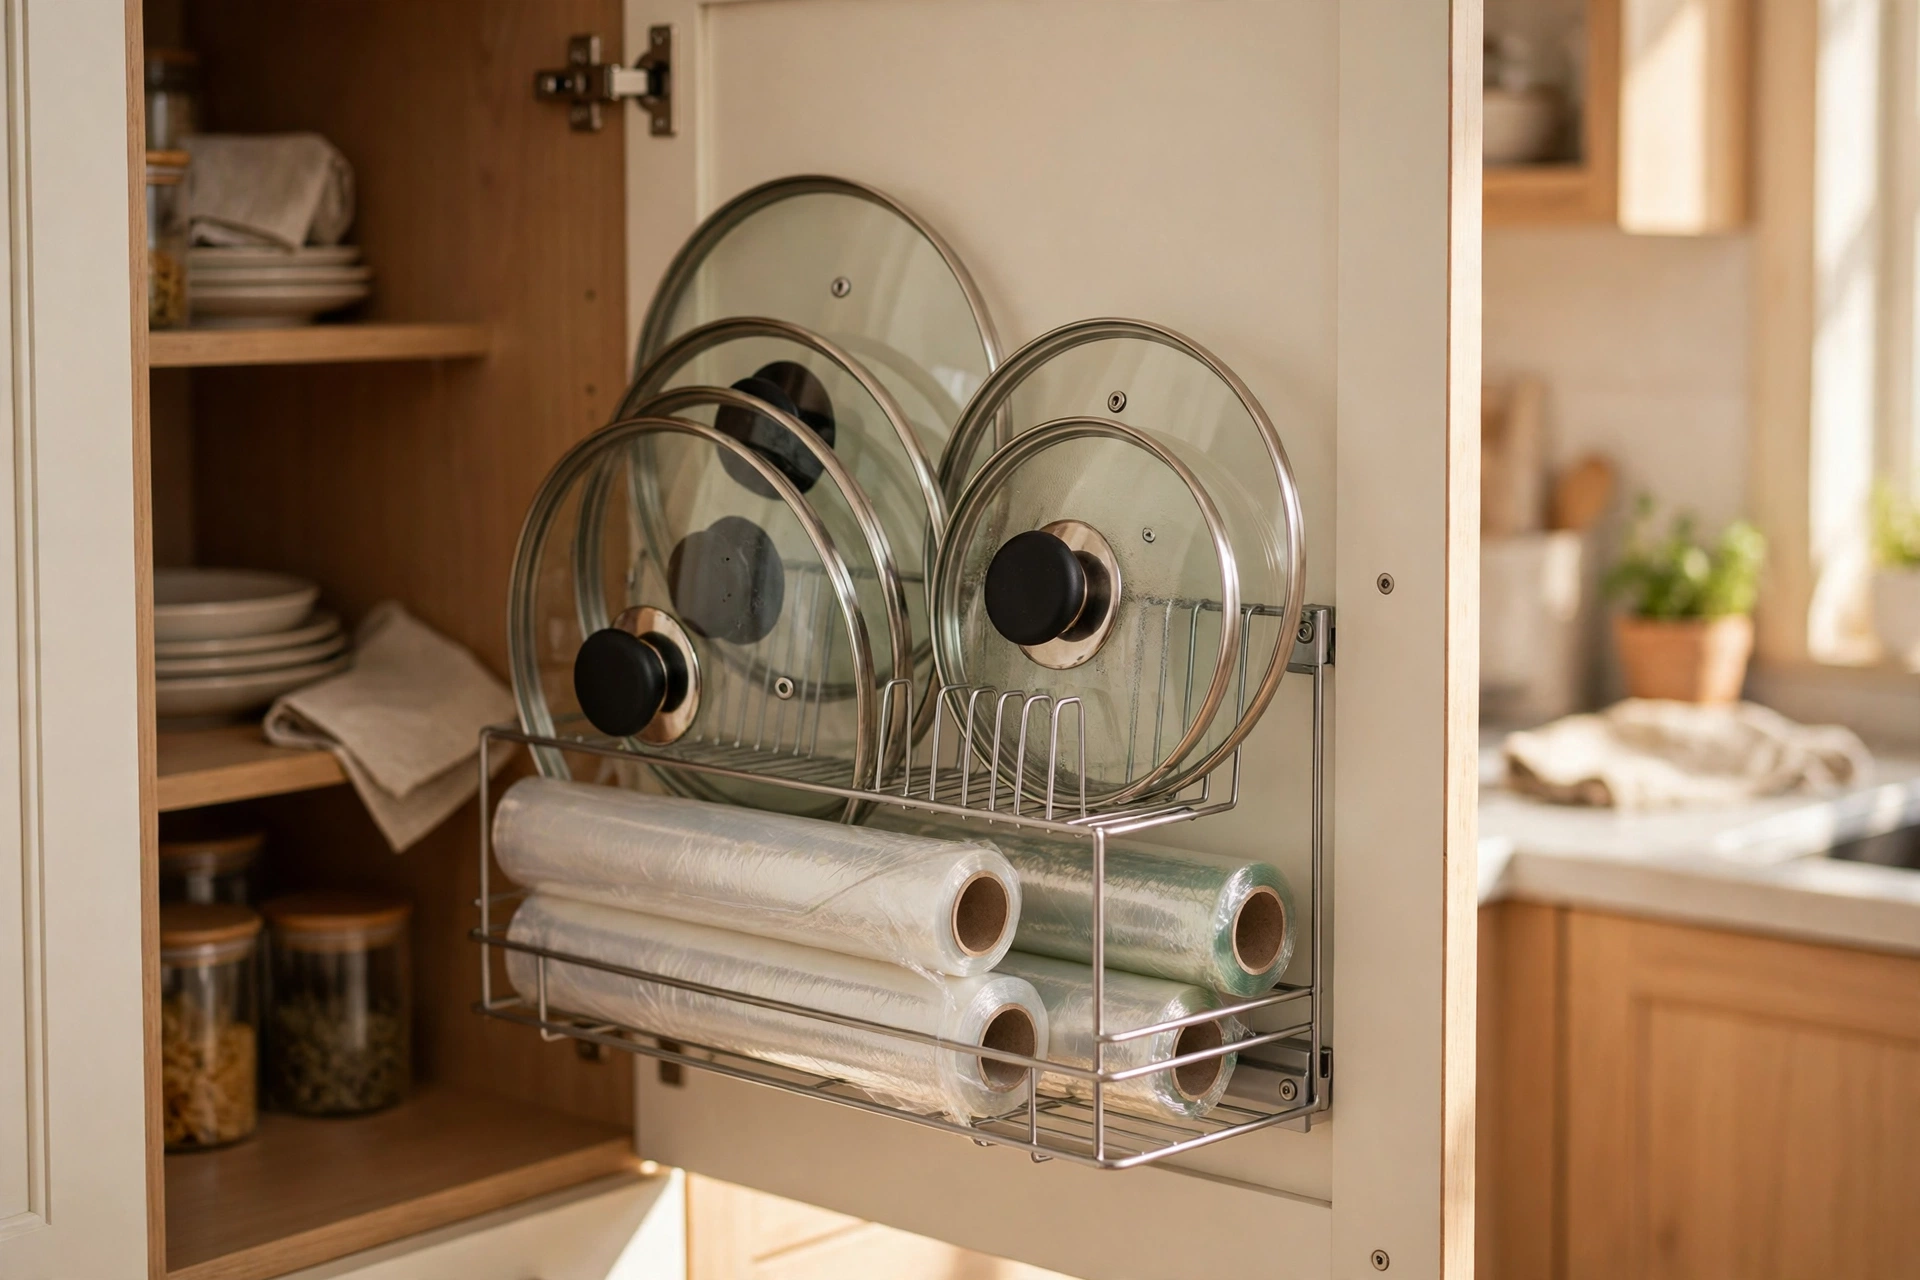
3. Use the Inside of Cabinet Doors
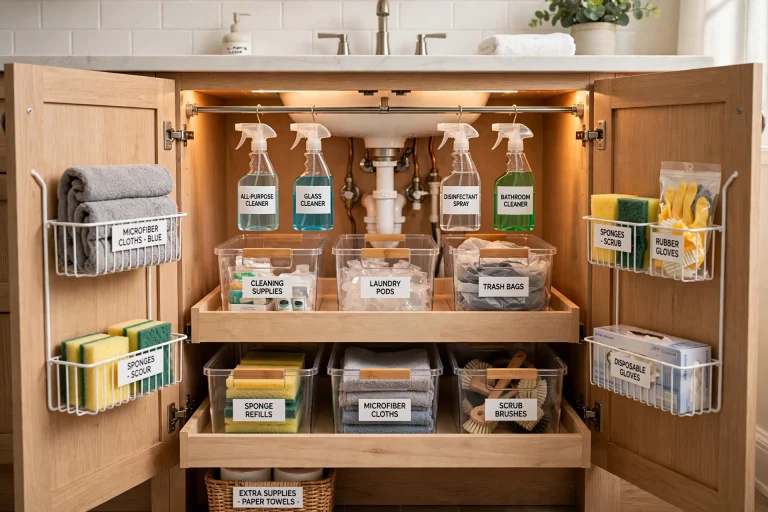
The inner face of every cabinet door is free real estate. Slim over-the-door racks or adhesive wire baskets hold pot lids, cutting boards, cling wrap, and spice packets without taking a single inch of shelf space.
Tip: Check the door still closes fully before you load the rack up.
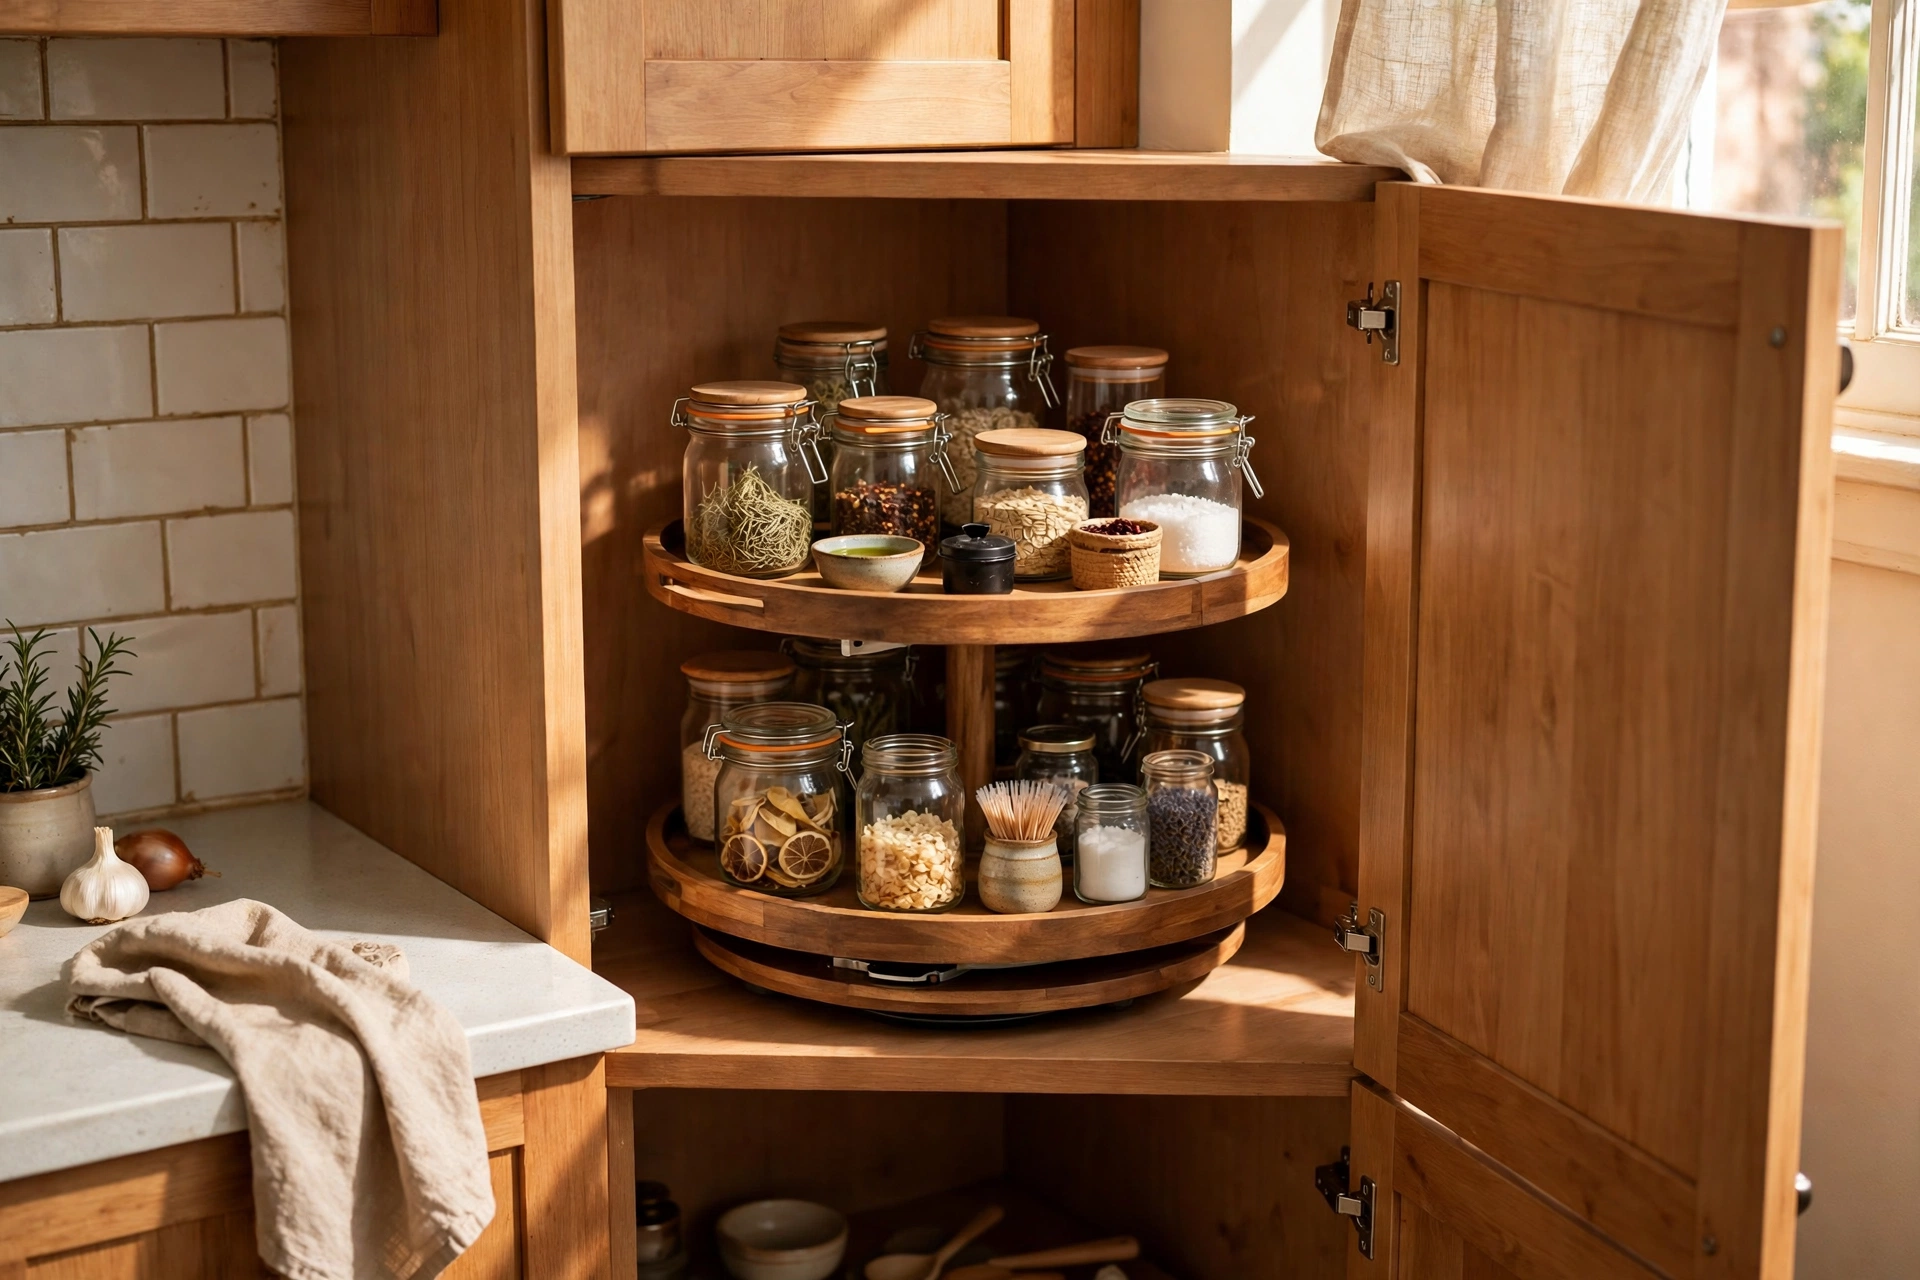
4. Drop a Lazy Susan Into Corner Cabinets
Corner cabinets are the black holes of small kitchens. A two-tier lazy Susan lets you spin everything into reach, so nothing gets lost in the corner ever again.
Tip: Use a non-slip liner under it so items stay put while you spin.
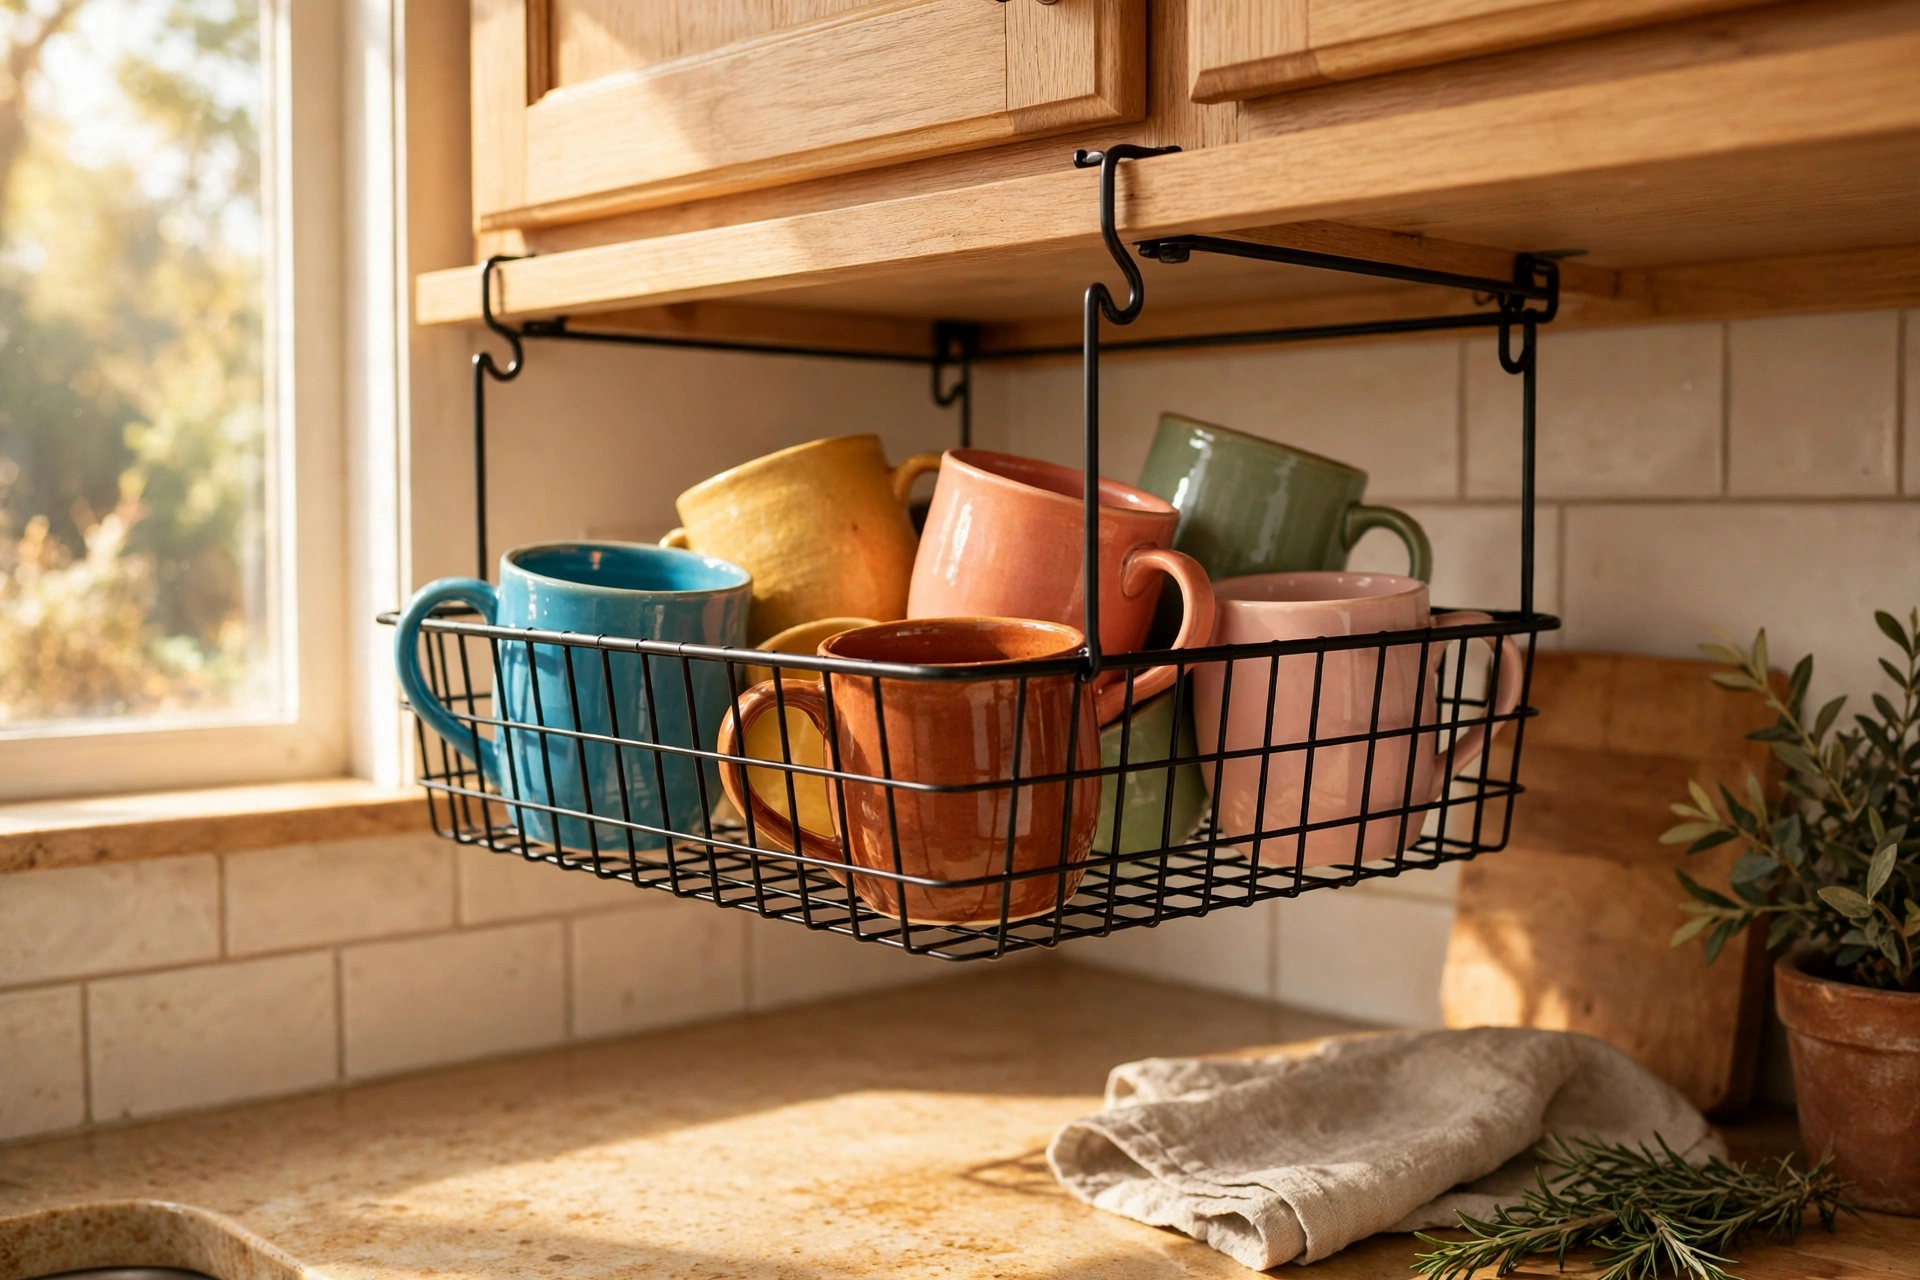
5. Hang Under-Shelf Baskets
Those wire baskets that hook onto an existing shelf use the empty air underneath it for mugs, snack bags, or stacked ramekins. No drilling, no tools, no damage to the cabinet.
Tip: Keep them light — they’re best for items you grab daily.
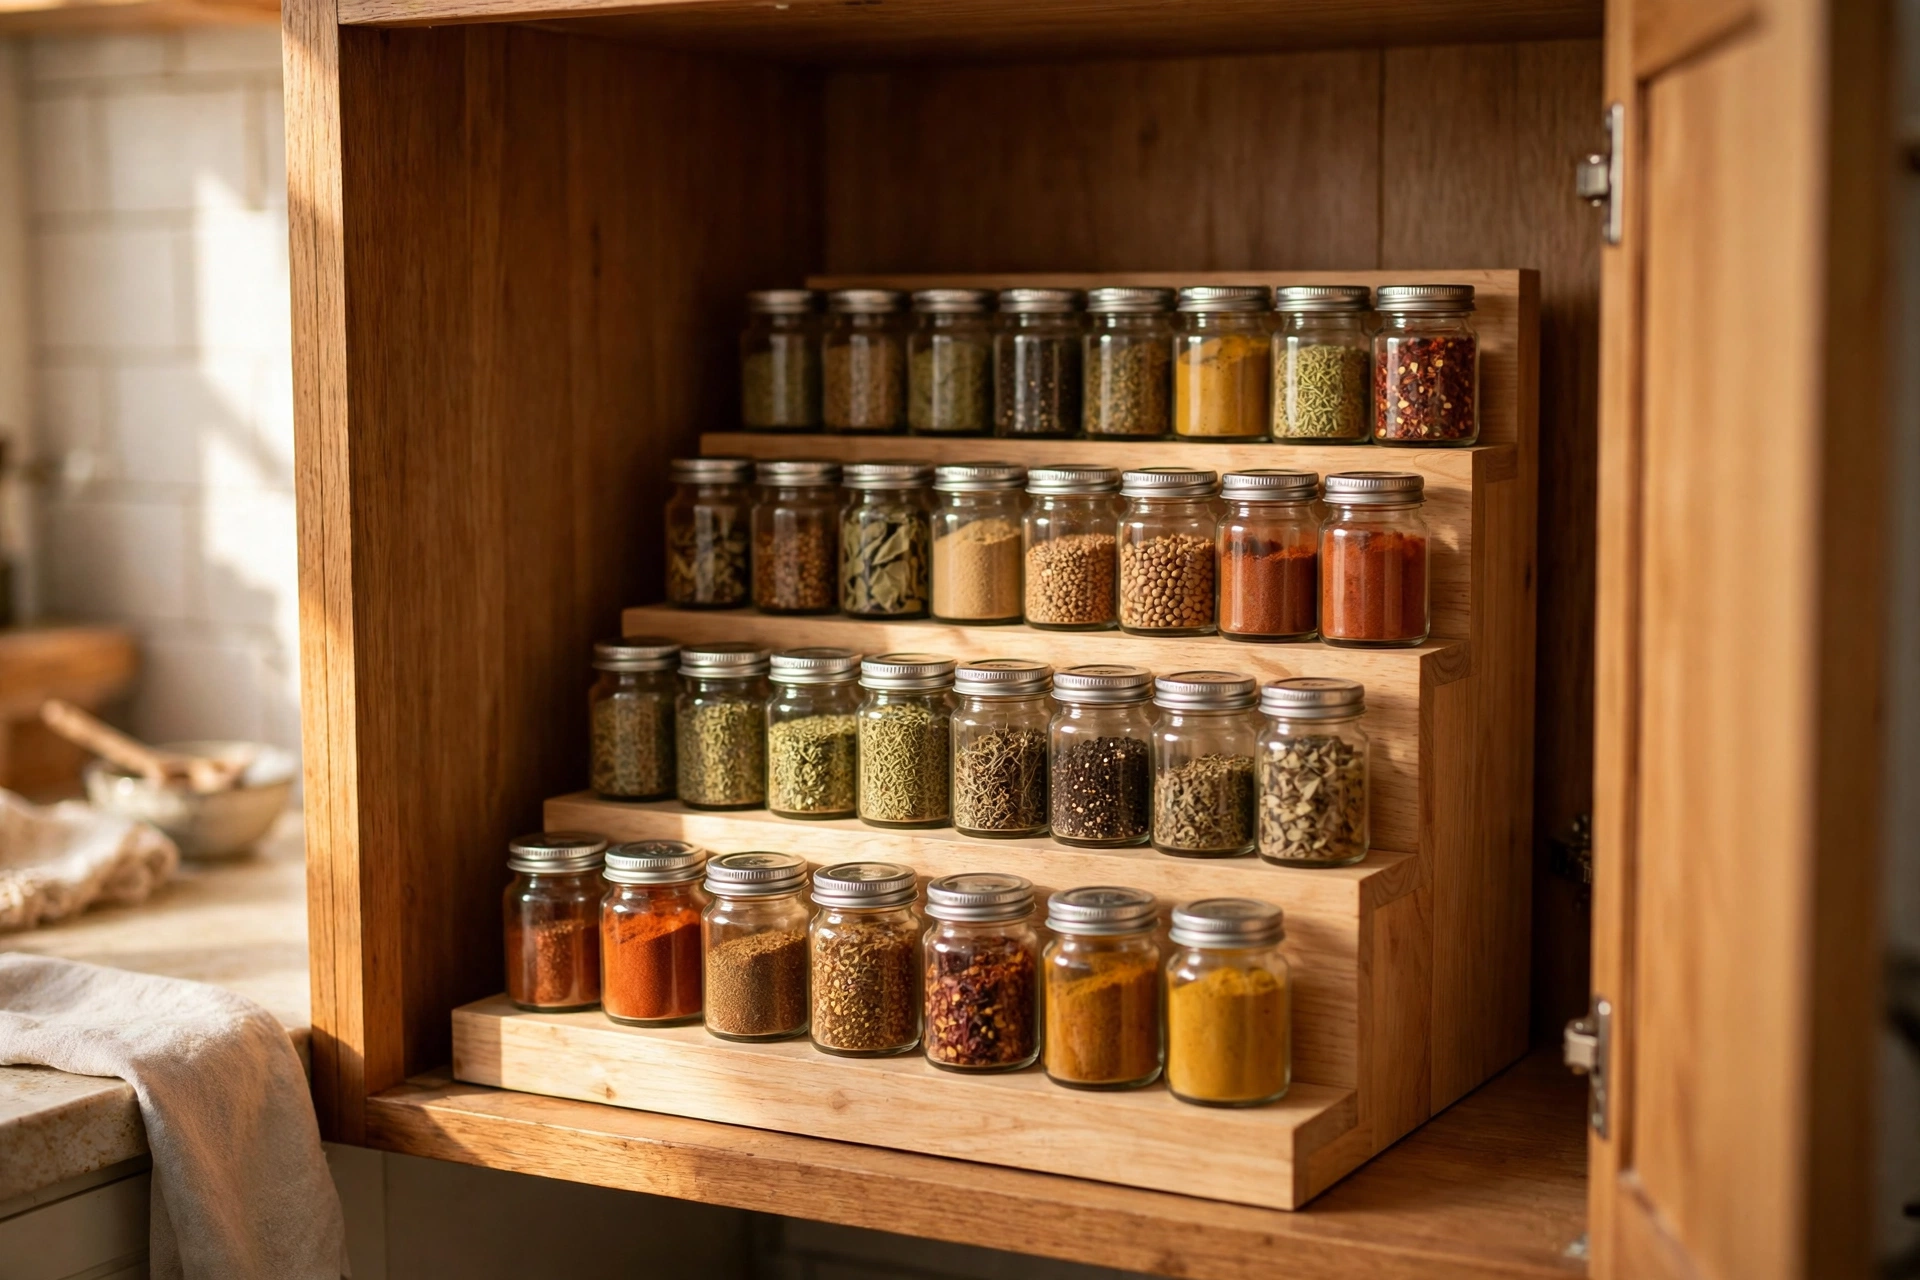
6. Tier Your Spices and Cans
A small stepped spice rack inside the cabinet lets you see every jar at a glance instead of guessing what hides behind the front row. It works just as well for canned goods and small condiment bottles.
Tip: Decant bulk spices into matching small jars for a cleaner, easier-to-scan look.
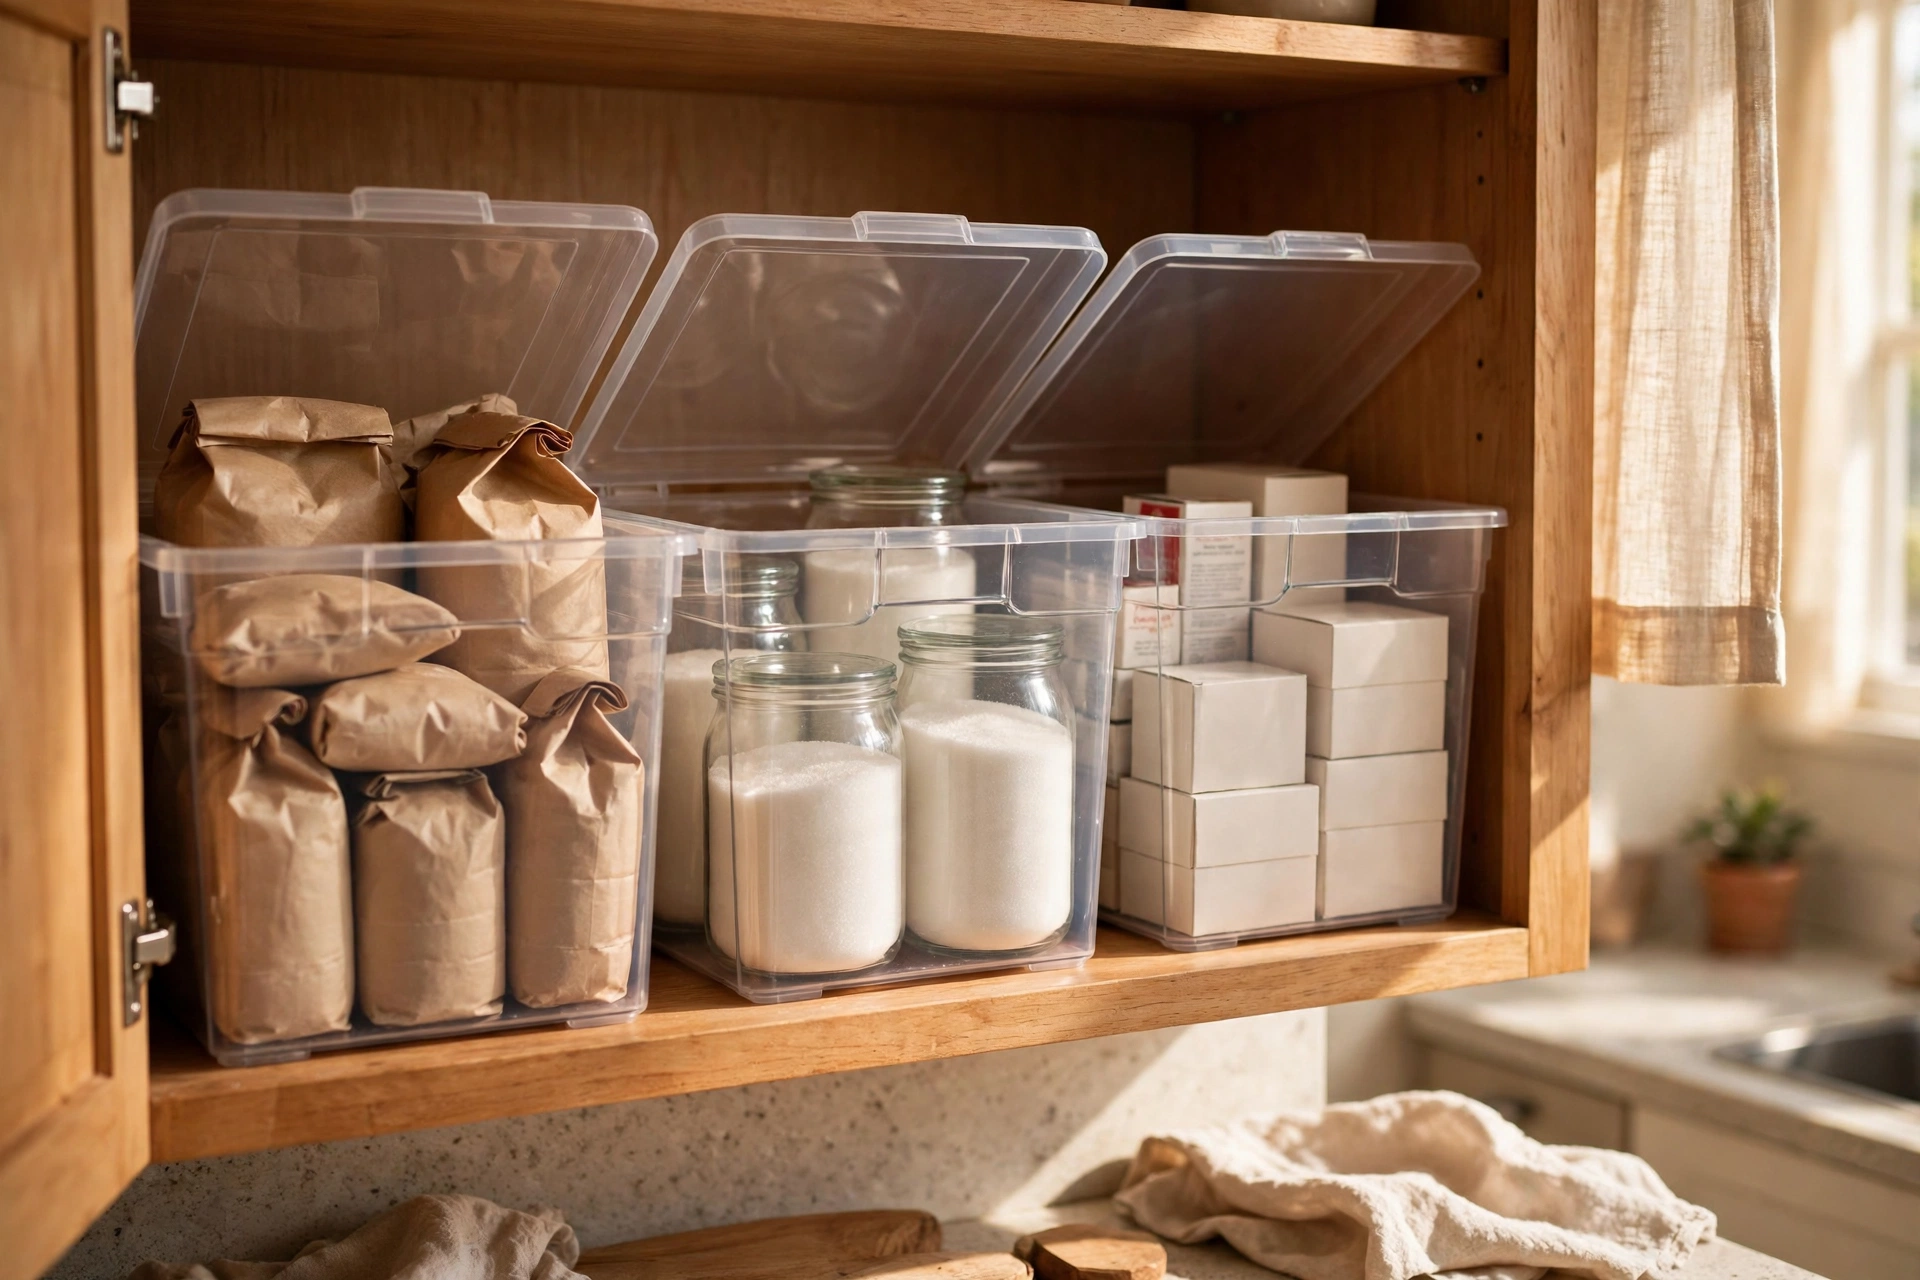
7. Group Items in Clear Bins
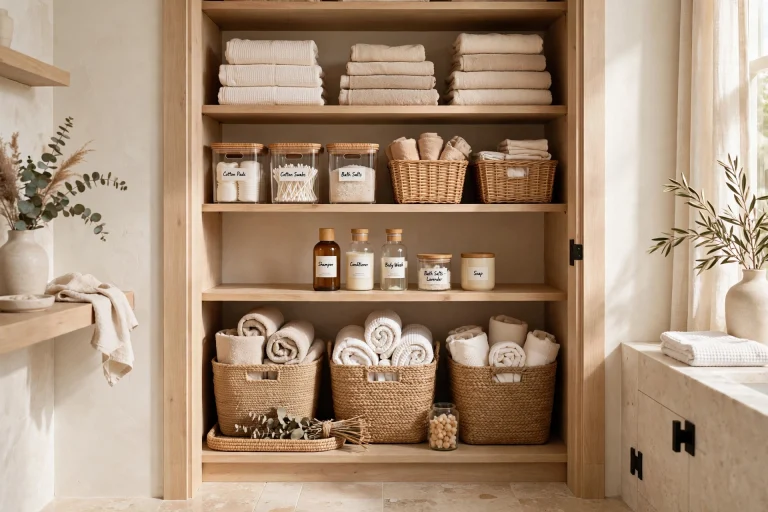
Clear bins turn a chaotic cabinet into neat little zones — baking supplies in one, snack packets in another, tea and coffee in a third. You pull out one bin instead of rummaging through twenty loose items.
Tip: Use bins with handles so they slide out like drawers.
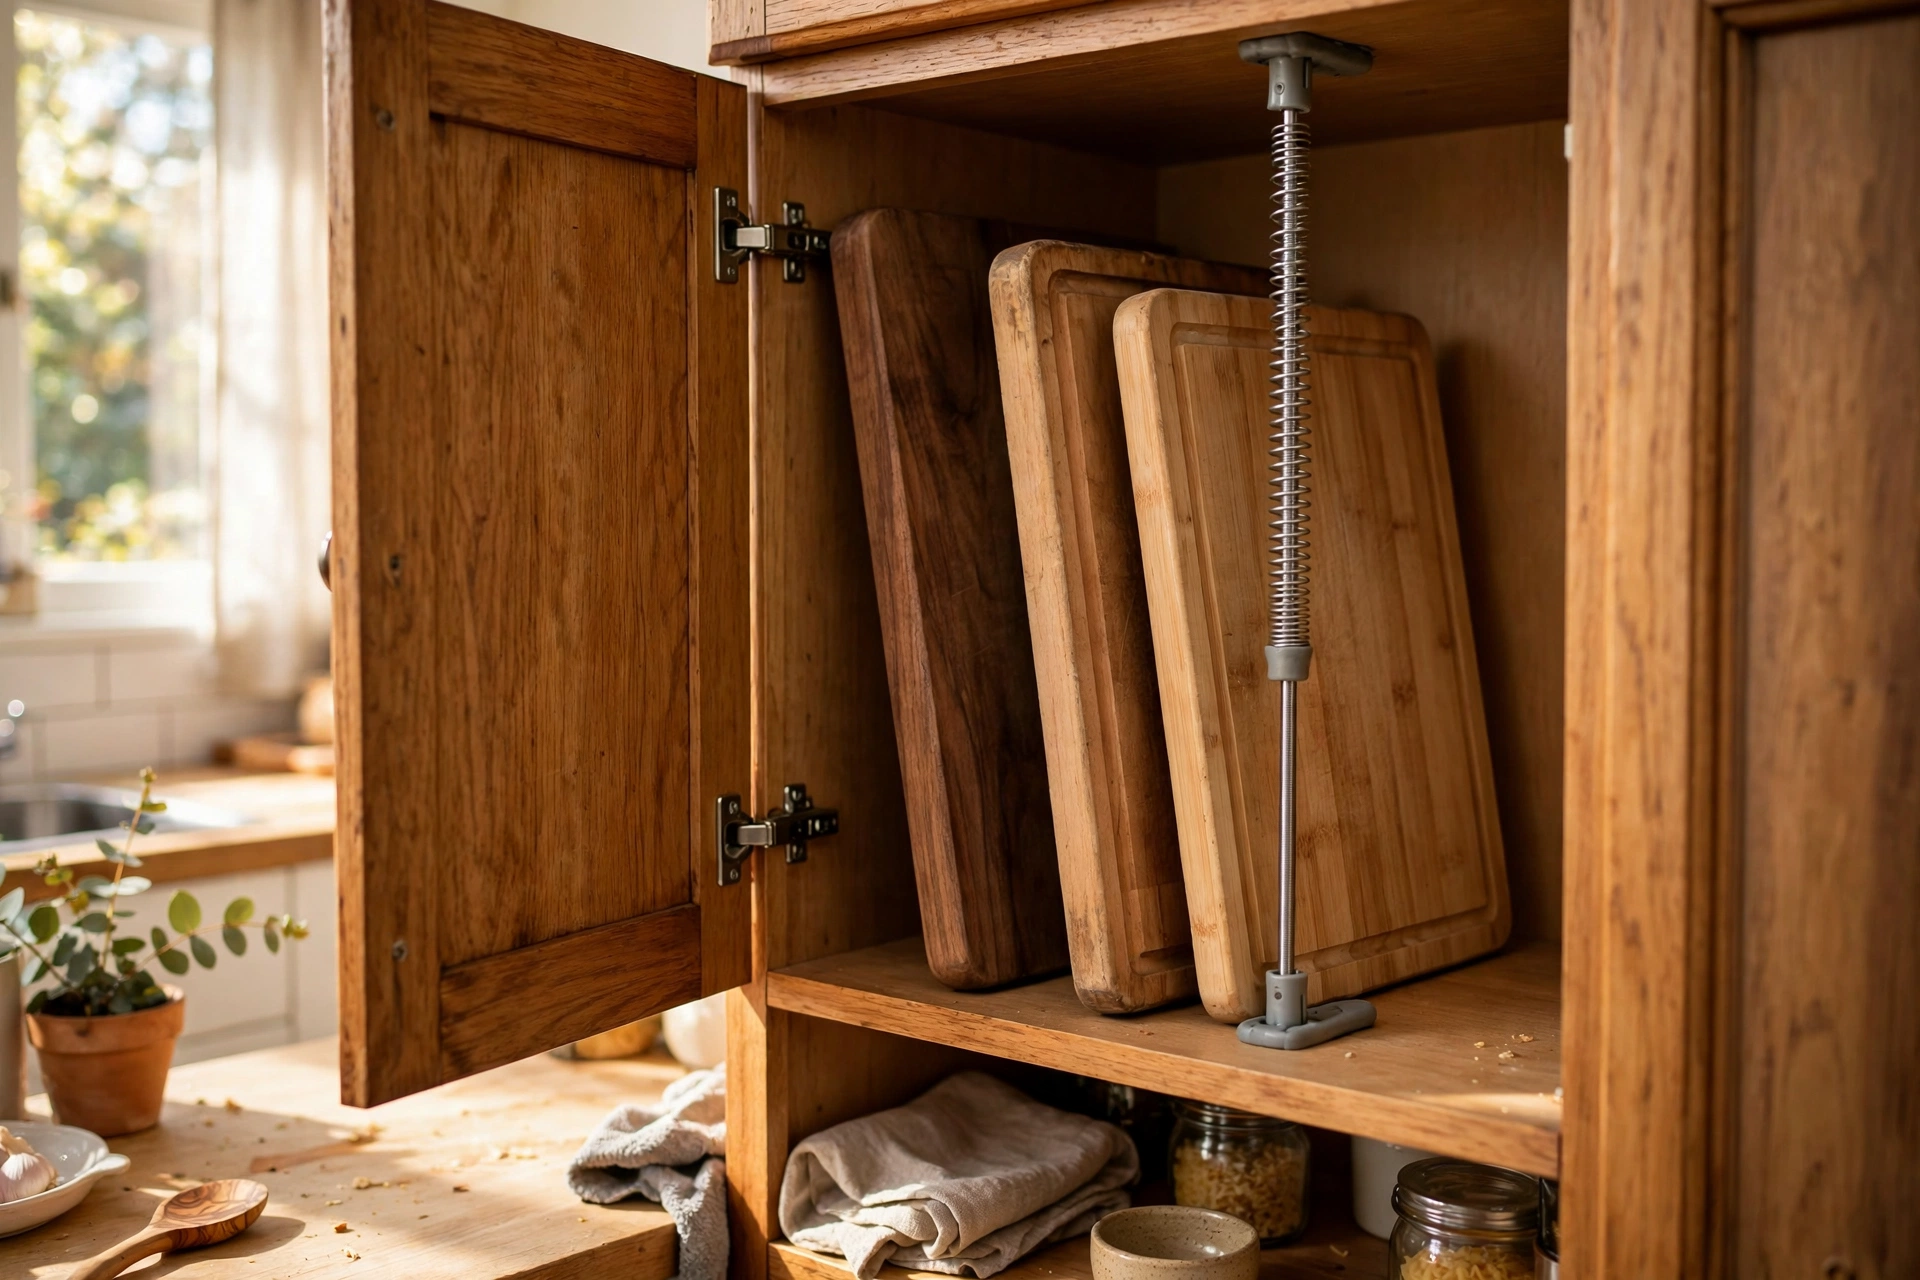
8. Tension Rods as Instant Dividers
A spring-loaded tension rod placed vertically or horizontally inside a cabinet makes a perfect divider for cutting boards, baking trays, and lids that otherwise flop around. It installs in seconds and leaves no marks.
Tip: Two rods crossed make an X divider that holds round trays upright.
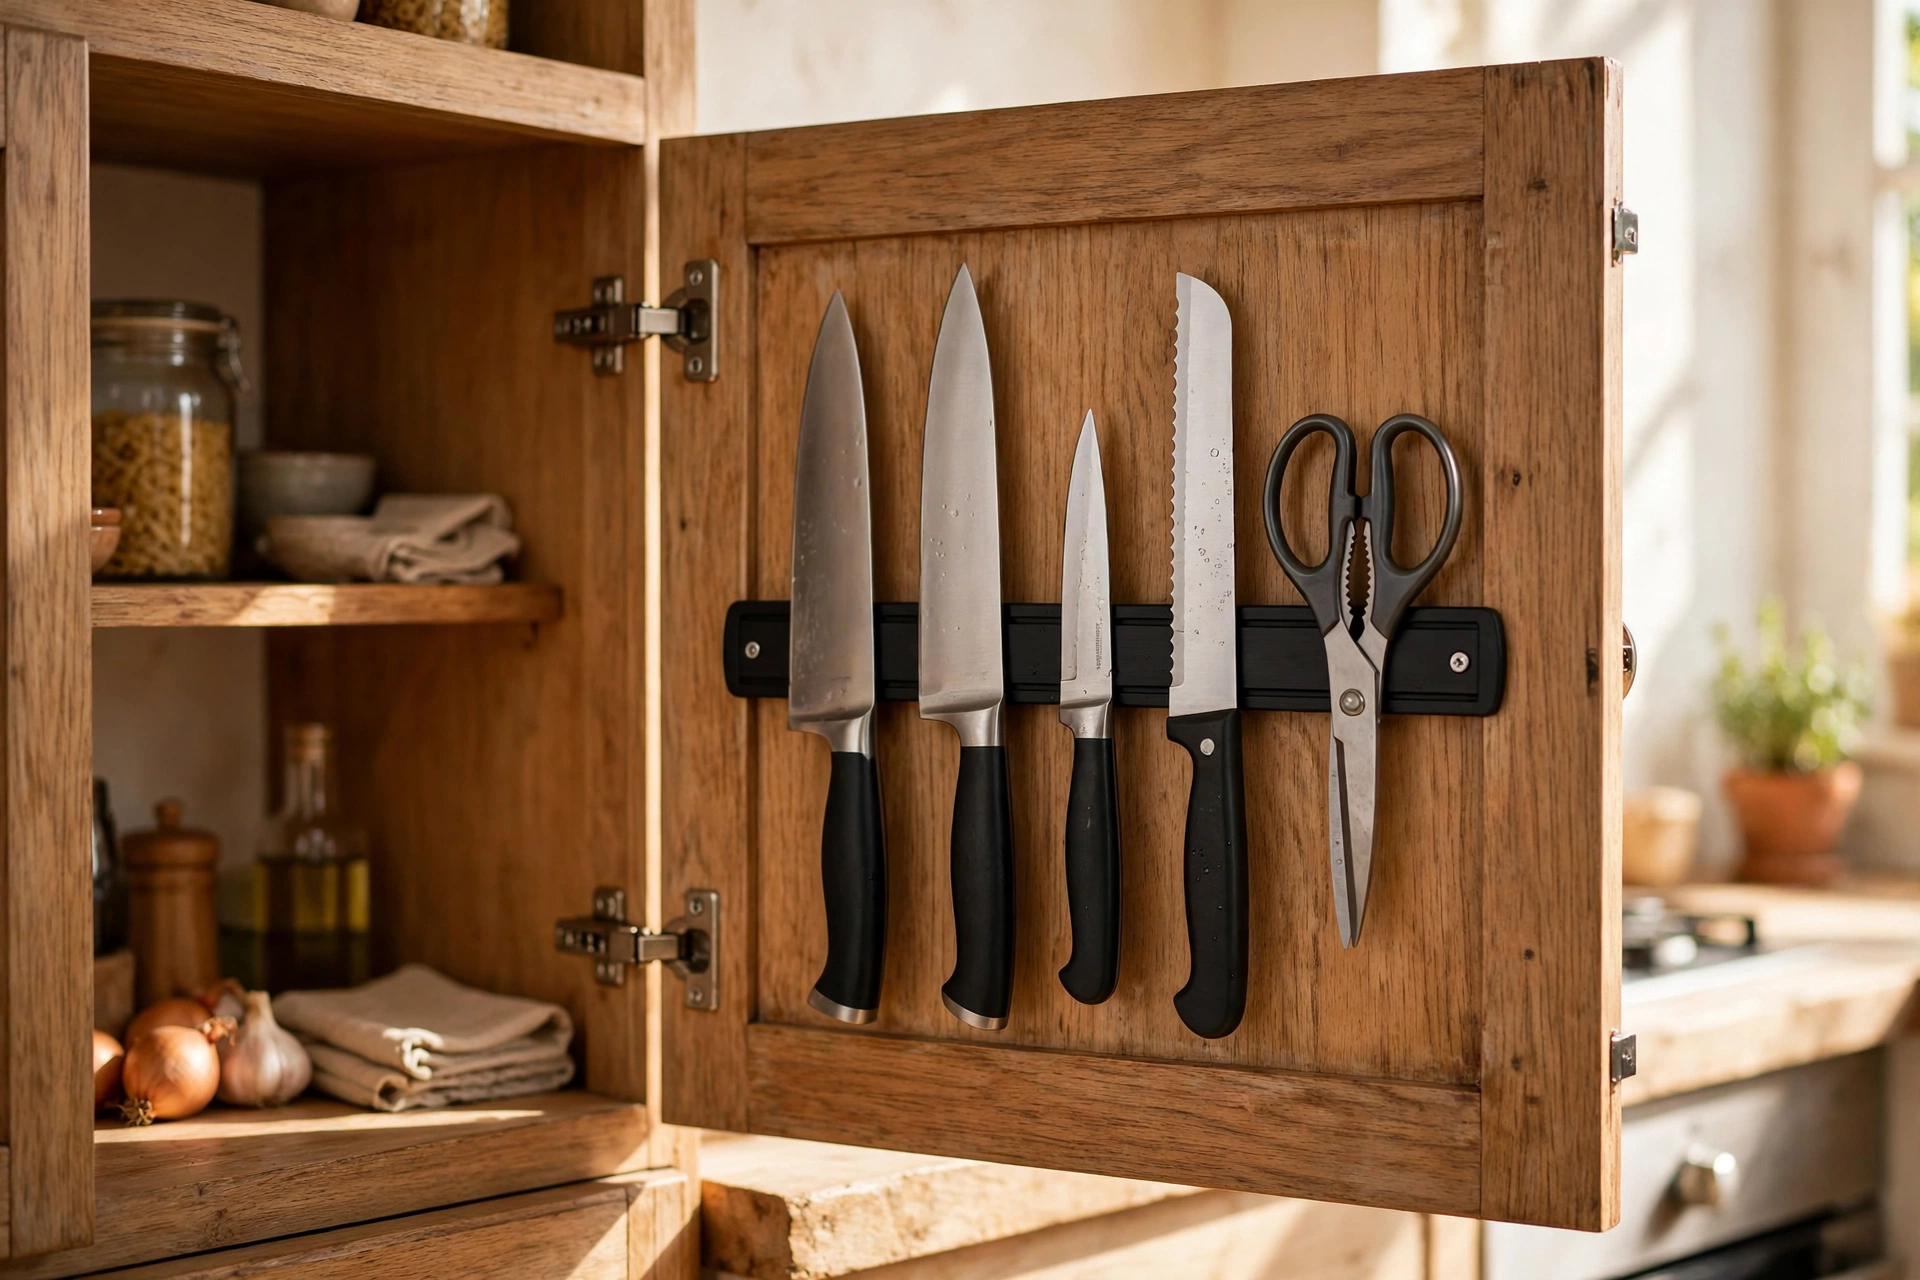
9. Stick a Magnetic Strip Inside the Door
A magnetic knife strip mounted on the inside of a cabinet door keeps knives, scissors, and metal utensils safely stored and off the counter. It frees up a whole drawer you were using for them.
Tip: Use a wooden-front magnetic bar so sharp edges never scratch the door.
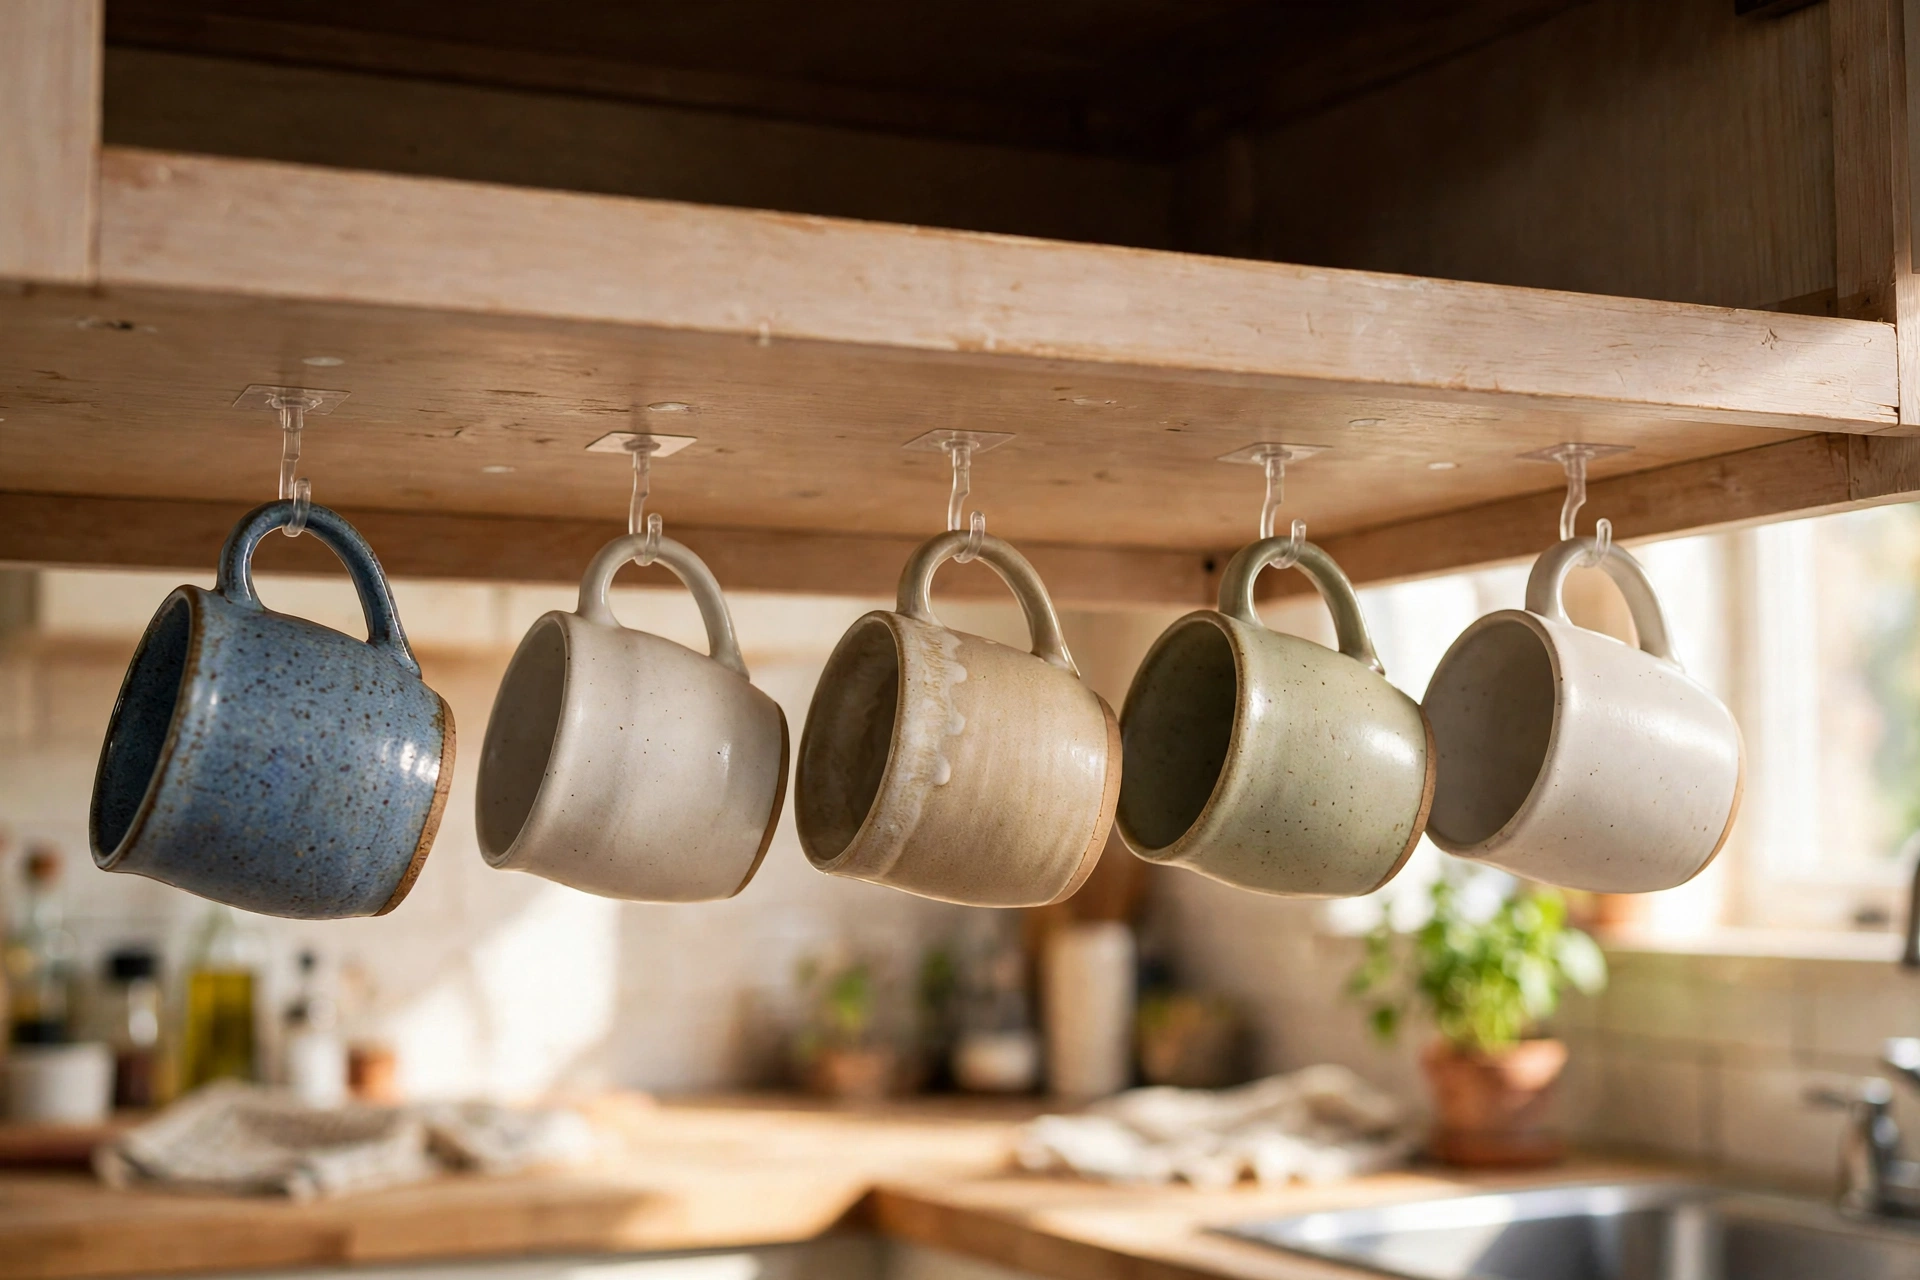
10. Add Hooks for Mugs and Utensils
Self-adhesive hooks under upper cabinets or inside cabinet doors give mugs, measuring cups, and small utensils their own homes. Everything hangs visible and within reach.
Tip: Hang only items you actually use daily so the hooks earn their keep.
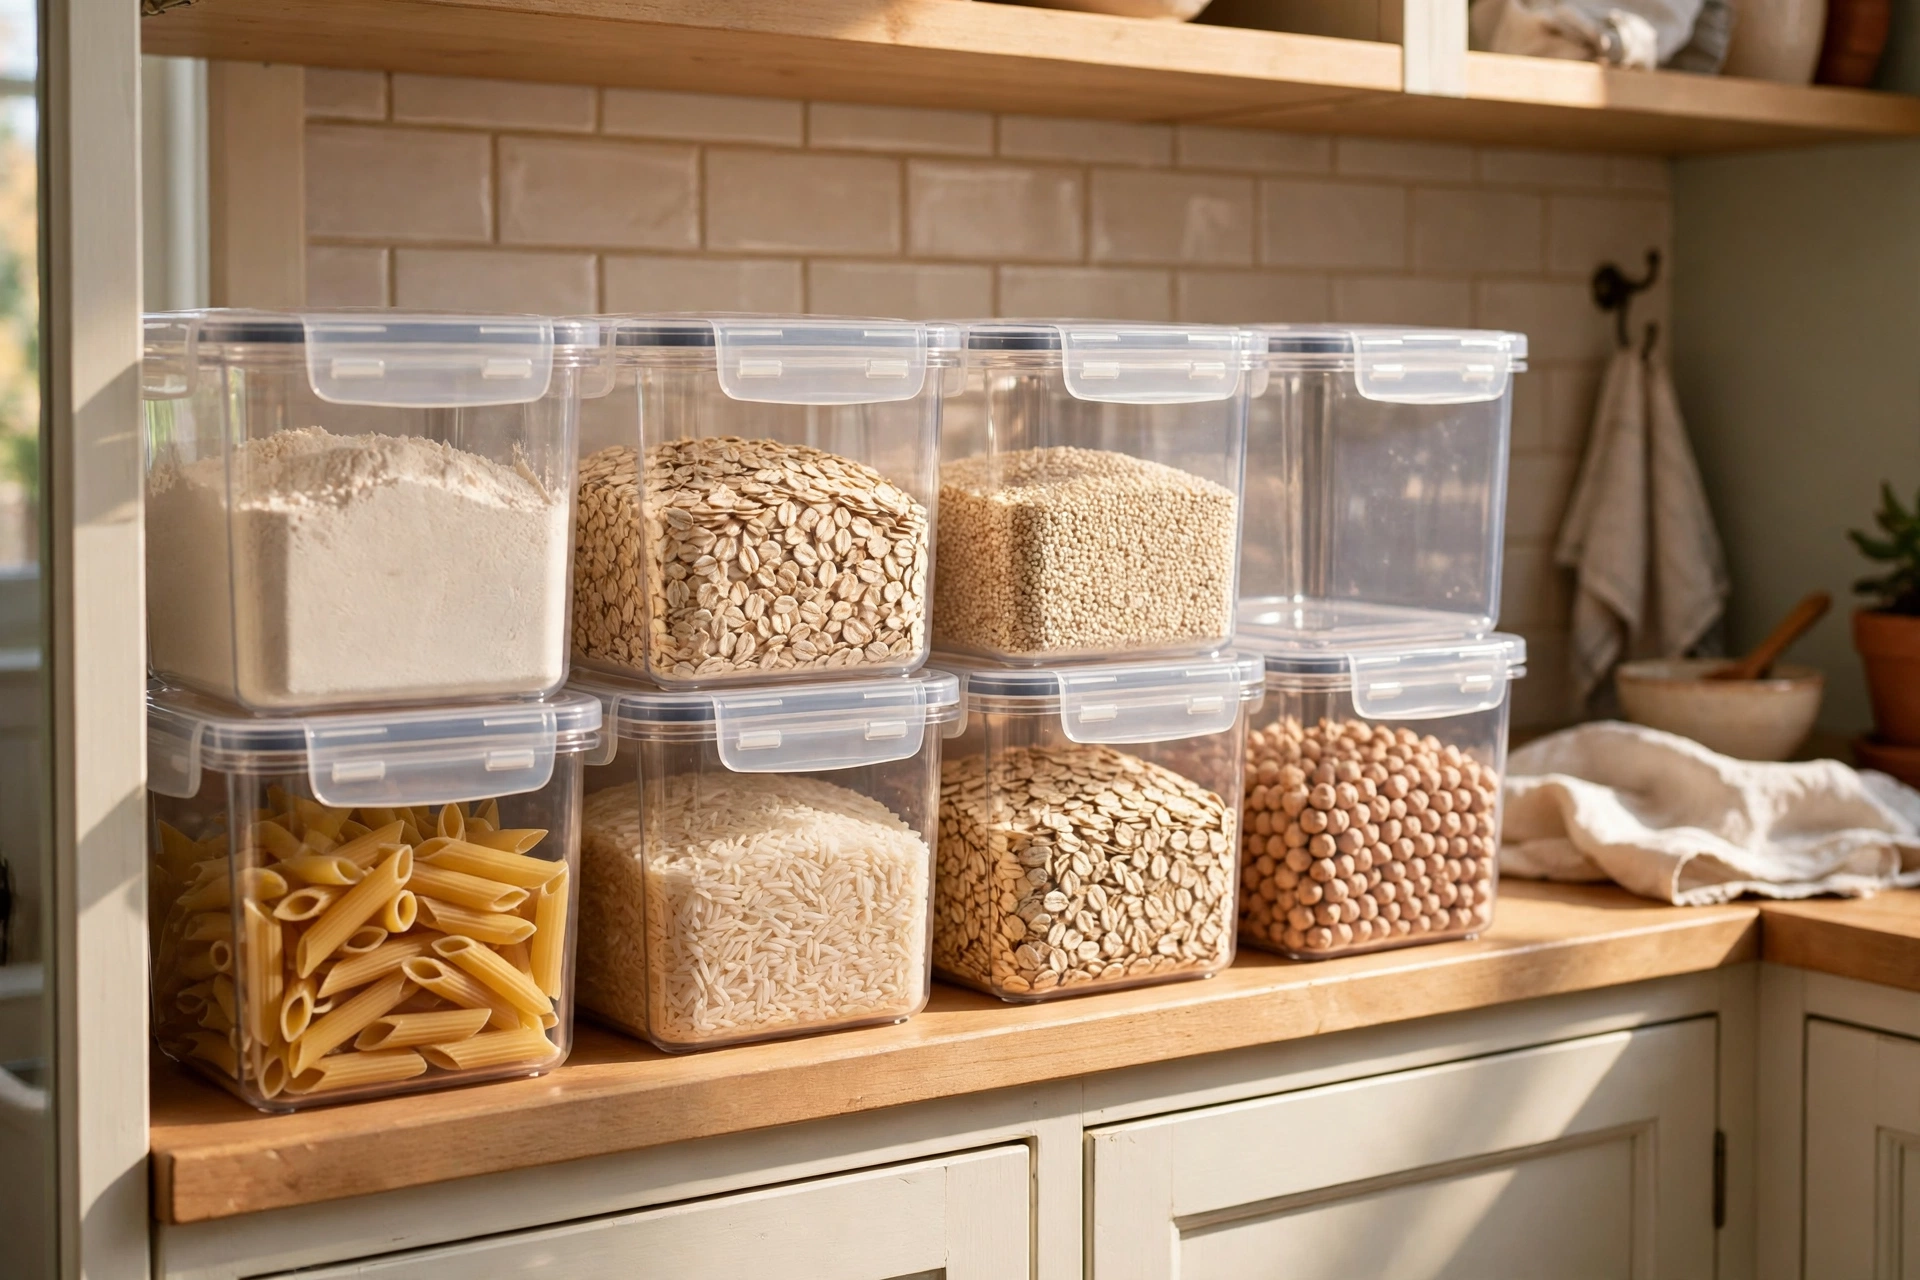
11. Switch to Square, Stackable Containers
Round containers waste the corners of every shelf. Square or rectangular airtight containers tile together with zero wasted space, and stackable lids let you build upward instead of outward.
Tip: Buy one brand in a few sizes so every lid fits every base.
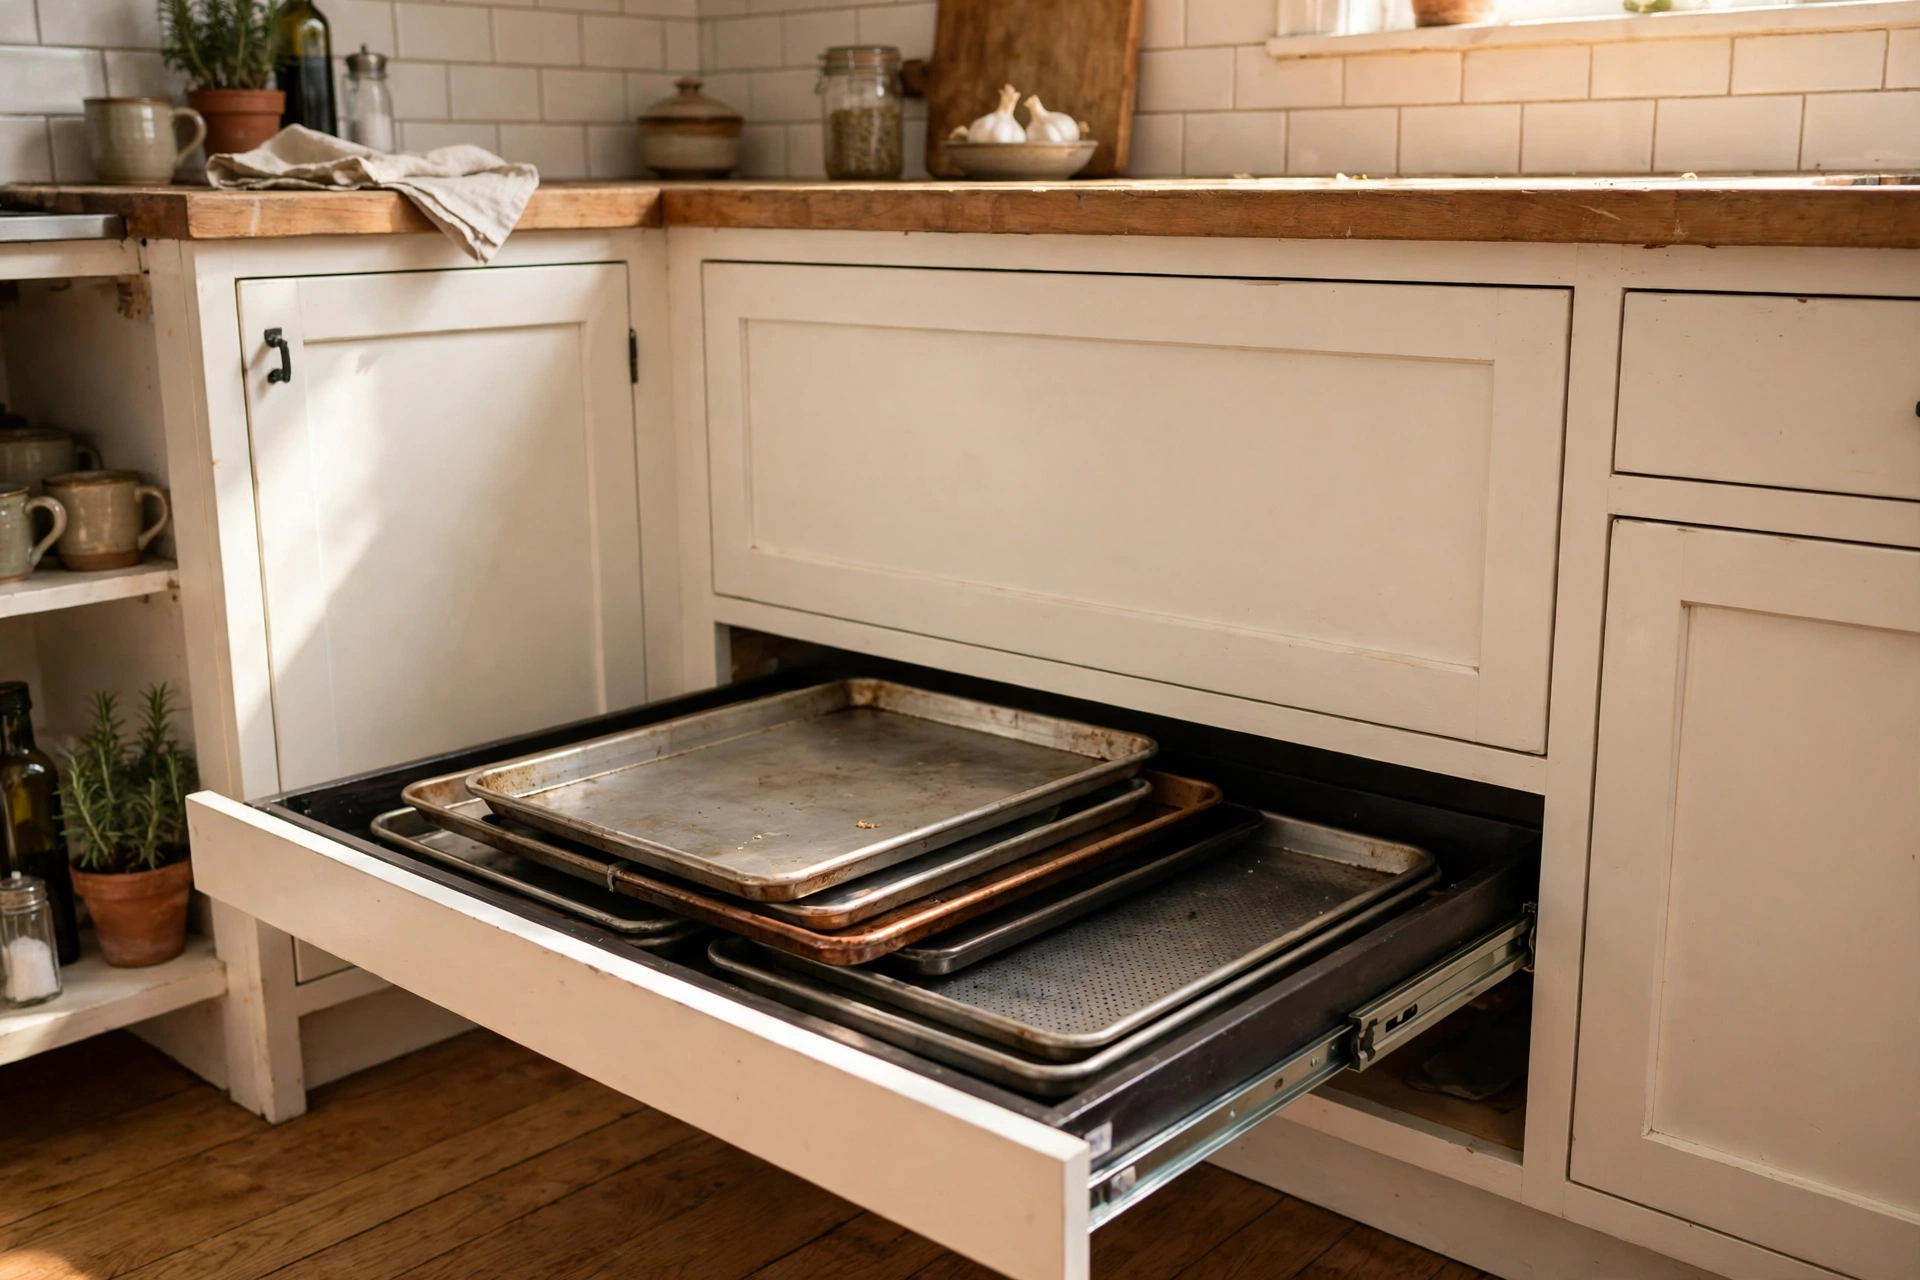
12. Add a Toe-Kick Drawer
That dead strip of space under your base cabinets hides a shallow drawer waiting to happen. A slim toe-kick drawer holds baking sheets, placemats, or the table linens you use twice a year.
Tip: Only put flat, lightweight items inside so the mechanism glides smoothly.
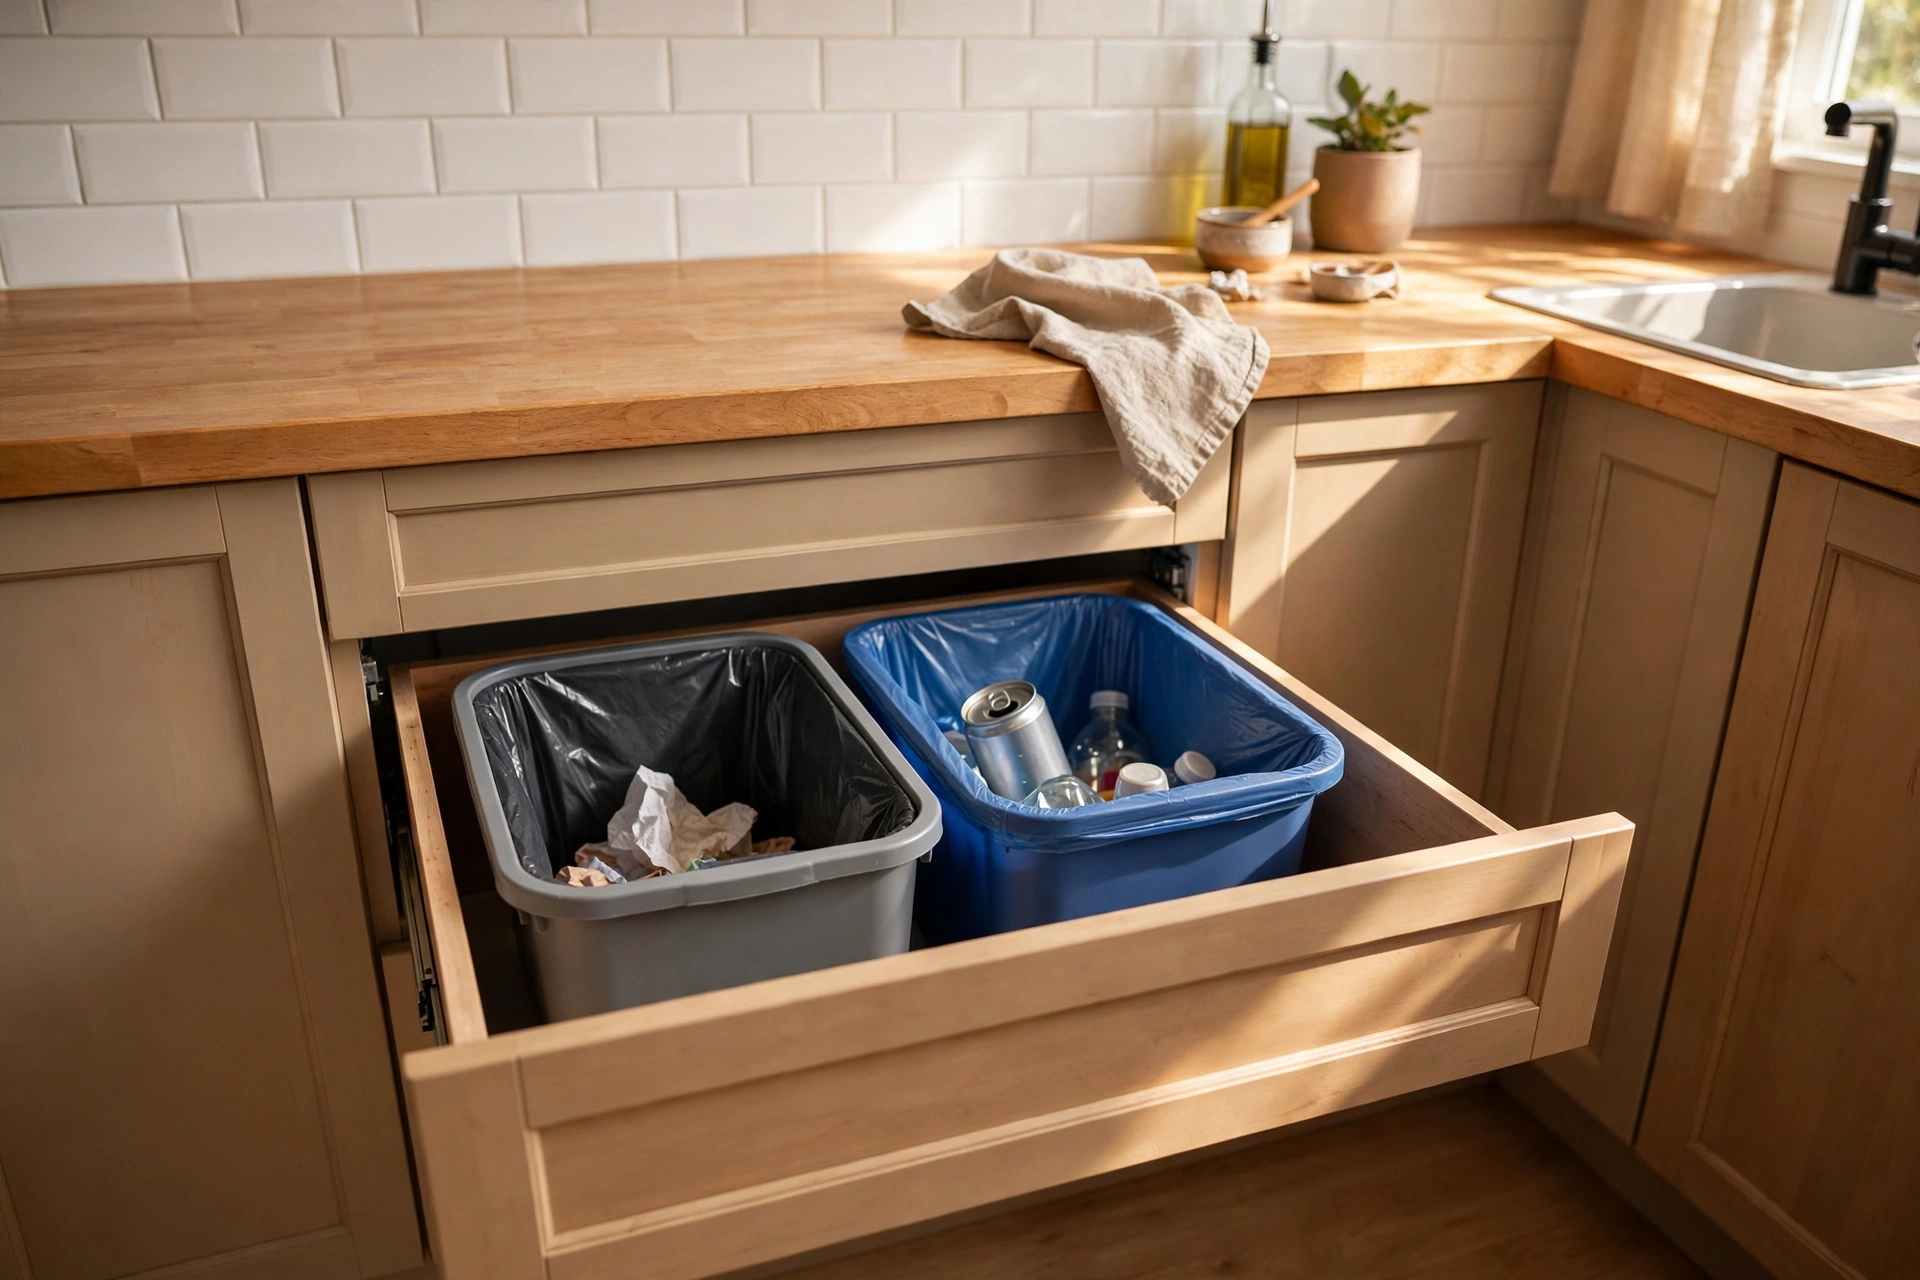
13. Convert One Cabinet Into a Slide-Out Trash Station
Freeing your trash can from the floor of a tiny kitchen feels like gaining a whole new room. A slide-out trash and recycling drawer tucks both bins behind one cabinet door.
Tip: Add a small odor-absorbing sachet inside to keep it fresh.
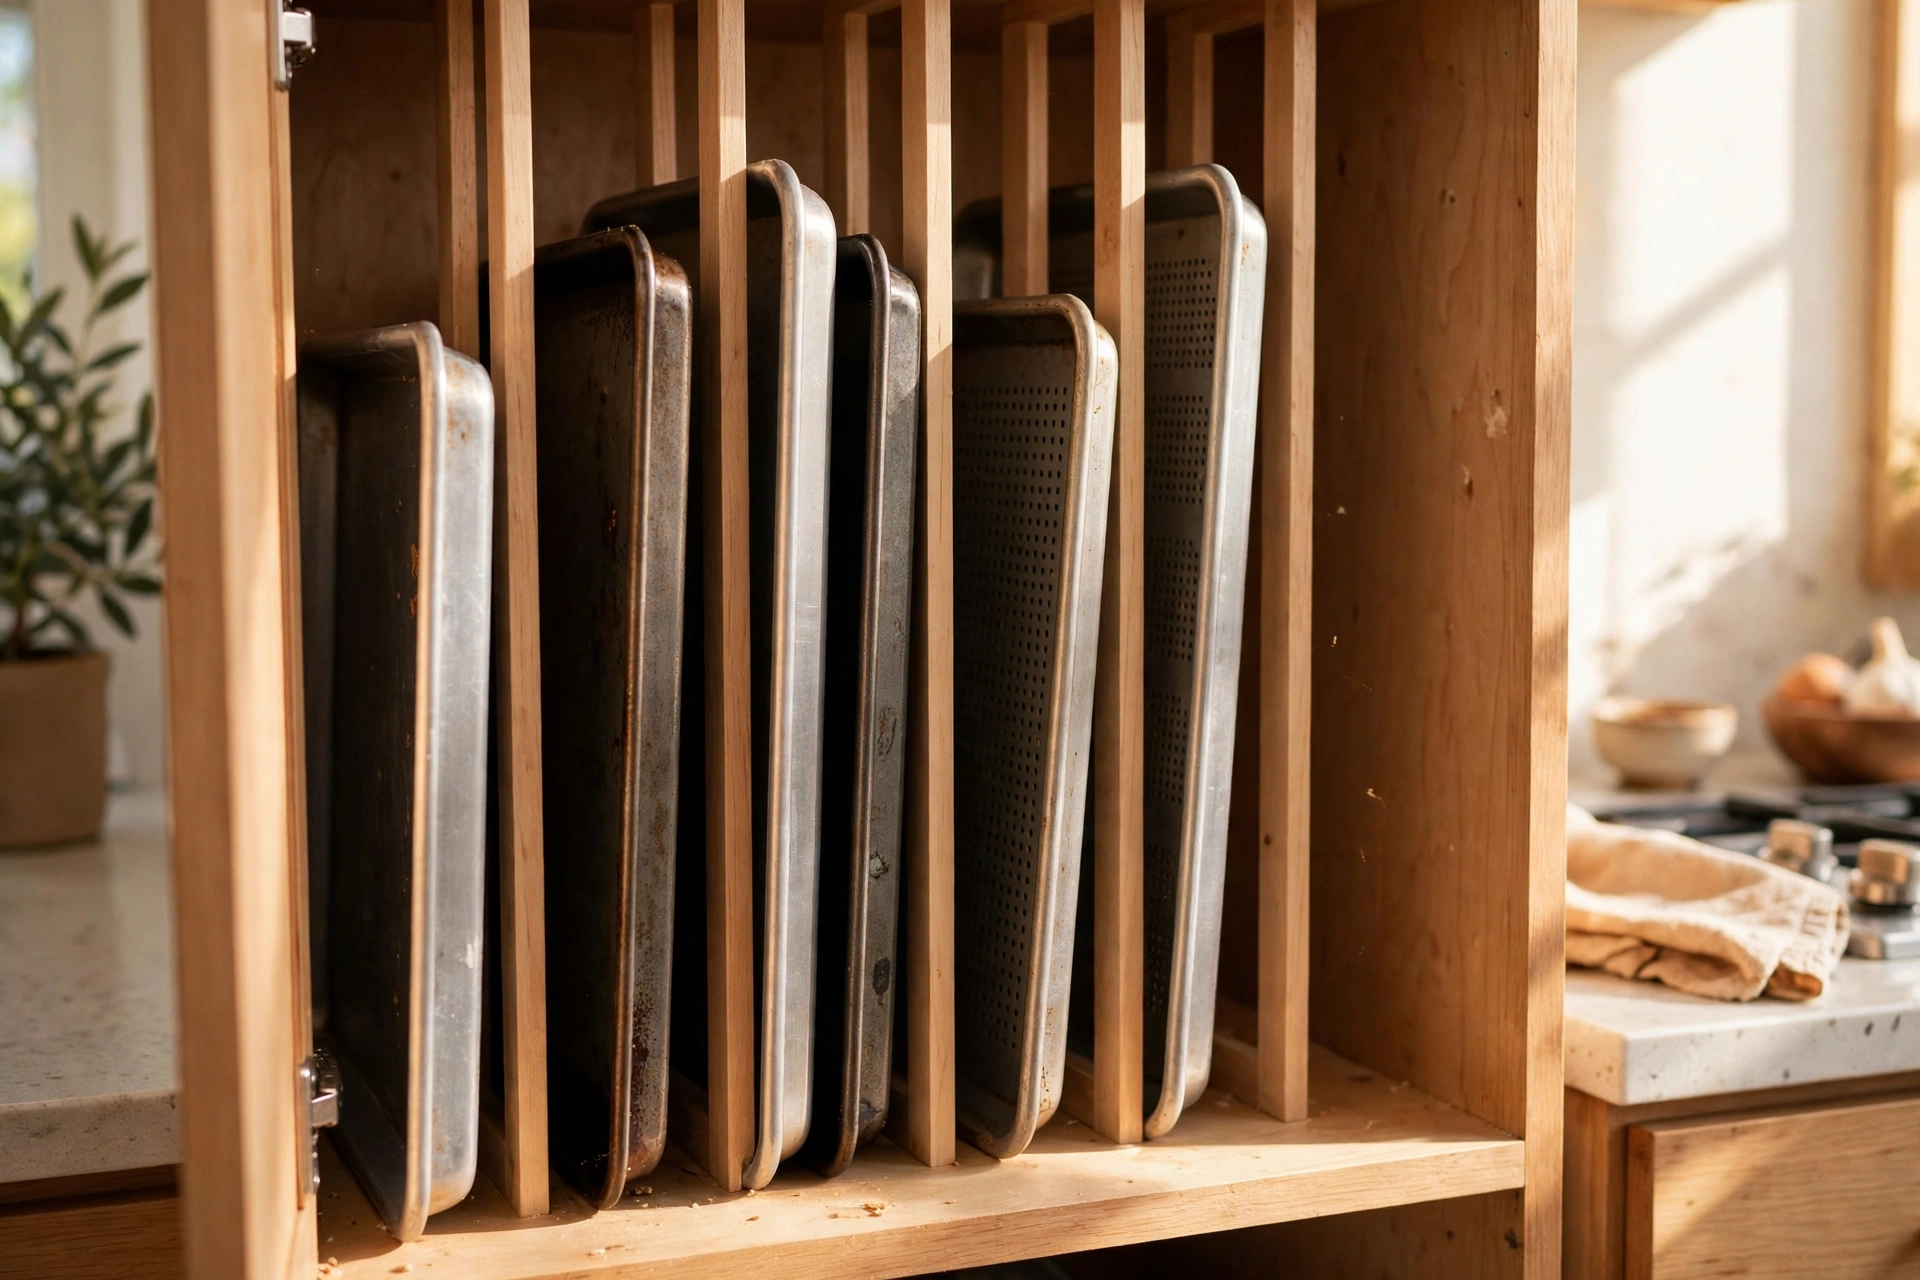
14. Stand Trays Upright With Vertical Dividers
Nesting baking sheets in a pile means lifting five to reach one. Vertical slot dividers keep every tray, cooling rack, and pizza pan standing on edge, so you slide out exactly the one you want.
Tip: Keep dividers near the oven cabinet to shorten your walk.
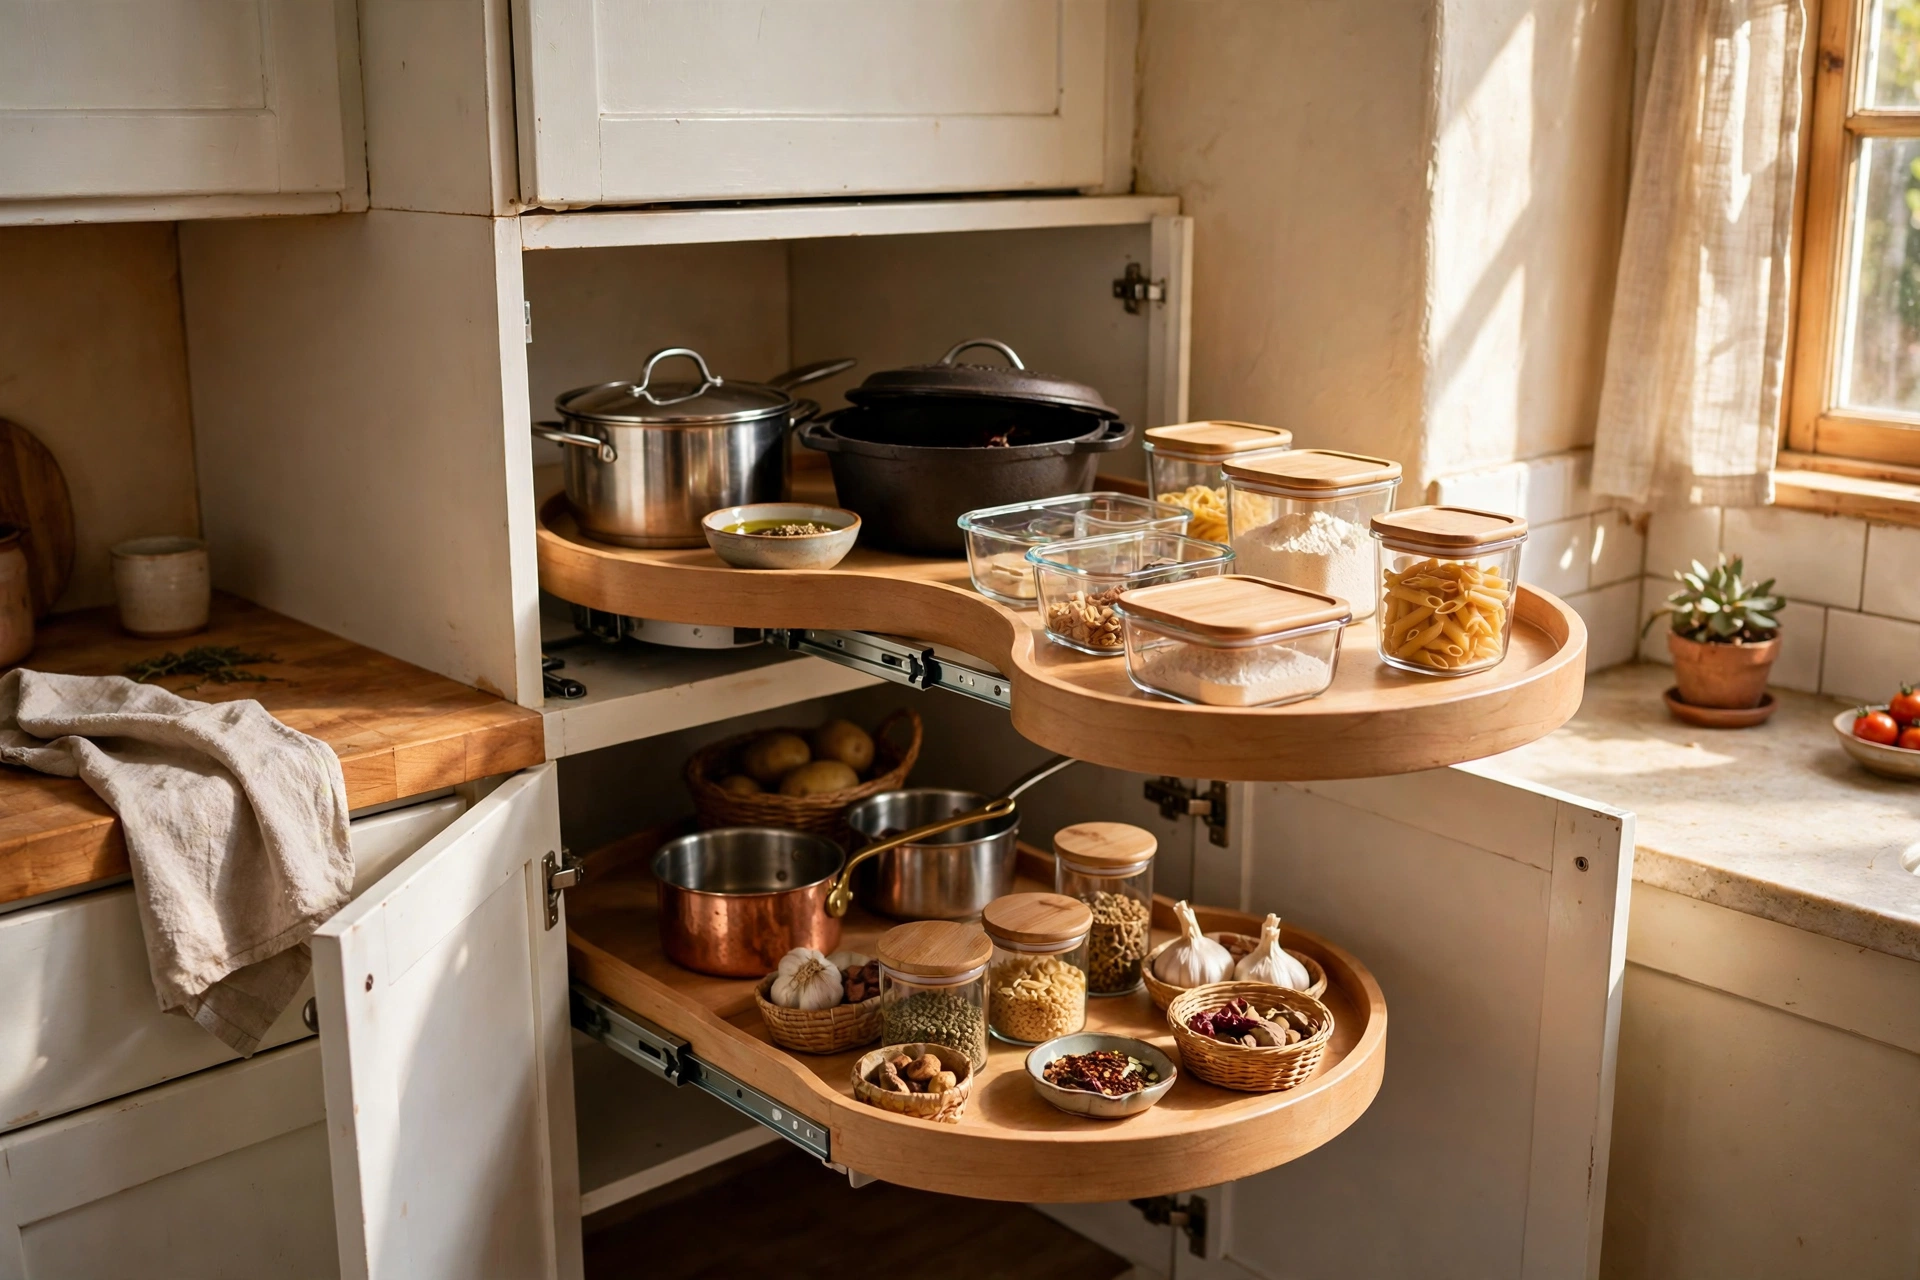
15. Conquer the Blind Corner With a Carousel
If your corner cabinet has a blind side, a kidney-shaped blind-corner carousel reaches into the dead space and brings it back out. It’s the single biggest storage win in most small kitchens.
Tip: Store rarely used appliances on the carousel’s far reaches.
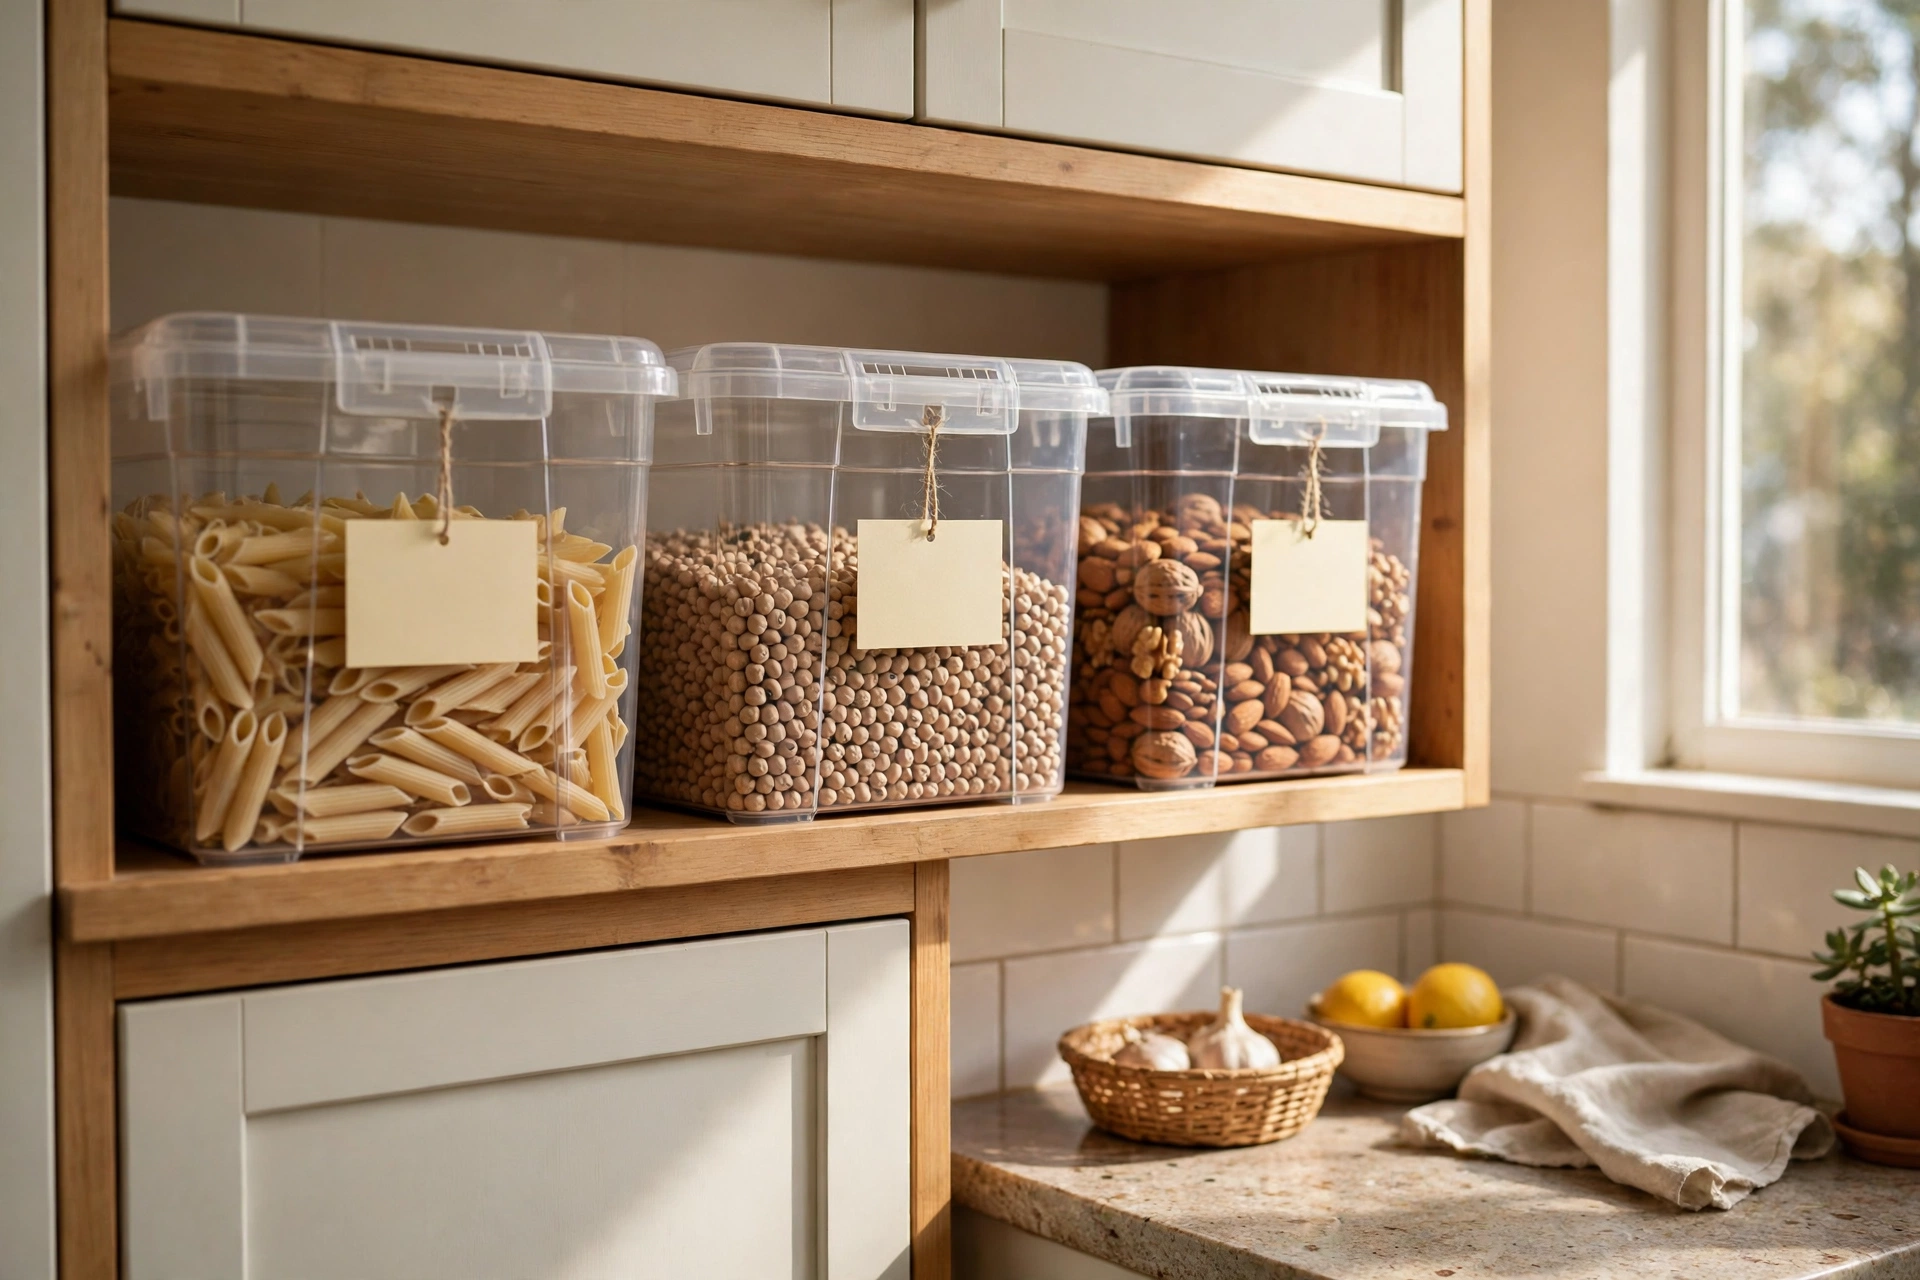
16. Label Every Bin and Zone
Labels are what keep an organized cabinet organized a month later. A simple label maker (or chalkboard stickers) tells every family member exactly where the rice lives and where the flour goes back.
Tip: Label the shelf, not just the bin, so the system survives a full re-binning.
Tips for Keeping Small Kitchen Cabinets Organized
- Store daily items between shoulder and knee height, and push rarely used pieces to the highest and lowest shelves.
- Declutter first: if you haven’t used it in a year and it isn’t seasonal, let it go before you organize.
- Match container sizes to your actual shelf depths so nothing sticks out past the cabinet frame.
- Do a two-minute reset each night — put bins back in their zones so the system never slides into chaos.
- Follow the one-in-one-out rule: every new gadget that enters earns its space by replacing something old.
Frequently Asked Questions
How do I organize kitchen cabinets with no pantry?
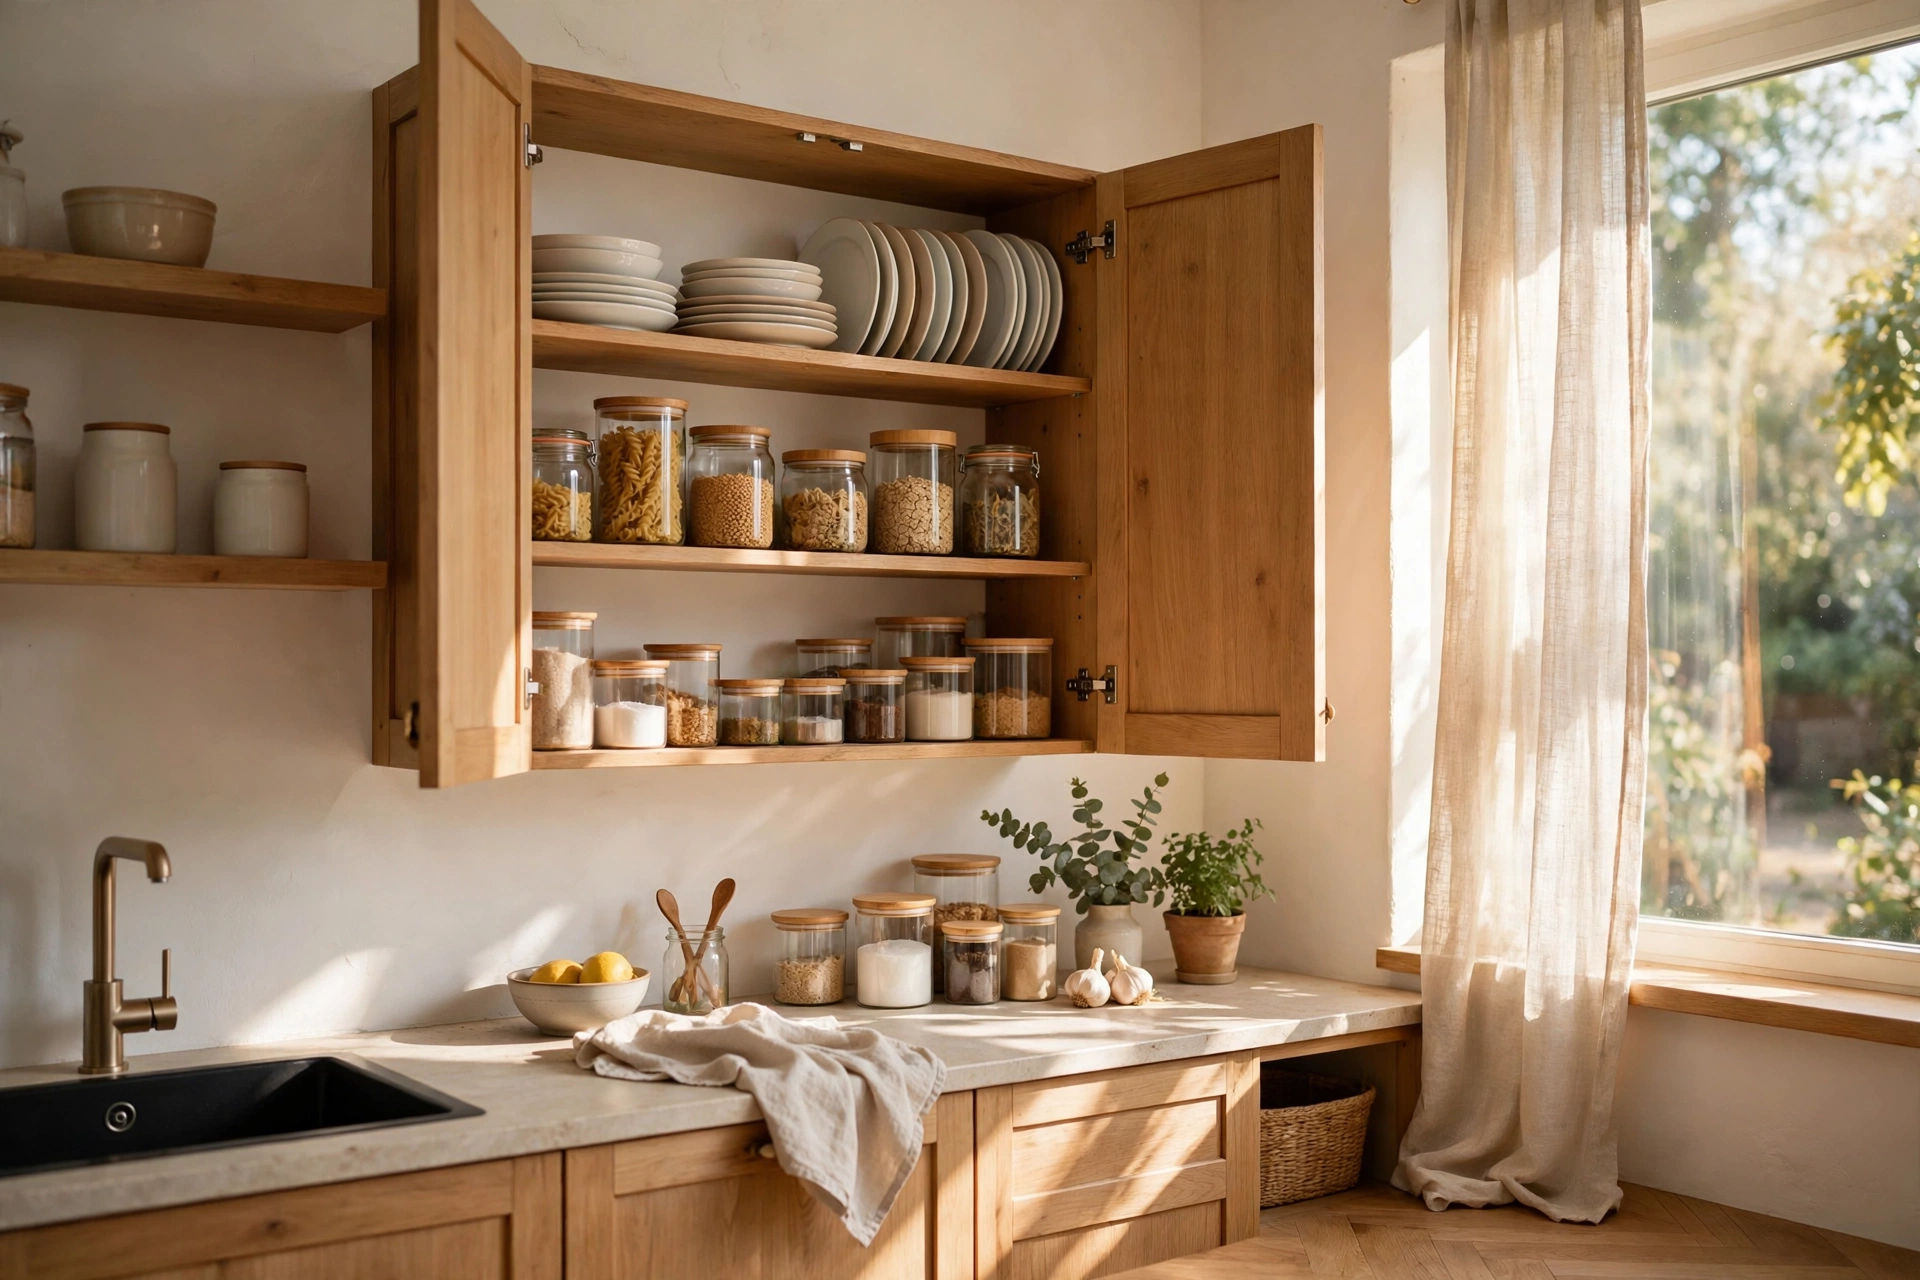
Treat one upper cabinet as your pantry zone using clear stackable containers, a tiered riser for cans and spices, and labeled bins for snack packets. Reserve the cabinet closest to the stove for cooking staples so everything you reach for while cooking is within arm’s reach.
What is the best way to store pots and pans in a small kitchen?
Stand lids upright with a tension rod or vertical divider, and stack pots with pan protectors between them. Better yet, add a pull-out drawer so heavy pots slide out to you instead of forcing you to dig into a dark cabinet.
How can I add storage to kitchen cabinets without drilling?
Under-shelf baskets, tension rods, adhesive hooks, over-the-door racks, lazy Susans, and freestanding shelf risers all add serious storage with zero screws. They’re also renter-friendly, since everything removes cleanly.
How often should I reorganize my kitchen cabinets?
A quick seasonal reset — about four times a year — is enough if you maintain the zones with labels. Use each reset to toss expired items and re-home anything that drifted to the wrong shelf.
Wrap Up
A tiny kitchen doesn’t have to feel cramped — it just needs its cabinets to work harder. Pick the three or four ideas from this list that fit your biggest pain points, implement them this weekend, and enjoy the extra breathing room. Small cabinets, smart storage, and a kitchen that finally feels big enough.